The method that actually works is stem cuttings laid flat on top of moist succulent soil, not stuck upright in water or buried deep. String of pearls roots along the stem wherever it touches soil, so your job is contact, not depth. Cut 4 to 6 inch lengths, let the cut end callus for a day, then lay them across the surface and mist instead of drenching.
That part is simple. What trips people up is everything around it: the mistake that rots half the cuttings before they ever root, the sign everyone misreads as failure when it is actually normal, and the honest timeline, because this plant does not root on the schedule most propagation charts promise.
Stick with me through the steps and the week-by-week timeline, because the save-able String of Pearls at a Glance card waits at the bottom with everything condensed to the five facts worth keeping on your phone.
Why Laying Cuttings Flat Beats Every Other Method
Water propagation looks tempting because you can watch it happen, but string of pearls hates sitting in standing water. The thin stems rot at the cut end long before roots form, and even when roots do appear, they are weak and struggle once potted in soil.
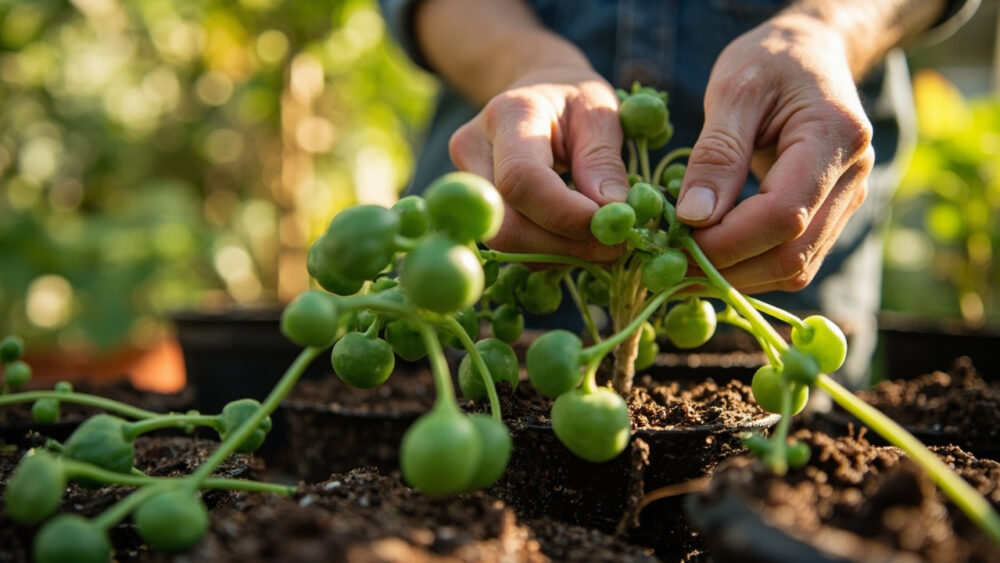
Soil contact along the stem is what this plant actually wants. Each bead-covered strand has tiny root nodes hidden under the leaves, and any node touching moist soil can throw roots. Lay several strands side by side and you get roots forming at multiple points per cutting, not just the cut tip.
Division works too, if your plant is already full and mature, but cuttings are faster and give you more plants from one parent.
Here is exactly how to do the flat-lay method without losing cuttings to rot.
Step by Step: Taking, Rooting, and Starting Your Cuttings
Taking the Cutting
Choose healthy strands with plump, unwrinkled beads and no brown or mushy sections. Snip 4 to 6 inches using clean scissors or a sharp blade, cutting just below a node.
Let the cut end sit out uncovered for 24 to 48 hours before planting. This callusing step is the one most guides skip, and skipping it is exactly what causes the rot that ruins most first attempts.
Rooting Medium
Use a fast-draining succulent or cactus mix, ideally cut with extra perlite or coarse sand, roughly half and half. Regular potting soil holds too much water and will rot the stems before roots ever form.
Fill a shallow pot or tray, water it lightly so the surface is barely damp, then lay the calloused cuttings flat across the top. Press gently so the stem makes contact with soil, but do not bury them.
Conditions
Place the tray in bright, indirect light, never direct hot sun through glass, which will scorch the beads fast. Room temperature between 65 and 80 F is ideal.
Mist every 2 to 3 days rather than watering the soil deeply. Too much water sitting around the stem is the single fastest way to lose the whole cutting.
Once they are down, the hardest part is waiting, and knowing what you are actually looking at each week.
Week by Week: What to Expect and What Everyone Misreads
Week 1 to 2, nothing visible happens above the soil, and this is the point most people panic and either drown the cuttings with water or give up entirely. Underneath, the callus is sealing and the first tiny root hairs are starting at the nodes.
The sign everyone misreads is a slightly shriveled, softer-looking bead on the cutting during week two or three. That is not death, it is the strand pulling on its own stored moisture while it has no roots yet to draw water from soil. Firm, plump beads with no new roots at three weeks is a worse sign than slightly soft beads that are otherwise green.
Week 3 to 4, gently tug a cutting. Resistance means roots have anchored. You may also see small white or pale roots at the nodes touching soil, sometimes visible from the side of a clear tray.
Week 5 to 6, new growth: fresh, brighter green beads pushing out from the tips. This is the real confirmation, more reliable than root tugging alone.
Once you see that new growth, it is time to think about potting up for real.
Potting Up and Moving to a Permanent Home
Wait until roots are clearly established, usually 5 to 8 weeks in, before disturbing the cuttings. Potting up too early undoes the rooting progress.
Move rooted cuttings into a pot with drainage holes, using the same fast-draining succulent mix. Space multiple cuttings about 1 to 2 inches apart if you are filling a hanging pot for a fuller look faster.
Plant just deep enough to cover the rooted section, letting the rest trail over the pot edge as it grows, which is the whole point of this plant.
Water only when the top inch of soil is fully dry, then give it a thorough soak and let it drain completely. Indoors, a bright east or west window works well; outdoors, this only survives outside in USDA zones 10 to 11, and everywhere else it comes in before first frost.
Get the potting step right and most plants take off, but a few specific mistakes still take people down.
Why Attempts Fail, and the Honest Fix
Rot is the number one killer, and it almost always traces back to skipping the callus step or overwatering during rooting. If a cutting turns black or mushy at the base, it is done, pull it and start a fresh one rather than hoping it recovers.
The second most common failure is low light. String of pearls rooted in a dim corner will sit for months without new growth, not because rooting failed but because there is not enough light to fuel it. Bright indirect light is not optional here.
The honest answer to the question you are probably about to ask: no, you cannot speed this up much with heat mats or rooting hormone. They help marginally, but this plant roots on its own timeline, and rushing it with more water just brings back the rot problem.
Patience and correct light solve more propagation failures than any product will.
String of Pearls at a Glance
- Best method: lay 4 to 6 inch stem cuttings flat on moist succulent soil, letting nodes root where they touch, rather than standing cuttings in water.
- Before planting: let the cut end callus uncovered for 24 to 48 hours to prevent rot.
- Soil mix: fast-draining cactus or succulent mix cut roughly half and half with perlite or coarse sand.
- Light and temperature: bright indirect light, no direct hot sun through glass, 65 to 80 F.
- Watering while rooting: mist every 2 to 3 days, never soak the tray.
- Timeline: roots anchor around 3 to 4 weeks, visible new growth by 5 to 6 weeks, safe to pot up around 5 to 8 weeks.
- Outdoor hardiness: survives outside year round only in USDA zones 10 to 11, houseplant everywhere else.
Rot and low light kill more attempts than anything else, so callus your cuts and give it real light.
Do those two things and this plant roots itself, on its own schedule, almost every time.