The method that actually works for how to propagate burro’s tail is stem cuttings, taken in short sections, allowed to callus dry for several days, then laid on top of (not buried in) barely damp cactus soil until roots form. Skip the callusing step and the cutting rots before it ever roots. That single detail is where most people lose their cuttings.
Burro’s tail (Sedum morganianum, sometimes still sold as Sedum burrito) drops its plump little leaves at the slightest bump, which feels like a disaster the first time it happens to you. It is not. Those fallen leaves are actually the easiest, highest-success propagation material you have, and almost nobody realizes it until they’ve already thrown a handful away.
There’s also a timing mistake that costs people an entire season without them ever knowing why, and a very specific look the roots give you right before they’re ready for soil. Both are coming up. Save the scroll for the bottom too, there’s a quick-reference “Burro’s Tail at a Glance” card waiting there with every number in one place.
Why Stem Cuttings (and Dropped Leaves) Beat Every Other Method
Burro’s tail doesn’t propagate well from division, and it has no offsets to speak of, unlike hens-and-chicks or aloe. Its whole survival strategy is fragility: the leaves detach easily so wind and animals scatter them, and each leaf can grow a new plant. Stem tip cuttings work even better because they already have a growth point.
Seed propagation exists but it is slow, fussy, and honestly not worth your time on a plant this easy to clone. Cuttings give you a full-size trailing stem in a fraction of the time.
Here’s the part that surprises people: a single dropped leaf, the kind you swore you ruined the plant by knocking loose, roots just as reliably as a cut stem. Next up is exactly how to take the cutting without losing half the leaves in the process.
Step by Step: Taking the Cutting
Choosing and cutting the stem
Pick a healthy trailing stem at least 4 to 6 inches long, plump, with no soft or yellow spots. Using a clean, sharp blade, cut straight across, or simply pinch off individual leaves if that’s easier.
Handle it by the stem, not the leaves. Burro’s tail leaves are notoriously loose and will pop off if you grip them, which is exactly the mistake that turns one clean cutting into a scattered mess.
The callusing step everyone skips
Set the cutting (and any loose leaves you want to root) on a dry paper towel or open tray, out of direct sun, for 3 to 7 days. You’re waiting for the cut end to dry into a dull, slightly puckered scar rather than staying wet and green.
This is the mistake that ruins most attempts. Plant a fresh, wet-cut stem straight into soil and it rots at the base within a week, almost every time. Given the dry desert habitat this plant comes from, that callus is non-negotiable.
Once it’s callused, the next question is what to actually set it on.
Rooting Medium and Conditions
Use a fast-draining cactus or succulent mix, or regular potting soil cut with an equal amount of coarse sand or perlite. Fill a shallow tray or small pot and just barely dampen the surface, it should look dry within an hour of watering.
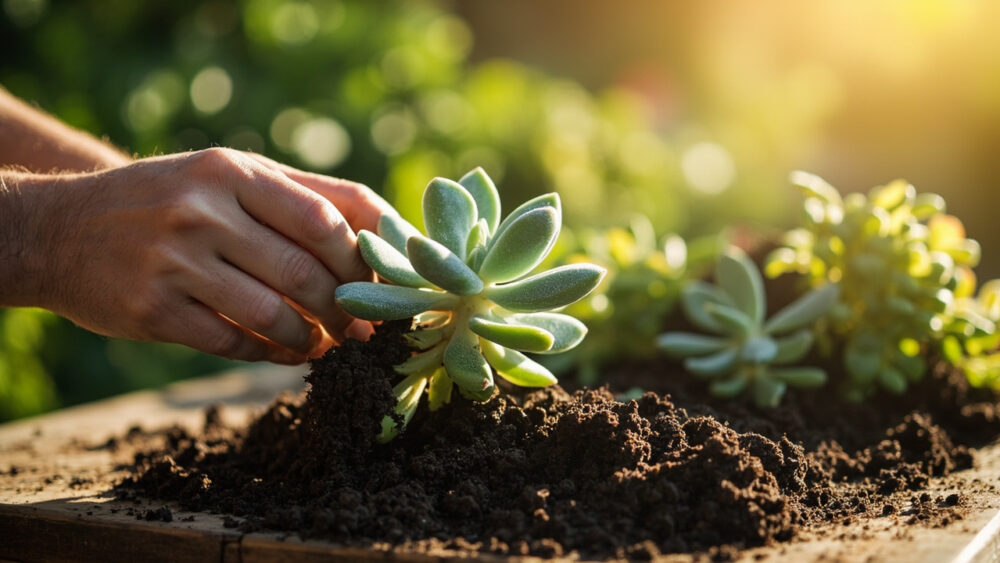
Lay the cutting on top of the soil, don’t bury it. Burro’s tail roots from the underside of the stem and from the base of each leaf when it’s in contact with soil, so burying it just invites rot. Loose leaves get scattered on the surface the same way, cut end lightly touching soil.
Bright, indirect light and room temperature, roughly 65 to 75°F, is the sweet spot. Direct hot sun on an unrooted cutting will scorch it before it ever roots.
Mist the soil lightly every 3 to 5 days, just enough to keep it barely moist, never wet. The next stretch is where patience actually pays off.
The Timeline: What to Expect Week by Week
Week 1: nothing visible happens, and that’s normal. The cutting is settling and starting to form root initials you can’t yet see.
Weeks 2 to 3: tiny pink or white roots (or on leaf cuttings, a small pink nub at the leaf’s cut end) start appearing on the underside, pressed against the soil.
The sign people misread is a tiny leaf or rosette forming at the base before roots ever show. That new growth looks like success, but it can appear on a leaf that has no roots at all and will eventually shrivel if roots never follow. Roots, not top growth, are the real signal.
Weeks 4 to 6: roots reach half an inch to an inch long and you’ll see a small cluster of them anchoring into the soil surface. That’s your green light.
Once you see that root cluster, it’s time to talk about actually potting it up.
Potting Up and Planting Out
When roots hit roughly 1 inch long, nestle the base gently into a pot of the same fast-draining mix, just deep enough to cover the roots. Multiple rooted leaves can go into one pot, spaced about 1 to 2 inches apart, and they’ll fill in fast.
Water sparingly for the first two weeks after potting, just enough to settle the soil, then let it dry out completely between waterings going forward. This is a plant built for drought, and overwatering a young cutting is a faster killer than underwatering it.
Burro’s tail is only reliably hardy outdoors in USDA zones 10 to 11. Everywhere else, it’s a container and houseplant that can summer outside once nights stay above 40°F, then needs to come back in before frost.
Give it bright light, some direct morning sun is fine, and by 8 to 12 weeks from cutting you’ll have a trailing stem several inches long. That brings up the honest question: why does this fail for so many people anyway?
Why Most Attempts Fail (and the Honest Fix)
The number one cause of failure is skipping the callus and planting a fresh cut into damp soil, which leads straight to stem rot. The fix is simply patience: wait the full 3 to 7 days, even when the cutting looks fine already.
The second most common failure is overwatering the rooting tray, treating it like a seed tray that needs constant moisture. Burro’s tail cuttings root in soil that’s closer to dry than damp; err dry.
Third, low light during rooting causes the new growth to stretch and go pale instead of forming a compact rosette, even if roots do form fine. Bright indirect light fixes this without risking scorch.
If a cutting shrinks, turns translucent, or goes mushy at the base, it’s rotted and won’t recover, start a new one rather than waiting on it. That’s the honest prognosis, and it’s a cheap lesson since one healthy stem gives you a dozen more chances.
With those three mistakes off the table, here’s everything worth saving in one place.
Burro’s Tail at a Glance
- Best method: stem tip cuttings or individual dropped leaves, callused before rooting.
- When to callus: let cut ends dry 3 to 7 days before contact with soil.
- Rooting medium: fast-draining cactus mix or potting soil cut with equal parts sand or perlite.
- Placement: lay cuttings and leaves on top of the soil, never bury them.
- Conditions: bright indirect light, 65 to 75°F, soil kept barely damp, misted every 3 to 5 days.
- Timeline: roots visible in 2 to 3 weeks, ready to pot at 4 to 6 weeks with roots about 1 inch long.
- Outdoor hardiness: USDA zones 10 to 11 only, otherwise grow as a container plant brought indoors before frost.
Callus it dry, root it drier, and let the roots (not the cute new leaves) tell you when it’s ready.
Do that, and every dropped leaf you once mourned becomes your next full plant.