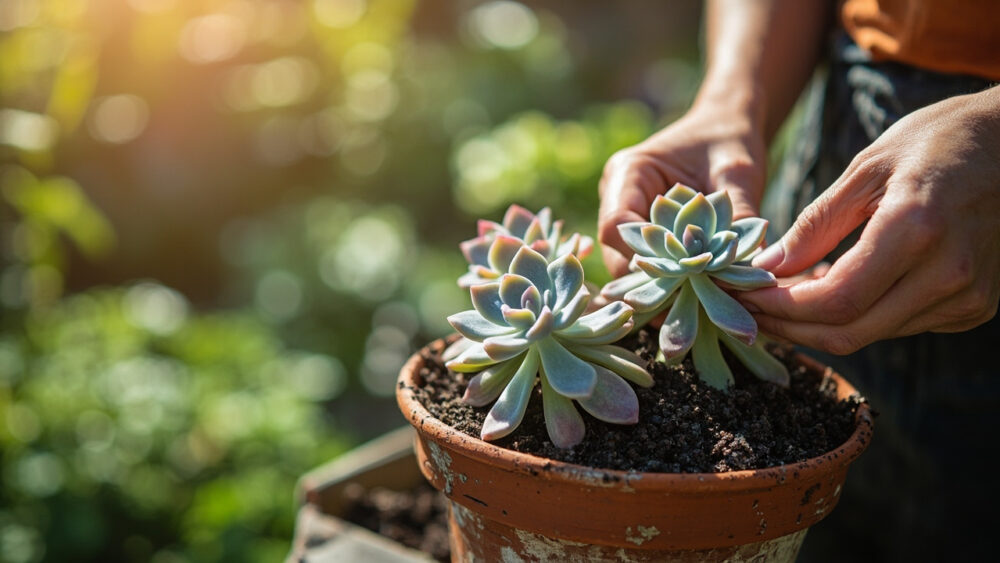
The method that actually works for echeveria is leaf-pull or offset propagation, rooted dry on top of soil, not in it. Twist a healthy leaf free at its base, or cut an offset with a clean blade, then let the wound callus for two to five days before it ever touches soil. Set it on top of a fast-draining mix and walk away. That single detail, letting the cut dry before rooting, is the one most people skip, and it is why so many attempts turn into a mushy leaf instead of a new plant.
Here is what nobody tells you upfront: the leaf you pull can look perfectly fine for two straight weeks while doing absolutely nothing, and that silence is normal, not failure. Most people yank a leaf too soon assuming it died. There is also a specific way you break the leaf off that determines whether it can even grow roots at all, and it has nothing to do with sharp scissors.
Stick with me and I will walk you through the exact timeline week by week, the mistake that kills more cuttings than bad luck ever does, and when to finally move a rooted pup into its own pot. Save-able specifics, spacing, timing, the whole “Echeveria at a Glance” card, are waiting at the bottom.
Why Leaf-Pulls and Offsets Beat Every Other Method
Echeveria stores water and energy in thick leaves, which is exactly what makes leaf propagation so reliable. A single healthy leaf carries enough reserve to grow both roots and a tiny new rosette without any soil contact at all in the early weeks.
Stem cuttings work too, mainly on older, leggy plants that have stretched and lost their lower leaves. Division works on offsets, the little clustered “pups” that show up around a mature plant’s base on their own.
Seed exists as an option, but it is slow, fussy about humidity, and takes a year or more to produce anything worth potting. Skip it unless you specifically want to breed new hybrids.
The leaf and the pup are where nearly all the success lives, so that is where we are going next.
Step by Step: Taking the Cutting and Getting It to Root
Removing the leaf or offset
Choose a plump, healthy leaf from lower on the rosette, never a shriveled or damaged one. Grip it at the base and gently wiggle side to side until it separates in one clean piece, base intact.
If any green leaf tissue tears off and stays on the stem, that leaf will not root. It needs the full base, including the tiny growing point, or nothing happens.
For offsets, cut where the pup joins the main stem using a clean, sharp blade. A dull or dirty blade invites rot right into the fresh wound.
Letting it callus
Lay the leaf or offset on a dry paper towel or open tray, out of direct sun, for two to five days. You are waiting for the cut end to seal over and look dry and slightly shrunk, not wet or glossy.
This callusing step is the one most tutorials rush past, and it is the actual reason half of all leaf-pulls rot before they ever root.
Rooting medium and placement
Use a mix that drains fast: cactus and succulent soil, or your own blend of potting soil cut with perlite or pumice at roughly equal parts. Lay leaves flat on top, cut end lightly touching soil, in bright indirect light.
Do not bury the cut end and do not water yet. Roots will find the soil on their own once they are ready.
Get the callus right and the rest of this process mostly takes care of itself.
The Timeline: What Actually Happens Week by Week
Weeks one and two: nothing visible happens, and this is exactly the point where most people panic and start second-guessing themselves. The leaf sits there looking unchanged. Do not water it and do not move it around checking for progress.
Weeks two to four: thin pink or white roots emerge from the calloused cut, often before any sign of a new rosette. Around the same time or shortly after, a tiny pinhead-sized rosette appears at the base.
This is when to start misting lightly every few days, just enough to dampen the soil surface, not soak it.
Weeks four to eight: the baby rosette bulks up visibly and starts drawing moisture out of the mother leaf, which will shrivel and gray as it empties itself. That shriveling is success, not disease, so do not remove the leaf early to “help.”
Let the old leaf shrink completely on its own before you touch anything.
Once that mother leaf is fully dry and papery, you are ready to think about potting.
Potting Up: When and How
Wait until the mother leaf has fully shriveled and the new rosette has at least four to six of its own leaves, typically 6 to 10 weeks from the original cut. That baby is now living on its own roots, not borrowing reserves from the leaf.
Gently separate the shriveled leaf from the new plant. It should come away easily; if it resists, leave it a bit longer.
Pot into a shallow container with drainage holes, using the same fast-draining succulent mix. Set the rosette at the same depth it was growing, roots just covered, and space multiple starts about 1 to 2 inches apart if potting several together.
Skip watering for three to five days after transplant to let any disturbed roots heal, then water thoroughly and let the soil dry completely between waterings going forward.
From here, growth pace depends entirely on light and season, which is exactly where most stalled propagations actually go wrong.
Why Most Attempts Fail (and It’s Rarely What You’d Guess)
If you assumed overwatering is the main killer here, you are only half right, because the real culprit is almost always watering too early, before roots exist to use that moisture at all. A damp leaf with no roots just sits in wet soil and rots from the base up.
The second big mistake is light, not too little but too much, too soon. Direct hot sun on a rootless leaf stresses and dehydrates it before it has any way to take up water. Bright, indirect light is correct for the entire rooting phase.
Cold, wet conditions kill just as fast as heat does. Propagation slows dramatically below roughly 60°F and stalls almost entirely once nights drop near freezing, so timing this for spring through early fall gives far better odds than a cold windowsill in winter.
Get watering timing and light intensity right, and you will find echeveria is genuinely one of the easiest succulents to propagate.
Echeveria at a Glance
- Best time to propagate: spring through early fall, when daytime temperatures sit consistently above 60°F.
- How to take it: twist a healthy lower leaf free at its base, keeping the base intact, or cut an offset cleanly with a sharp blade.
- Callus time: two to five days, dry, out of direct sun, until the cut end looks sealed and slightly shrunk.
- Rooting medium: fast-draining cactus or succulent mix, leaf laid flat on top, cut end just touching soil.
- Timeline to roots: two to four weeks for roots and a tiny rosette to appear, six to ten weeks until it is ready to pot.
- Watering rule: none until roots and a new rosette are visible, then light misting, then normal soak-and-dry once potted.
- Spacing when potting: 1 to 2 inches apart, shallow pot with drainage, same planting depth as the original growth point.
Patience beats effort here. Every real failure traces back to watering or moving things along too soon, so give the callus, the roots, and the rosette their full time and echeveria will do the rest itself.