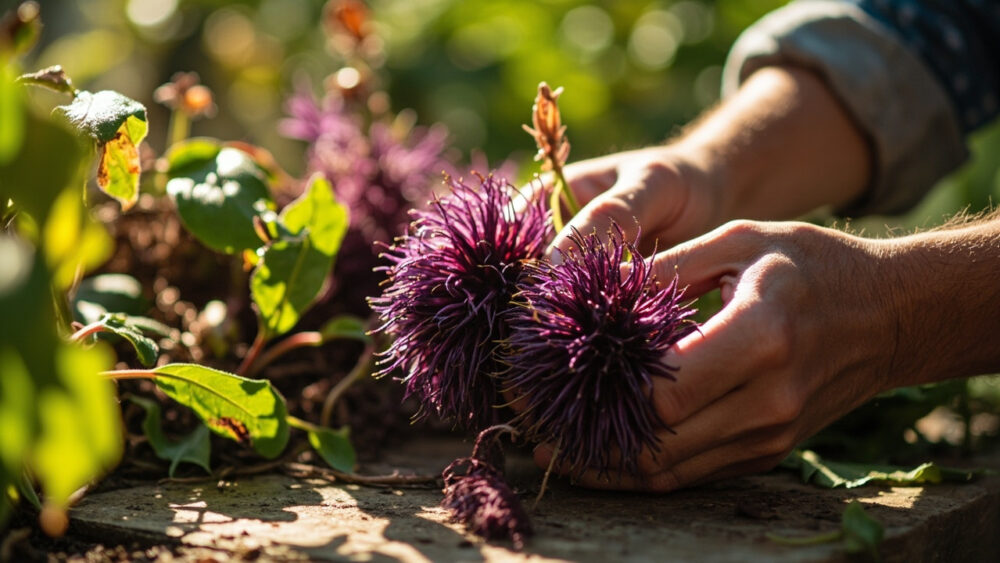
Stem cuttings in water are how to propagate purple passion plant with the least drama: snip a 4 to 6 inch tip below a leaf node, strip the bottom leaves, and set it in water in bright indirect light. Roots usually show up in 10 to 14 days. That part is simple.
What is not simple is why so many of these cuttings root fine and then rot, stall, or lose all their color the moment they hit soil. That is the part nobody warns you about, and it is the reason most second attempts happen at all.
Stick with me and you will get the exact timeline week by week, the potting-up moment that trips people up, and the mistakes that kill a cutting after it already rooted, which is the cruelest way to lose one. There is also a save-able Purple Passion Plant at a Glance card at the very bottom with everything condensed onto one screen.
Why Stem Cuttings Beat Every Other Method
Purple passion plant, Gynura aurantiaca, roots so readily from stem tips that division and layering are not worth bothering with. The trailing stems root at almost any node given the chance, which is exactly why a single healthy plant can produce a dozen cuttings a season without missing a beat.
Division only makes sense if you already have a mature plant with multiple independent crowns rooted in the pot, which is uncommon with this species since it grows as one sprawling stem system rather than separate offsets. So division is rarely the right tool here, even though it works for plenty of other houseplants.
Stem cuttings also let you choose exactly which growth to propagate, and that choice matters more than people expect.
The best cuttings come from firm, actively growing tips, not the oldest woody base growth, and that distinction is where the next section starts.
Step by Step: Taking and Rooting the Cutting
Choosing and Taking the Cutting
Look for a stem tip that is fuzzy, deep purple on the underside, and firm when you pinch it, not soft or leggy. Cut 4 to 6 inches down from the tip, making your cut just below a leaf node, since that node is where roots will form.
Strip the bottom one or two leaves so you have bare stem to submerge or bury. Leave at least two to three leaves up top to keep the cutting photosynthesizing while it roots.
Rooting Medium and Conditions
Water rooting is the easiest and most reliable method for this plant. Use a small jar, keep the node submerged, and change the water every 3 to 4 days so it does not go cloudy or start to smell.
You can also root directly in a light, well-draining mix, moist but never soggy, though roots take slightly longer to confirm since you cannot see them.
Bright, indirect light is non-negotiable. Direct sun on a bare cutting scorches it fast, and low light stalls rooting for weeks. A spot near an east or filtered south window, out of direct rays, is the sweet spot.
Room temperature in the 65 to 75°F range speeds things along considerably, so a cold windowsill in winter will test your patience.
Get the light and water right and the timeline below becomes almost predictable.
Week by Week: What Actually Happens
Week 1: nothing visible happens, and this is the point where most people assume failure and give up. The cutting is calloused and quietly forming root initials at the node, invisible from outside.
Week 2: tiny white root nubs appear at the submerged node, usually starting as small bumps before they elongate. In soil, you will not see this, but a gentle tug will meet slight resistance if roots have started.
Week 3 to 4: roots reach half an inch to an inch long in water, sometimes branching. New leaf growth at the tip often picks up noticeably here, a good sign the cutting is established rather than just surviving.
If nothing has happened by week 4, check the water for rot smell or a mushy stem end. That usually means the cut end sat too deep or the water went stale too many times between changes.
Once roots hit an inch or so, the clock starts on getting it into soil before those water roots go to waste.
Potting Up: The Step Everyone Rushes or Delays Wrong
If you assumed you should pot up the moment you see any root at all, that is the guess that kills a lot of cuttings. Roots grown in water are soft and water-adapted; moving them into soil too early, before they have real length and slight rigidity, means they can shrivel in the drier soil environment before they adjust.
Wait until roots are at least 1 to 2 inches long and there are several of them, not just one lone root. That gives the cutting enough of a root system to handle the transition.
Pot into a small container, 3 to 4 inches across, with a standard well-draining houseplant mix. Plant it at the same depth it sat in water, water it in, and expect a few days of sulking, some slight leaf droop, as it adjusts.
Keep it out of direct sun for the first week or two after potting, then move it into the bright indirect light it will live in long term.
Getting the timing of that move right matters more than almost anything else in this whole process, which is exactly where most failures actually happen.
Why Attempts Fail, and the Fix for Each
Rot at the cut end is the most common failure, and it almost always comes from water that sat too long or a cutting submerged too deep, past the node into bare stem. Change water every 3 to 4 days and only submerge the bottom node.
Loss of purple color after potting up is not a disease, it is low light. This plant’s signature purple fuzz fades to green fast without strong indirect or a little morning direct sun, so if your rooted cutting is going flat green, it needs more light, not more water.
- Leggy, pale cutting from the start: the parent growth was already stretched from low light, choose a fresher tip next time.
- Cutting rooted but collapsed after potting: moved to soil too early, before roots had length.
- No roots after 5 to 6 weeks: usually cold conditions or a dull cut end, try a fresh cut and a warmer spot.
Most of these failures trace back to one of two things: timing the soil move wrong, or not giving it enough light once it is growing.
Get those two right and this is one of the easiest houseplants in the world to multiply, which is exactly what the card below is for.
Purple Passion Plant at a Glance
- Best method: stem tip cuttings, 4 to 6 inches long, cut just below a leaf node.
- Rooting medium: plain water, changed every 3 to 4 days, or a light well-draining soil mix kept lightly moist.
- Light while rooting: bright indirect light, no direct sun on bare cuttings.
- Ideal temperature: 65 to 75°F for fastest, most reliable rooting.
- Time to roots: visible roots in 10 to 14 days, ready to pot at 1 to 2 inches of root length, roughly week 3 to 4.
- Pot size for a rooted cutting: 3 to 4 inch container, planted at the same depth it rooted at.
- Color cue: fading purple color after potting means more light is needed, not more water.
Take more cuttings than you think you need, since a couple always lag behind. That extra insurance costs you nothing and saves the whole attempt if one cutting rots.