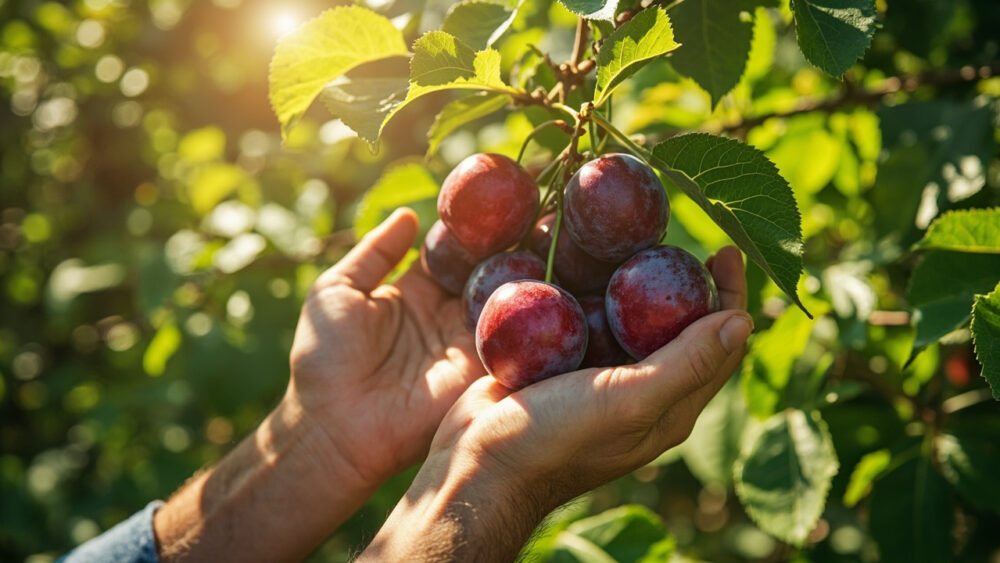
Learning how to grow plums starts with getting three things right: a bare-root or young tree planted while it’s still dormant in late winter to early spring, full sun with well-drained soil, and the patience to wait two to four years before your first real harvest. Do those three things and plums are actually one of the easier tree fruits, less fussy than peaches, less disease-prone than apples in most home yards. Get the site or the pollination wrong and you can nurse a healthy-looking tree for years without ever seeing fruit.
That pollination problem is the mistake that quietly ruins the most attempts. Plenty of gardeners plant one gorgeous tree, watch it bloom beautifully every spring, and never understand why the flowers just drop instead of setting fruit.
There’s also a sign almost everyone misreads at harvest time, a color change that looks like ripeness but usually isn’t, and a pruning habit that feels responsible but actually delays fruiting by a year or more. All of it gets sorted out below, and at the very bottom there’s a save-able Plums at a Glance card with the numbers you’ll want on hand all season.
When to Plant Plums
Plant in late winter to early spring while the tree is still dormant, as soon as the ground can be worked and is no longer frozen or waterlogged. Bare-root trees go in earliest, container-grown trees have a bit more flexibility and can go in through mid-spring.
Soil temperature matters less here than soil workability. If you can dig a hole without hitting mud soup or frozen clods, you’re in the window.
In mild-winter regions (zone 7 and warmer) you can often plant in fall or through winter. In colder zones (5 and 6), wait until the killing frosts are mostly behind you but the tree is still leafless.
Get the timing right and the next decision, where exactly to put it, matters just as much.
Choosing the Spot and Prepping the Soil
Plums need full sun, six hours minimum, eight is better. Shade cuts fruit production hard and invites fungal problems.
Good drainage is non-negotiable. Plum roots sitting in wet clay for a season is one of the fastest ways to kill a young tree. If your yard holds puddles a day after rain, plant on a slight mound or pick higher ground.
Test your soil’s drainage before you buy anything: dig a hole a foot deep, fill it with water, and see how long it takes to drain. Under an hour is excellent, over four hours means you need to amend or relocate.
Work compost into the planting area but skip heavy fertilizer at planting time, it can burn young roots. Aim for a slightly acidic to neutral soil pH, roughly 6.0 to 6.8.
Here’s the pollination issue mentioned above: most European plum varieties are self-fertile and will set fruit alone, but most Japanese plum varieties need a second, different variety nearby to cross-pollinate. Check your variety’s type before you commit to just one tree.
Soil and sun are half the job, but how you actually get the tree in the ground decides how well those roots take hold.
Planting a Plum Tree Step by Step
1. Size the hole right
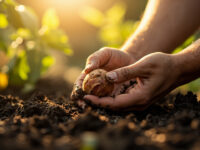
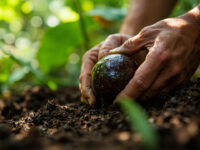
Dig a hole twice as wide as the root ball but no deeper than it. Planting too deep is one of the most common killers of young fruit trees.
2. Find the graft union
Most plums are grafted. That knobby bend near the base of the trunk needs to stay 2 to 3 inches above the final soil line, never buried.
3. Set and backfill
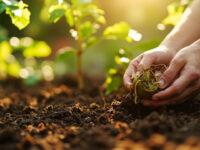
Spread bare roots out naturally in the hole rather than jamming them in a circle. Backfill with native soil mixed with compost, firming gently as you go to remove air pockets.
4. Water in immediately
Give it a slow, deep soak right after planting, 5 to 10 gallons, to settle the soil around the roots.
5. Space for mature size
Standard plum trees need 18 to 20 feet between trees. Dwarf and semi-dwarf varieties can go as close as 8 to 12 feet.
6. Stake if needed
Young trees in windy spots benefit from a loose stake for the first year, removed once the trunk thickens.
Getting it in the ground correctly is only the beginning, what happens over the next few months decides whether it thrives.
Watering and Feeding Through the Season
Water new trees deeply once or twice a week for the first growing season, more often in sandy soil or extreme heat, less in heavy clay or rainy stretches. The goal is consistently moist soil, not soggy.
Check the top few inches of soil with your finger before watering. If it’s still damp, wait a day.
Hold off on fertilizer the first year beyond the initial compost. Starting the second spring, feed with a balanced fertilizer or a fresh layer of compost as buds begin to swell.
Established trees, three years and older, generally need supplemental water only during dry spells, especially in the weeks before harvest when fruit is sizing up.
Now here’s the pruning habit that feels responsible but costs you: many new growers prune hard every winter thinking it keeps the tree tidy and productive.
Heavy annual pruning on a young tree actually delays fruiting, since plums bear on wood that’s a year or two old. Light shaping in the first few years, saving harder pruning for mature trees, gets you fruit sooner.
A well-watered, lightly pruned tree still has to survive the pests and diseases waiting for it, so let’s cover those next.
Problems That Actually Show Up on Plums
Brown rot is the big one, a fungal disease that turns ripening fruit soft, brown, and fuzzy almost overnight in humid weather. Good airflow from proper spacing and pruning, plus cleaning up fallen fruit promptly, is your best defense. Fungicide labeled for brown rot can help in bad years if applied following the label exactly.
Black knot shows up as ugly, dark, swollen growths on branches. Prune out affected wood well below the swelling during dormant season and destroy it, don’t compost it.
Plum curculio, a small weevil, causes crescent-shaped scars on young fruit and can cause significant drop. Cleaning up dropped fruit and using sticky traps or labeled insecticides at petal fall reduces damage.
Aphids and scale are common but rarely fatal, usually manageable with horticultural oil applied per label directions in early spring.
Deer and birds will also take their share, netting and fencing are the reliable, low-drama fixes.
None of this is as scary as it sounds if you catch it early, and the reward for staying ahead of it is what you clicked here for in the first place: the harvest.
When and How to Harvest Plums
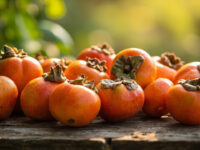
Plums typically ripen from mid to late summer depending on variety and climate, generally 3 to 5 months after bloom. A tree usually starts producing meaningful fruit in its third or fourth year.
Here’s the misread sign: color change alone doesn’t mean ripe. Many varieties reach full color days before they’re actually ready, which is why so many home-grown plums get picked too early and taste sharp and starchy instead of sweet.
The real test is a gentle twist and a slight give. A ripe plum releases from the stem with barely any tug and yields softly to gentle pressure near the stem end.
Smell is a good backup cue too, ripe plums usually have a noticeable sweet fragrance right at the fruit’s surface.
Plums don’t all ripen at once, expect to pick over a two to three week window, checking every couple of days once color starts developing.
Everything above is the full season in order, but if you just want the numbers without the story, that’s exactly what’s waiting below.
Plums at a Glance
- When to plant: late winter to early spring while dormant, once soil is workable and not frozen or waterlogged.
- Sun and soil: full sun, six to eight hours daily, well-drained soil with a pH around 6.0 to 6.8.
- Spacing: 18 to 20 feet for standard trees, 8 to 12 feet for dwarf or semi-dwarf varieties.
- Planting depth: hole as deep as the root ball, twice as wide, graft union 2 to 3 inches above soil line.
- Pollination: European types are usually self-fertile, Japanese types generally need a second compatible variety nearby.
- Time to first harvest: two to four years after planting.
- Harvest timing: mid to late summer, when fruit gives slightly and releases from the stem with a gentle twist.
Get the site, the pollination partner, and the planting depth right, and most of the rest of growing plums is just patience.
Ripeness is a feel and a smell, not just a color, remember that at pick time and you’ll finally taste what a homegrown plum is supposed to taste like.