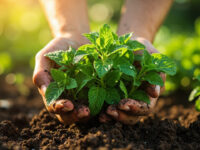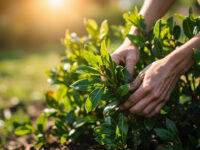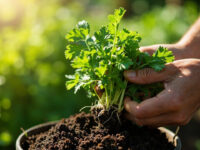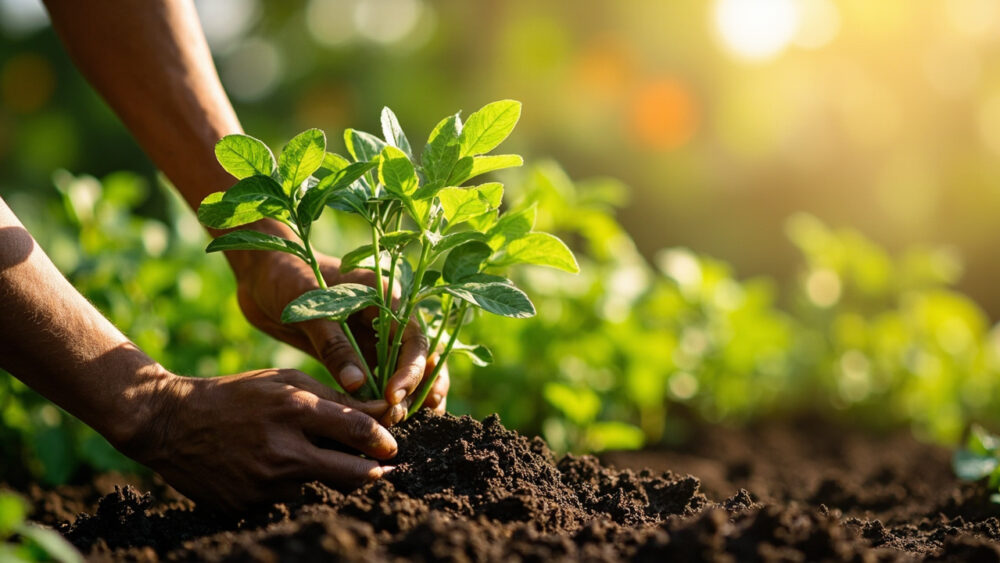
Growing ashwagandha means starting seeds indoors 6 to 8 weeks before your last frost, moving transplants out once nights stay above 50°F, and giving the plant a long, hot, dry-ish stretch to bulk up its roots before a fall harvest. It behaves more like a tough desert shrub than a delicate herb, and treating it like one is exactly where most people go wrong. This is a 120 to 150 day crop, and it wants heat and neglect far more than it wants pampering.
Here is where it gets specific. There is one watering habit that will rot the root you’re actually growing this plant for, and it is not the mistake you’d assume. There is also a very obvious visual sign of “done” that most first-time growers miss because they’re staring at the leaves instead of the base of the plant.
Stick with this guide through soil prep, planting, feeding, and the harvest signs, and save the Ashwagandha at a Glance card at the bottom for the exact numbers you’ll want on hand once you’re standing in the garden with a trowel.
When to Plant Ashwagandha
Ashwagandha is frost-tender and slow to size up, so timing starts indoors. Start seeds 6 to 8 weeks before your average last frost date, in a warm spot, ideally with soil temperature around 70 to 80°F. Germination is uneven and can take 10 to 14 days, sometimes longer, so don’t panic at day 5.
Do not transplant outside until nighttime temperatures reliably sit above 50°F. This plant does not shrug off cold the way kale does. A late cold snap will stall or kill young transplants outright.
In most zones this means transplanting 2 to 3 weeks after your last frost, once the soil itself has warmed, not just the air. Gardeners in zone 8 and warmer can direct-sow once soil hits 65 to 70°F, skipping the indoor start entirely.
Get the timing right and the next decision, where you actually put this thing, matters just as much.
Choosing the Spot and Prepping the Soil
Ashwagandha wants full sun, 6 or more hours a day, and it wants soil on the lean, well-drained side. This is a plant that evolved in dry, poor soil, and rich, moisture-retentive beds are more likely to hurt it than help it.
If you assumed richer soil grows a bigger rootthat assumption is the mistake that ruins most attempts. Heavily amended, high-nitrogen beds push lush top growth instead, at the expense of the root, and wet, dense soil is the single fastest way to rot that root before fall ever arrives.
Aim for sandy loam or amend heavy clay with coarse sand and a modest amount of compost, not a heavy dose. A soil pH between 6.0 and 7.5 is fine. Raised beds or mounded rows help enormously if your native soil holds water.
Get the bed lean and well-drained now, because planting technique can’t fix a soggy spot later.
Planting Ashwagandha Step by Step
Starting and Transplanting
- Sow seeds 1/4 inch deep in seed trays or small pots, barely covering them, since they need some light to germinate well.
- Keep soil consistently moist but never soggy until germination, then ease off watering slightly.
- Harden off transplants over 7 to 10 days once nights are reliably above 50°F.
- Space plants 18 to 24 inches apart in rows 24 to 30 inches apart. Ashwagandha branches out into a sprawling, shrubby plant 2 to 3 feet tall and wide, and crowding it invites poor airflow and disease.
- Transplant at the same depth the seedling was growing at in its pot, firm the soil gently, and water in once to settle it.
If you’re direct-sowing in warm-climate soil, plant a few seeds per spot and thin to the strongest single seedling once they’re a couple inches tall.
Once plants are in the ground, the temptation is to baby them, and that’s exactly the habit you need to unlearn next.
Watering and Feeding Through the Season
Water regularly for the first 3 to 4 weeks after transplanting to establish roots, keeping soil lightly moist about an inch down. After that, back off hard.
Established ashwagandha wants infrequent, deep watering, roughly once a week in average conditions, less in humid climates, more only during extended heat above 95°F with no rain. Check the soil an inch or two down; if it’s still damp, wait.
This is the root-rot habit mentioned earlier: consistent, generous watering meant to be helpful is the number one killer of mature plants. Ashwagandha is drought-tolerant once established, and treating it like a thirsty vegetable drowns the root you’re trying to grow.
Skip heavy feeding. A single light application of balanced fertilizer or an inch of compost worked in at planting time is usually enough for the whole season. Overfeeding, especially with nitrogen, produces a leafy, floppy plant with a disappointing root.
Even a well-watered, well-fed plant runs into trouble, and knowing what trouble looks like early saves the season.
Problems to Watch For
Ashwagandha is genuinely low-maintenance, but a few issues show up reliably. Root rot from overwatering or poor drainage is the big one, showing up as yellowing lower leaves and a mushy, dark base. There’s no fixing an already-rotten root; prevention through dry soil and drainage is the only real defense.
Aphids and spider mites occasionally show up in hot, dry weather, clustering on stems and the undersides of leaves. A strong spray of water or an insecticidal soap applied per the product label usually handles light infestations.
Damping off can kill seedlings indoors if trays are overwatered or crowded. Thin seedlings and let the surface dry slightly between waterings to avoid it.
Powdery mildew can appear in humid climates with poor airflow, showing as a white dusty coating on leaves. Wider spacing and morning watering (not evening) largely prevent it.
None of these are common enough to worry over daily, but knowing the signs means you catch them before they cost you the root.
Speaking of the root, that’s the whole point of growing this plant, so let’s talk about when it’s actually ready.
When and How to Harvest Ashwagandha
Ashwagandha matures in 120 to 150 days from transplant, and the harvest window is after the growing season slowstypically once nights cool in fall and before the ground freezes. Small orange-red berries inside papery lantern-like husks appear mid-season, and those husks are a nice visual marker of a healthy, mature plant, but they are not your harvest signal.
The real sign is at the base, not up in the leaves, which is the detail most new growers miss entirely. As the plant matures, foliage yellows and begins to die back, and the root has thickened and firmed underground.
Dig, don’t pull. Loosen soil well outside the root zone with a garden fork and lift gently. Ashwagandha roots run 8 to 12 inches deep or more and snap off easily if you yank the stem.
Wash roots, slice them if thick for faster drying, and dry them somewhere warm and well-ventilated out of direct sun until they snap cleanly rather than bend. Store dried root in an airtight container out of light.
One honest note: ashwagandha is not appropriate for everyone to consume, including during pregnancy, and if you or a pet ever ingests any part of the plant with concerning symptoms, contact a doctor or veterinarian rather than waiting it out.
Everything you need to remember about the whole process is right here, saved and ready to check on your phone.
Ashwagandha at a Glance
- When to plant: Start seeds indoors 6 to 8 weeks before last frost, transplant 2 to 3 weeks after last frost once nights stay above 50°F.
- Sun and soil: Full sun, 6 or more hours daily, in lean, sandy, well-drained soil with pH 6.0 to 7.5.
- Spacing and depth: Sow 1/4 inch deep, space plants 18 to 24 inches apart in rows 24 to 30 inches apart.
- Watering: Keep evenly moist for the first 3 to 4 weeks, then water deeply about once a week, letting soil dry an inch down between waterings.
- Feeding: One light feeding or an inch of compost at planting is usually enough for the season.
- Watch for: Root rot from overwatering, occasional aphids or spider mites, damping off in seedlings.
- Harvest: 120 to 150 days after transplant, once foliage yellows and dies back in fall. Dig roots with a fork rather than pulling.
Get the soil dry and lean, and resist the urge to water like you would a tomato. That single habit shift is what separates a spindly plant from a root worth digging up.