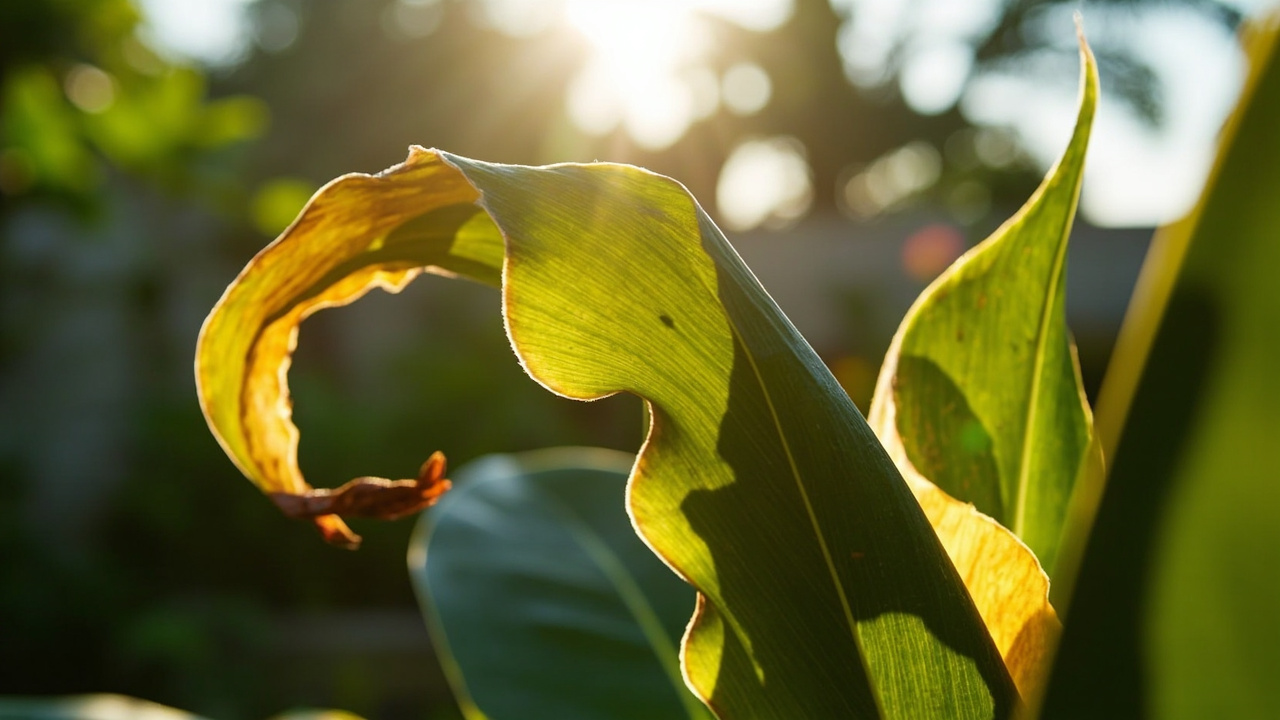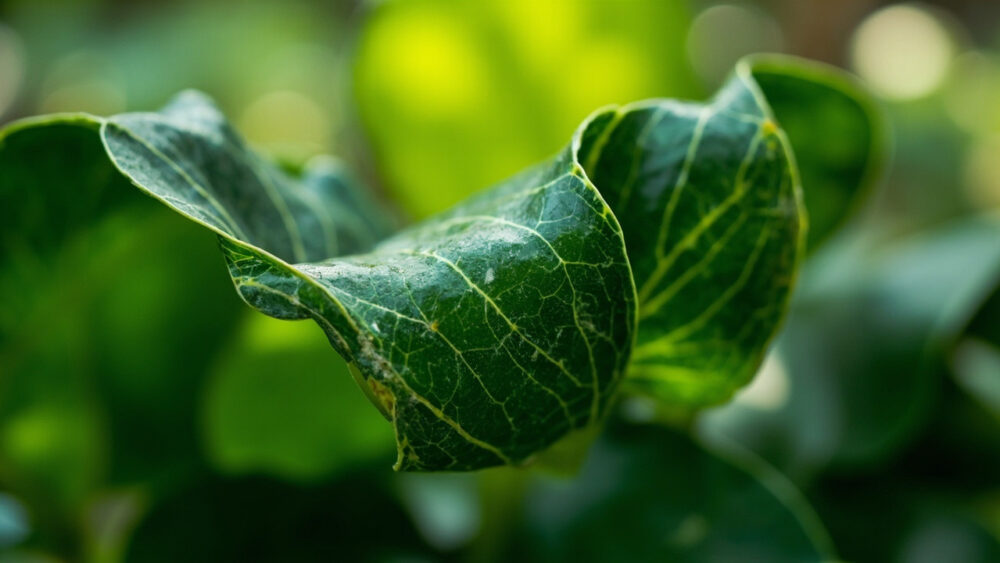
Nine times out of ten, rubber plant leaves curling means the roots are thirsty or they were recently, either from underwatering or from soil that’s gone bone dry between waterings for too long. The fix is usually a deep, thorough watering and a better routine going forward, not a new pot or a humidifier. But that’s not the only cause, and guessing wrong wastes weeks on a plant that can’t afford them.
Most people blame low humidity first. It’s rarely the actual reason, and chasing it with pebble trays while the real problem festers is how a curling plant turns into a dropping one.
The detail that tells you which cause is yours is where the curling starts on the plant, old growth or new, and whether it comes with browning edges, dark blotches, or nothing but the curl itself. Stick around for the tell-apart guide, an honest recovery timeline, and the two-minute diagnosis checklist waiting at the bottom of this page.
Most Likely Causes, Ranked
1. Underwatering or Inconsistent Watering
This is the top cause by a wide margin. Rubber plants curl their leaves inward to reduce the surface area exposed to air when roots can’t pull up enough water.
Confirm it: push a finger 2 inches into the soil. If it’s dry at that depth and the pot feels light for its size, this is your cause. Check the leaves too, they’ll feel slightly soft or limp rather than crisp.
Fix it: water thoroughly until it runs from the drainage holes, let the top 1 to 2 inches dry between waterings going forward, and stop eyeballing it, use your finger or a moisture meter every time.
If the soil is actually wet, though, you’re looking at the opposite problem entirely.
2. Overwatering and Root Rot
Waterlogged soil suffocates roots, and damaged roots can’t move water up even though there’s plenty in the pot. The leaves curl and often feel thicker or rubbery in a different way, sometimes with yellowing at the base.
Confirm it: soil is wet or soggy days after the last watering, the pot feels heavy, and you may notice a sour or musty smell. Slide the plant out and check for roots that are brown and mushy instead of firm and white or tan.
Fix it: stop watering, let the soil dry out significantly, and if roots are rotted, trim the dead ones with clean shears and repot into fresh, fast-draining soil. Always check for drainage holes before you water again.
Light comes next, and it’s the cause most people never think to check.
3. Too Much Direct Sun or Heat Stress
A rubber plant moved to a bright south or west window, or one sitting near a heat vent, can curl its leaves to shield them from scorching. This often shows up alongside dry, papery patches or a bleached look on the leaf surface.
Confirm it: the curling leaves face the strongest light source, and you’ll usually see some bleaching, crispy edges, or a faded color on the sun-facing side specifically.
Fix it: move the plant back a few feet from direct afternoon sun or add a sheer curtain, and keep it at least a foot from radiators, vents, and space heaters.
If light and water both check out clean, the air itself might be working against you.
4. Low Humidity or Sudden Temperature Swings
Rubber plants tolerate average home humidity fine, but a sudden drop, like a furnace kicking on for the season or a plant parked next to a drafty window, can cause mild curling as a stress response.
Confirm it: the curling is mild, affects newer leaves more than old, and started right after a change in the room, cold snap, a moved thermostat, a draft from a door left open.
Fix it: relocate away from drafts and vents, and if your home runs very dry in winter, a humidifier nearby helps, though it’s a minor fix compared to correcting the temperature swing itself.
Sometimes the cause isn’t environmental at all, it’s what’s feeding the plant, or what’s eating it.
5. Fertilizer Buildup or Nutrient Stress
Too much fertilizer, or fertilizing a plant that’s already stressed, can burn root tips and cause curling along with crispy brown leaf margins. A white crust on the soil surface or pot rim is a giveaway.
Confirm it: you’ve been feeding regularly, especially in fall or winter when growth slows, and you see that crusty mineral buildup or brown, brittle edges on otherwise healthy-looking leaves.
Fix it: flush the soil with plain water, roughly equal to three times the pot’s volume, letting it drain fully, and skip fertilizer for a couple of months. Feed only during active spring and summer growth from here on.
6. Pests, Especially Spider Mites or Thrips
Sap-sucking pests distort leaf tissue as they feed, causing curling, stippling, or a dull, dusty look on the underside.
Confirm it: flip the leaves over with a bright light and look for tiny moving specks, fine webbing near the veins, or a speckled, sandpaper texture on the surface.
Fix it: isolate the plant, rinse leaves under lukewarm water, and treat with insecticidal soap or a horticultural oil, following the product label exactly on timing and repeat applications.
With six possible culprits, the real skill is reading the plant’s pattern, not just its symptom.
How to Tell the Causes Apart
Where the curling starts matters as much as the curl itself. New growth curling first points toward humidity swings, drafts, or early pest activity. Older, lower leaves curling points toward water stress, either too much or too little.
Check the soil before anything else, dry and light means underwatering, wet and heavy means overwatering or rot.
Look at which side of the plant is affected. One-sided curling that matches the window direction is almost always light or heat, not water.
Crusty white residue on soil or pot edges says fertilizer. Sticky residue, webbing, or visible specks say pests.
Once you’ve matched the pattern to a cause, the next question is the one everyone actually wants answered.
Will It Recover?
A curled leaf itself usually does not uncurl back to its original flat shape once the damage is done. The good news is new growth coming in after you fix the cause will look normal.
Underwatering and light stress recover fastest, often showing healthier new leaves within 3 to 6 weeks of correcting the routine.
Overwatering and root rot take longer and are genuinely serious if caught late. Mild rot recovers in a couple of months with repotting; extensive black, mushy roots mean the plant may not pull through, and it’s fair to cut losses if more than half the root system is gone.
Pest infestations and fertilizer burn resolve in 4 to 8 weeks once the cause is removed, though severely burned leaves won’t recover and should be trimmed off once new growth appears.
Whatever the outcome this time, the real win is not doing this diagnosis again next season.
How to Keep It From Happening Again
Water on a check-first schedule, not a calendar. Stick a finger in the soil every 7 to 10 days and only water when the top couple inches are dry.
Use a pot with drainage holes, always, and a soil mix that drains fast, a standard houseplant mix with some perlite worked in does the job well.
Keep the plant a few feet from direct hot sun and away from vents, radiators, and drafty doors.
Feed lightly only during spring and summer active growth, and skip it entirely in fall and winter.
Inspect the undersides of leaves once a month, catching pests early is far easier than treating an established infestation.
Now here’s the two-minute rundown to run right now, at the plant, before you touch a watering can.
Diagnosis Checklist
- Push a finger 2 inches into the soil: if dry, suspect underwatering, if wet or soggy, suspect overwatering or root rot.
- Lift the pot to check its weight: unusually light points to dry roots, unusually heavy points to waterlogged soil.
- Check where the curling starts: older lower leaves point to water stress, new top growth points to drafts, humidity, or pests.
- Look for a directional pattern: curling only on the window-facing side points to sun or heat, not water.
- Inspect leaf undersides with good light: specks, webbing, or a gritty texture confirm pests.
- Check the soil surface and pot rim: white, crusty buildup confirms fertilizer stress.
- If soil is soggy, slide the plant out and check roots: firm and pale means it’s early, brown and mushy means rot has set in.
- Match your findings to the matching fix above, then commit to it for at least 3 to 6 weeks before judging results.
Rubber plants are forgiving once you get the routine right, and most curling cases end with a full comeback.
Fix the cause, be patient with the new growth, and the next flush of leaves will tell you whether you got it right.