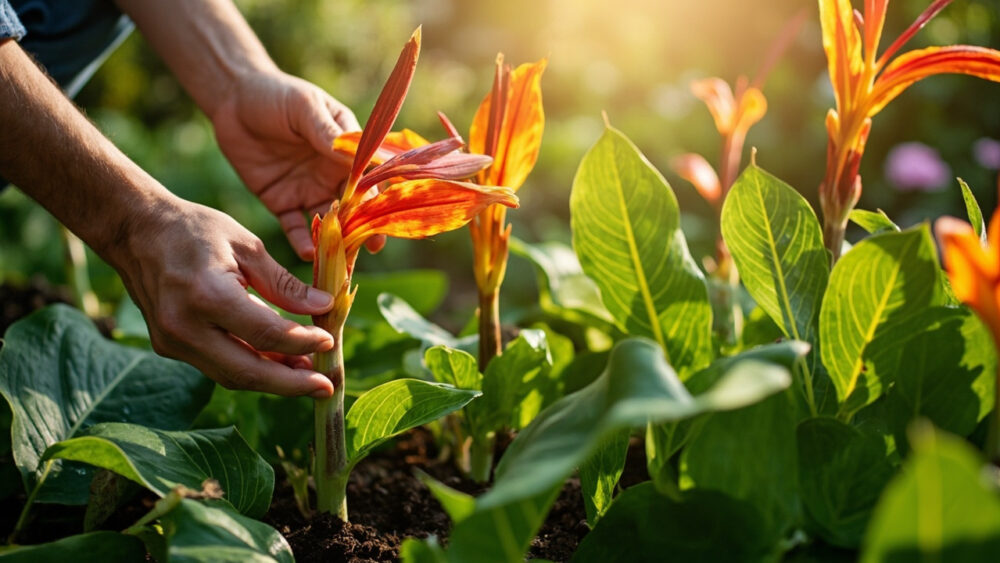
Canna lilies want full sun, consistently moist soil, and warmth. Give them six or more hours of direct light, water enough that the soil never dries out completely, and rich soil with regular feeding, and they will throw up glossy paddle leaves and hot-colored blooms from early summer until frost. That is how to care for canna lilies in one breath, but the details decide whether you get four-foot stalks loaded with flowers or a sulking clump that never quite gets going.
Here is what trips people up. Most canna failures are not a light or water problem, they are a cold or a cramped-roots problem, and the plant will not tell you that in a way you expect. There is also a sign of “too dry” that most people mistake for a disease, and a very common feeding mistake that produces huge leaves and almost no flowers.
I will walk through all of it: placement, watering, feeding, the seasonal tasks that matter, what actually attacks cannas, and how to read a genuinely happy plant. Save-able specifics, the kind you want pulled up on your phone while standing at the plant, are waiting in the “Canna Lilies at a Glance” card at the very bottom.
Light, Placement, and Temperature
Cannas need full sun, at least six hours, to bloom well. In light shade they will grow tall, leafy, and mostly flowerless, stretching toward whatever sun they can find.
They also need heat. Canna rhizomes stay dormant until soil temperature climbs into the mid 60s Fahrenheit, so planting into cold spring soil just stalls them, they will sit there doing nothing while they rot risk climbs.
This is the cold problem people misread. A canna that is slow to emerge in spring looks sick, but it is usually just waiting on soil warmth, not suffering from a pest or disease.
Plant or move containers outside two to three weeks after your last frost date, once nights are reliably above 50 F.
Next comes the part almost everyone gets wrong on the water side, and it is not what you’d guess.
Watering: How Much, How Often, and How to Tell
Cannas are thirsty. Many varieties grow naturally at pond edges, and in a garden bed or container they want soil that stays evenly moist, never bone dry, through the entire growing season.
Check by pushing a finger two inches down. If it comes out dry, water deeply until it runs from the pot’s drainage holes or soaks the bed thoroughly.
In summer heat, containers may need water daily, in-ground plantings two to three times a week without rain.
Here’s the sign people misread: brown, crispy leaf edges look like a fungal disease to a lot of gardeners, but on cannas that crisping is almost always underwatering or a hard, dry wind, not a pathogen. Check soil moisture before you reach for a fungicide.
Overwatering has its own tell, a mushy base and yellowing lower leaves, and it means the soil is not draining at all.
Get the water right and the soil underneath needs to back it up, which is where feeding comes in.
Soil, Potting Mix, and Feeding
Cannas want rich, well-draining soil that still holds moisture, think heavy loam improved with compost, not sand and not dense clay that sits wet and cold. In containers, use a quality potting mix and skip the ones marketed as “moisture control” alone, which don’t drain fast enough once roots fill the pot.
Feed monthly through the growing season with a balanced fertilizer, or work a slow-release granular into the soil at planting.
Here’s the feeding mistake that costs you flowers: too much nitrogen, especially from lawn fertilizer runoff or over-enthusiastic feeding, builds enormous leaves and very few blooms. If your canna looks lush but refuses to flower, ease off nitrogen and lean toward a bloom-formulated feed with more phosphorus and potassium.
Good soil and steady feeding get you growth, but cannas also need a few hands-on jobs at the right time.
Pruning, Repotting, and Seasonal Cleanup
Deadhead spent flower spikes by cutting the whole stalk down to the base once its blooms finish, new stalks keep coming from the rhizome all season. Remove any yellowed or storm-damaged leaves as you see them, cutting at the base rather than tearing.
Repot or divide container cannas every one to two years, or whenever the rhizomes have circled the pot and roots crowd out soil. Spring, just as new growth starts, is the right time.
In the ground, divide clumps every three to four years to keep them blooming heavily, overcrowded rhizomes compete for water and nutrients and flowering drops off.
In zones colder than USDA zone 7, canna rhizomes will not survive winter in the ground. After the first hard frost blackens the foliage, cut stalks to about six inches, dig the rhizomes, let them air dry a day, and store them in dry peat or vermiculite somewhere cool and frost-free, around 45 to 55 F, until spring.
Skip that dig-and-store step in a cold climate and you are buying new rhizomes every year, which is a fine choice but worth knowing you’re making it.
Problems Most Likely to Strike
Canna leaf rollers are the most common pest, small caterpillars that roll leaves and feed inside, leaving ragged holes in a telltale pattern as the leaf unfurls. Pick off and destroy rolled leaves early, and for bad infestations a product labeled for caterpillars on ornamentals, used exactly per its label, will knock them back.
Japanese beetles chew ragged holes in full sun on hot afternoons, hand-picking into soapy water works for light numbers.
Canna rust, orange-brown spots on the leaf undersides, shows up in humid, crowded plantings with poor air circulation. Remove affected leaves and improve spacing, since fungicide is rarely necessary if you catch it early.
The rot problem is the one that actually kills the plant: rhizomes sitting in cold, waterlogged soil will soften and blacken, and there is no reviving a fully rotted rhizome, only cutting away the mush and hoping some firm tissue is left.
Catch any of these early and cannas shrug them off, which brings us to what “doing well” actually looks like.
How to Tell a Canna Is Genuinely Thriving
A thriving canna pushes new leaf shoots continuously through the season, not just once in spring. Each new leaf should unroll a deeper, cleaner color than the tattered look of pest damage.
Flower stalks should keep coming from the base for weeks, not a single bloom cycle that fizzles. Foliage stays upright and glossy rather than folding or crisping at midday, that midday fold is often the plant asking for water right now, before real damage sets in.
By late summer, a well-fed canna clump should look noticeably fuller than it did in June, with multiple stalks instead of one or two. That spread is the rhizome multiplying underground, which is exactly what you want if you plan to divide it next spring.
Everything above is the reasoning, here is the version you actually want saved.
Canna Lilies at a Glance
- When to plant: two to three weeks after your last frost, once soil is at least in the mid 60s F.
- Light: full sun, six or more hours daily, for strong flowering.
- Spacing and depth: plant rhizomes 4 to 6 inches deep, spaced 18 to 24 inches apart.
- Watering: keep soil consistently moist, check two inches down, water when it’s dry.
- Feeding: balanced fertilizer monthly, favor phosphorus and potassium if leaves are lush but flowers are scarce.
- Winter care: below USDA zone 7, dig rhizomes after first frost and store cool and dry until spring.
- Watch for: leaf rollers, Japanese beetles, canna rust, and rhizome rot from soggy, cold soil.
Get the sun, the water, and the winter plan right, and cannas forgive almost everything else. Everything harder they throw at you traces back to one of those three.