The method that actually works for propagating a yucca is stem cuttings, cut a section of cane 4 to 6 inches long, let the cut end callus over for two to three days, then set it in dry, gritty soil until roots form. Offsets (the little pups growing at the base) work too and root faster, but not every yucca throws them. If you take one thing from this page, take this: the fastest way to kill a yucca cutting is to plant it wet, not to plant it wrong.
Most people who fail at this fail for one of three reasons, and none of them are the reason they think. There’s a step almost everyone skips that has nothing to do with rooting hormone. There’s also a sign of success that looks exactly like failure for the first three or four weeks, and if you don’t know what you’re looking at, you’ll toss a perfectly good cutting in the trash.
Stick around and you’ll get all of it, plus a save-able Yucca Plant at a Glance card at the bottom with the numbers you’ll actually want on your phone this weekend.
Why Cane Cuttings Beat Every Other Method
Yuccas store water and energy in thick, fibrous stems, which is exactly why cane cuttings root so reliably. A chunk of that cane has enough reserve to sit in dry soil for weeks, pushing out roots before it ever needs to drink. Leaf cuttings don’t work, yucca leaves have no capacity to generate new roots or a growing point on their own.
Seed is an option too, but it’s slow and the results are inconsistent unless you’re growing species yucca outdoors in a warm climate. For a houseplant or a leggy outdoor yucca that’s outgrown its space, cane cuttings and offset division are the two methods worth your time.
The offset route is faster when you have the option. Pups that form at the base already have their own root initials starting, so they skip weeks of waiting.
Here’s exactly how to take either one and give it the best possible odds.
Step by Step: Taking and Rooting Your Cutting
Taking the cutting or division
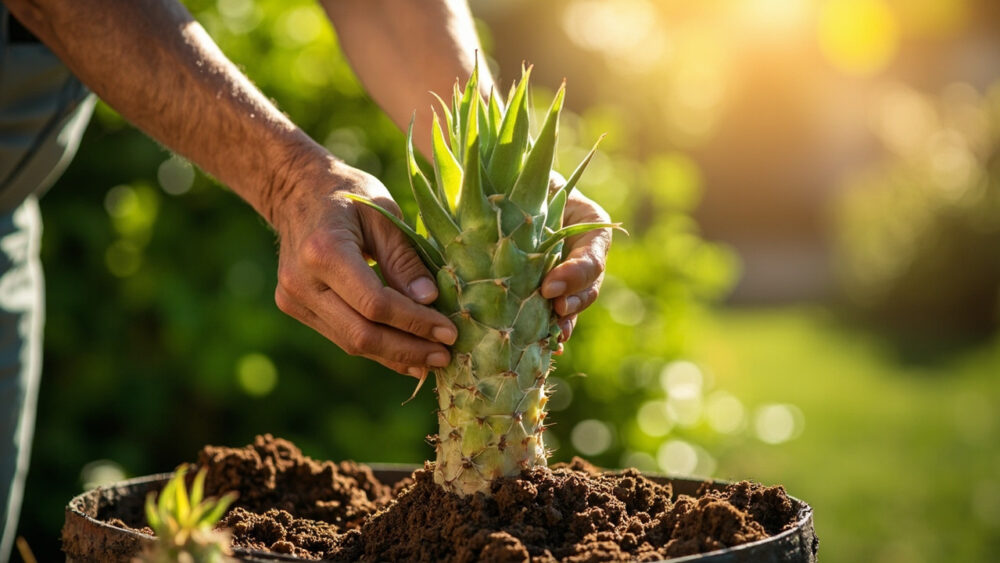
For a cane cutting, use clean, sharp pruners or a saw for thick canes, and cut straight across a section 4 to 6 inches long. You can take multiple sections from one tall cane, each piece with at least one growth node can root.
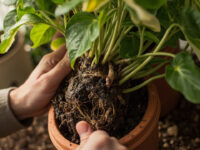
For an offset, dig down at the base of the mother plant and look for the pup’s own root mass. Slice it away from the parent with a clean knife, keeping as many of its own roots attached as possible.
This is the step everyone skips: let the cut surface dry and callus for two to three days in open air, out of direct sun. Skip this and the raw wound sits in moist soil and rots before it ever gets the chance to root, which is the single most common reason cuttings fail.
Rooting medium and setup
Use a fast-draining mix, half potting soil and half coarse sand or perlite works well. Bury the callused end 1 to 2 inches deep, just enough to hold the cutting upright.
Do not water it yet. Set the pot somewhere bright but out of direct hot sun, and somewhere warm, 70 to 80°F is the sweet spot.
Now comes the part where nothing visible happens for a while, and that’s normal.
The Timeline: What to Expect Week by Week
Weeks 1 and 2: nothing. The cutting looks exactly like it did on planting day. This is where most people panic and start second-guessing themselves.
If you assumed no visible growth means it’s failing, that guess is wrong more often than it’s right with yucca. Roots are forming underground long before you see anything on top, and a yucca cane can sit still for a month with zero drama while it quietly builds a root system.
Weeks 3 to 6: gently tug the cutting. Resistance means roots have taken hold. You may also see the cutting firm up rather than soften, a soft or mushy cane at this point means rot, not dormancy, and that piece won’t recover.
Weeks 6 to 10: new growth appears at the top, a small spike of fresh leaves pushing out of the growing point. This is your actual confirmation, not the tug test, that you’ve got a rooted plant.
Once you see that new growth, it’s time to think about watering it like a real plant again.
When and How to Pot Up or Plant Out
Start watering lightly once you see new top growth or feel firm root resistance, whichever comes first. Water only when the top 2 inches of soil are fully dry, yucca cuttings rot faster from overwatering than they ever do from neglect.
Once roots are established, usually 6 to 10 weeks in, you can move the cutting into a slightly larger pot with a standard cactus or succulent mix. Wait for at least 2 to 3 inches of new root growth before transplanting outdoors.
For outdoor planting, wait until nighttime temperatures are reliably above 40°F and there’s no frost risk in the forecast. Space plants 2 to 3 feet apart, yuccas get wide as they mature, and give them full sun and soil that drains fast, they hate wet feet more than almost anything else you’ll grow.
Even with good timing, some attempts still don’t take, and it usually comes down to one of a short list of mistakes.
Why Most Attempts Fail (and the Fix)
Rot is the number one killer, caused by skipping the callus period or watering too soon. The fix is simple discipline: dry cut, dry soil, patience.
Cold, damp conditions are the second biggest problem. A cutting sitting in a chilly, dim spot roots slowly if at all, and slow rooting gives rot more time to win the race.
- Mistake: planting the cut end while still wet or fresh, invites rot immediately.
- Mistake: watering on a schedule instead of checking the soil, drowns new roots before they form.
- Mistake: using heavy, water-retentive potting soil with no grit mixed in.
- Mistake: giving up at week 2 because nothing looks like it’s happening yet.
Get those four things right and yucca propagation is genuinely forgiving, this is a tough, drought-built plant that wants you to do less, not more.
If you’re keeping notes, here’s everything condensed into one card worth saving.
Yucca Plant at a Glance
- Best method: cane cuttings 4 to 6 inches long, or offset division if pups are present at the base.
- Timing: take cuttings any time indoors, or in spring through early summer if working outdoors.
- Before planting: let the cut end callus and dry for 2 to 3 days before it touches soil.
- Rooting medium: half potting soil, half sand or perlite, planted 1 to 2 inches deep.
- Conditions: bright indirect light, 70 to 80°F, no water until roots or new growth appear.
- Timeline: root resistance by weeks 3 to 6, visible new top growth by weeks 6 to 10.
- Outdoor spacing: 2 to 3 feet apart, full sun, fast-draining soil, no frost in the forecast.
Patience beats fussing every time with this plant.
Give it a dry start, warm light, and a few quiet weeks, and the roots will do the rest on their own schedule.