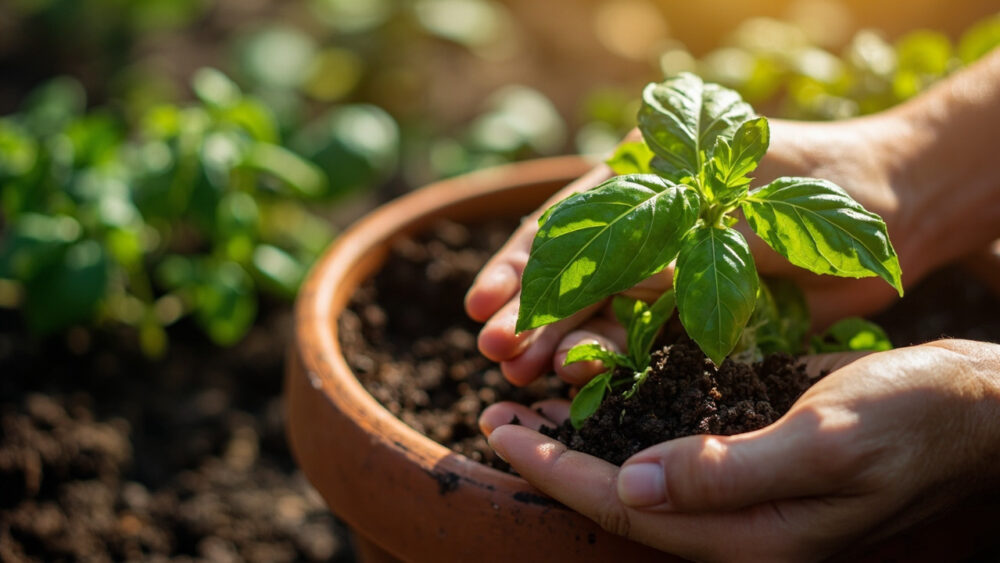
Snip a 4 to 6 inch stem below a leaf node, strip the lower leaves, and stand it in a glass of water on a bright windowsill. That is genuinely most of it when you’re learning how to grow basil from cuttings. Roots show up in 7 to 14 days, and you’ll have a plantable rooted cutting in about three weeks, no rooting hormone or grow light required.
But here’s what nobody tells you until after they’ve killed their first batch: the cutting that looks most alive right now is often the one least likely to root. There’s also a very specific water habit that quietly drowns more basil cuttings than dry soil ever kills a houseplant. And once roots do show up, most people pot up too late or too fast, both of which cost you the whole cutting.
I’ll walk through why this method beats seed for basil, exactly how to cut and root one, what each week actually looks like, and the mistakes that explain almost every failed attempt. Save-able specifics, including spacing and timing at a glance, are in the card at the very bottom.
Why Cuttings Beat Starting Basil From Seed
Basil roots in water faster and more reliably than almost any other kitchen herb, which is why cuttings are worth the extra step instead of just tossing seed.
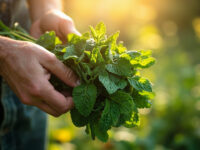
A cutting skips the slow part. Seed-started basil needs 2 to 3 weeks just to germinate and get true leaves going. A cutting from an established plant is already weeks ahead, and it’s a genetic clone of a plant you know tastes good and grows well.
It’s also the only real way to multiply a specific basil plant you already like, whether that’s a Genovese you bought at a nursery or a Thai basil a neighbor gave you a few sprigs of.
The catch is that not every stem you cut is going to root, and that’s where most people go wrong first.
Step by Step: Taking and Rooting the Cutting
Choosing and taking the cutting
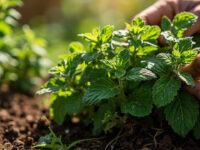
Skip the biggest, most flowering stem. That’s the guess almost everyone makes, reaching for the lushest, tallest stem because it looks the healthiest. It’s actually the worst choice: mature, woody, or flowering stems root slowly and often rot before they root at all.
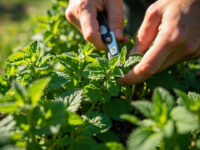
What you want instead is a young, green, non-flowering side shoot, 4 to 6 inches long, pencil-thick or thinner, cut just below a leaf node with clean scissors or a sharp knife.
Strip off the bottom two sets of leaves so you have a bare stem for the lower 2 inches, and pinch off any flower buds.
Rooting medium and conditions
Plain water works better than soil for the rooting stage. Use a glass or jar, submerge the bare stem so at least one or two leaf nodes are underwater, and keep all leaves above the surface.
Set it on a bright windowsill with indirect light, not direct blasting sun, which can cook cuttings in water. Room temperature around 65 to 75°F is ideal.
Change the water every 2 to 3 days.
Week by Week: What to Actually Expect
Week one looks like nothing is happening, and that’s normal. The cutting may droop slightly for the first day or two as it adjusts, then perk back up.
By the end of week one, you’ll often see small white bumps forming at the submerged nodes. Those are root initials, not roots yet.
Week two is when real roots appear, thin white threads an inch or so long. This is also when the water-changing habit matters most, because warm, still water at this stage is exactly what turns a promising cutting into a slimy, rotten one.
Week three the roots should be 2 to 3 inches long with visible branching, and new tiny leaves may start showing at the top. That’s your signal it’s ready for soil.
Roots this long are also fragile, which changes how you handle the next step.
Potting Up: When and How
Wait for 2 to 3 inches of root, not just “some” root. Potting up too early, at the first sign of a root nub, is the second most common way people lose these cuttings. Young roots grown in water aren’t built for soil yet and can stall or rot when buried too soon.
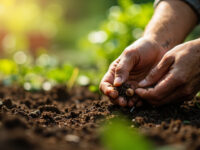
Once roots are 2 to 3 inches long, plant the cutting in a 4 to 6 inch pot of well-draining potting mix, burying the stem up to just below the lowest leaves.
Water it in well, then keep the soil consistently moist but not soggy for the first week while the plant transitions from water roots to soil roots, a real adjustment that sometimes causes a little droop even in a healthy cutting.
Give it bright light, but ease it into direct sun over a few days rather than moving it straight from a windowsill into full afternoon sun.
If you’re planting outdoors, wait until night temperatures are reliably above 50°F, generally 2 to 3 weeks after your last frost date, and space plants 10 to 12 inches apart.
Getting the timing right here matters less than avoiding the handful of mistakes that sink most attempts before they even get this far.
Why Basil Cuttings Fail, and the Fixes
Almost every failed attempt traces back to one of these:
- Rot at the base: caused by leaves touching water or water going stale. Strip leaves higher up the stem and change water every 2 to 3 days.
- No roots after three weeks: usually a stem that was too mature or flowering. Start over with a younger, non-flowering shoot.
- Cutting collapses after potting: almost always potted up too early with underdeveloped roots. Wait for 2 to 3 inches of visible root next time.
- Leggy, pale growth: not enough light. Basil wants bright indirect light while rooting and full sun once it’s in soil outdoors.
- Sudden wilt outdoors after transplanting: cold shock. Basil is tender and damages easily below 50°F, even if frost never touches it.
Fix the one that matches what you’re seeing, and the next cutting almost always takes.
Basil at a Glance
- Best cutting to take: a young, non-flowering side shoot, 4 to 6 inches long, cut just below a leaf node.
- Rooting medium: plain water, changed every 2 to 3 days, in a bright spot out of direct sun.
- Time to roots: 7 to 14 days for first roots, 2 to 3 inches of root by about week three.
- When to pot up: once roots reach 2 to 3 inches long, not at the first sign of a root nub.
- Planting depth and spacing: bury the stem to just below the lowest leaves, space plants 10 to 12 inches apart.
- Outdoor timing: move outside once nights stay above 50°F, roughly 2 to 3 weeks after last frost.
- Light needs: bright indirect light while rooting, full sun once established in soil.
Pick the right stem and change the water on schedule, and basil roots almost on its own. Everything else is just patience and not rushing the pot.