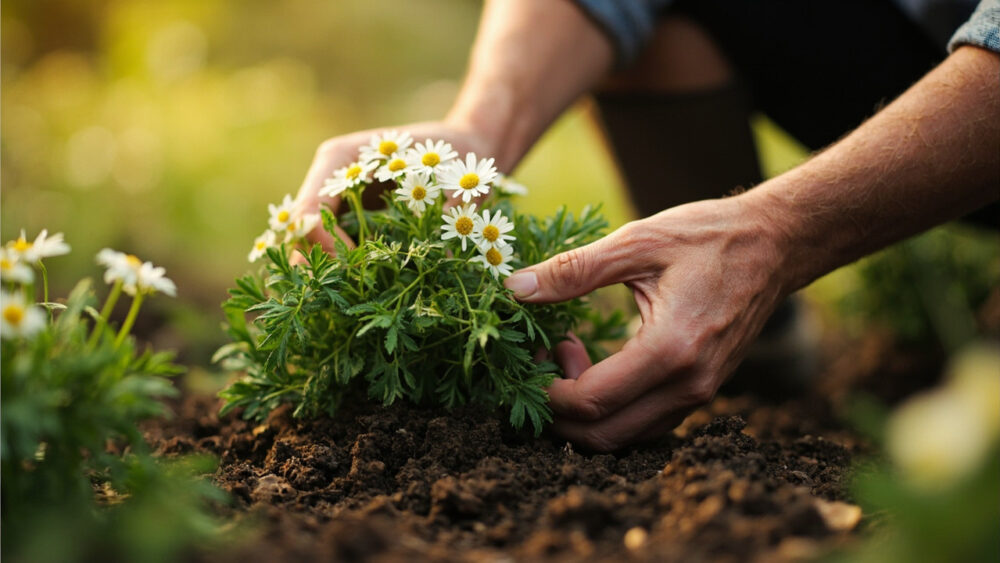
How to grow feverfew comes down to this: give it well-drained soil, full sun to light shade, and room to spread, and it will practically grow itself, often reseeding so freely that your problem shifts from “how do I grow it” to “how do I keep it in bounds.” It germinates easily from seed, tolerates poor soil better than rich soil, and blooms its cheerful little daisy heads from early summer into fall. Most failures come from babying it like a fussy annual when it actually wants to be treated like the tough, weedy perennial herb it is.
But there are a few real mistakes that cost people a whole season. One is burying the seed too deep, which is the single most common reason feverfew “doesn’t come up” at all. Another is the sign almost everyone misreads in year one, when a thriving plant suddenly looks ratty and half-dead in August, and people assume disease when it’s actually just doing what feverfew does after its first big bloom flush.
Stick with me through planting, care, and harvest, and I’ll flag exactly where those mistakes happen. At the bottom, you’ll find a save-able Feverfew at a Glance card with the numbers and timing you’ll actually want to remember.
When to Plant Feverfew
Start feverfew indoors 6 to 8 weeks before your last frost date, or direct-sow outside once nighttime temperatures reliably stay above about 45°F. Seeds need light to germinate, so this isn’t a crop you bury and forget. It’s hardy in USDA zones 5 through 9 as a short-lived perennial, though in colder zones it often behaves more like a self-seeding annual.
If you’re transplanting starts, wait until a week or two after your last frost, once the soil has warmed and there’s no real freeze risk left. Fall planting works too in mild-winter areas, giving roots a head start before spring growth.
Timing feels forgiving compared to most herbs, and that’s true, but there’s a catch nobody mentions.
Choosing the Spot and Prepping the Soil
Feverfew wants full sun for the best blooming, though it tolerates light afternoon shade, especially in hotter climates where afternoon sun can scorch the leaves. What it will not tolerate is soggy feet. Drainage matters more than fertility here.
If you assumed rich, amended garden soil is the goal, that guess is backwards. Feverfew actually flops and gets floppy, weak stems in soil that’s too fertile or too wet. It evolved on rocky, lean ground, and it still performs best there.
Work a little compost into heavy clay just to loosen structure, but skip the fertilizer at planting time. A raised bed, a slope, or a spot near a gravel path all suit it fine.
Once the bed drains well, the actual planting takes only minutes.
Planting Feverfew Step by Step
Sowing seed
Scatter seed on the soil surface and press it down firmly with your palm rather than burying it. A light dusting of fine soil or vermiculite, no more than 1/16 inch, is the most you should cover it with. Keep the surface consistently moist, and expect germination in 10 to 21 days at soil temperatures around 65 to 70°F.
Setting out transplants
Space plants 12 to 18 inches apart in all directions. Feverfew forms a mounding clump 1 to 2 feet wide, and crowding invites the powdery mildew problem we’ll get to shortly.
Dig a hole no deeper than the root ball, set the plant so the crown sits at soil level, backfill, and water in well.
That first watering matters more than anything you do for weeks afterward.
Watering and Feeding Through the Season
Water new plants and seedlings regularly until you see fresh growth, then back off. Established feverfew is genuinely drought-tolerant and would rather be underwatered than sitting in wet soil. Once roots are in, water only when the top inch or two of soil is dry to the touch.
Skip regular feeding. A single light application of balanced fertilizer in spring is plenty, and in lean soil you can often skip fertilizer entirely and let the plant do what it does naturally. Too much nitrogen produces soft, floppy stems that flop over and stop blooming well.
Deadheading spent blooms will push out a second flush of flowers later in the season, but leave a few flower heads on if you want the volunteer seedlings that make this such an easy plant to keep going.
Now here’s that midsummer scare I mentioned earlier.
The Problems Most Likely to Strike
Powdery mildew is the top disease risk, showing up as a white, flour-like coating on leaves, usually in humid weather or crowded plantings with poor air circulation. Thin crowded clumps and water at the soil line, not overhead, to head it off. If it takes hold, a fungicide labeled for powdery mildew on ornamentals works when applied exactly per the label.
Aphids occasionally cluster on new growth; a strong blast of water or insecticidal soap handles most infestations.
Root rot is the real danger, and it’s always a drainage problem, not a disease you can spray your way out of. If lower stems go dark and mushy, the soil has stayed wet too long, and the fix is moving or amending the bed, not treating the plant.
The August die-back everyone misreads is different from all of this. After its heaviest bloom, feverfew often looks scraggly, woody, and half-collapsed, and people assume it’s dying. It isn’t. Cut it back hard by about a third to a half, and it typically pushes fresh growth and a second bloom within a few weeks.
A note if you have pets: feverfew is mildly toxic to dogs and cats and can cause digestive upset if chewed or eaten. If you suspect your pet has ingested a significant amount, contact your veterinarian rather than waiting to see what happens.
Once you’ve handled the mildew risk and the midseason haircut, harvest is the easy part.
When and How to Harvest Feverfew
Feverfew typically blooms 90 to 120 days from seed, and once it starts, it keeps flowering through summer into early fall. Harvest leaves any time after the plant is well established, picking outer leaves and letting the center keep growing.
For flowers, cut them just as the white petals fully open and the yellow centers are flat, not yet domed. That’s peak potency and the stage most growers harvest at.
Cut stems in the morning after dew has dried, bundle a few stems together, and hang them upside down somewhere dark, dry, and well-ventilated. Leaves and flowers are fully dry in 1 to 2 weeks, ready to crumble for storage in a sealed jar.
That’s the whole cycle, and the card below has every number in one place.
Feverfew at a Glance
- When to plant: start seed indoors 6 to 8 weeks before last frost, or direct-sow and transplant once nights stay above 45°F, hardy in zones 5 through 9.
- Spacing and depth: space plants 12 to 18 inches apart, sow seed on the surface and barely cover it, no deeper than 1/16 inch.
- Sun and soil: full sun to light afternoon shade, lean and well-drained soil, skip heavy fertilizer.
- Watering: keep seedlings evenly moist, then water established plants only when the top 1 to 2 inches of soil dry out.
- Main risks: powdery mildew in crowded or humid conditions, root rot from wet soil, mild toxicity to pets if eaten.
- Midseason care: cut back hard by a third to a half after the first big bloom flush to force fresh growth and a second round of flowers.
- Harvest: pick flowers when petals are fully flat, leaves anytime once the plant is established, and dry bundled stems for 1 to 2 weeks.
Get the drainage and the spacing right, and feverfew asks almost nothing else of you.
The plant that looks half-dead in August isn’t failing, it’s just waiting for you to cut it back.