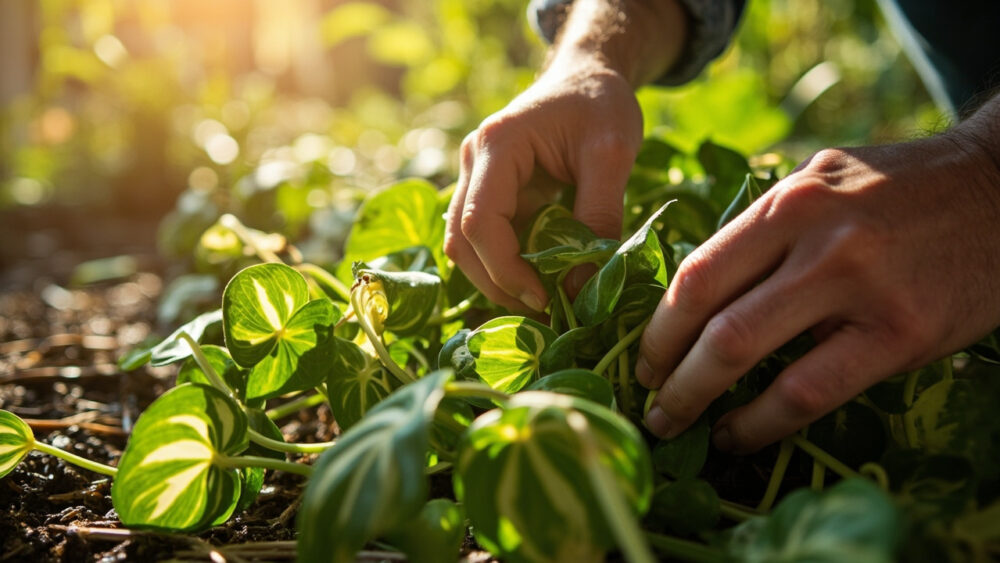
Water propagation is how to propagate pothos, and it works better than any other method for this plant, period. Cut a 4 to 6 inch section just below a node, drop it in a jar of water so at least one node is submerged, and set it somewhere bright but out of direct sun. Roots show up in 1 to 3 weeks and the cutting is ready to pot in about 6 to 8 weeks.
That’s the honest answer. But the reason most people’s pothos cuttings sit in water for months doing nothing, or grow roots that die the second they hit soil, comes down to one step almost everybody skips or gets backwards.
There’s also a sign people misread constantly: they think long roots mean the cutting is ready to pot up, when actually root length matters far less than root type. And there’s a follow-up question worth answering honestly right now, which is whether you even need water at all, because there’s a faster way that skips it entirely.
Stick around for the full week-by-week timeline and the mistakes that stall cuttings for months, and save the Pothos at a Glance card at the bottom for the next time you’re standing over a plant with pruners in hand.
Why Water Propagation Wins for Pothos
Pothos roots readily from stem cuttings because every node already carries small brown bumps called aerial root initials. You don’t have to coax this plant into rooting. You just have to not mess it up.
Water propagation beats soil propagation for pothos because you can see exactly what’s happening. No guessing whether a cutting rotted underground or is quietly building roots. You watch the roots form in real time and pot up only once they’re actually ready, which is the whole game.
Soil propagation works too, and skips a transplant shock step later, but it hides the process and punishes overwatering fast.
Here’s exactly how to take the cutting that determines whether any of this works.
Step by Step: Taking and Rooting the Cutting
Take the Cutting
Find a healthy vine and look for a node, the small joint where a leaf attaches and where you’ll see either a leaf, an aerial root nub, or both. Cut about a quarter inch below that node with clean pruners or scissors.
Each cutting should be 4 to 6 inches long with at least two nodes and two or three leaves. More nodes means more chances to root, so a longer cutting with three or four nodes isn’t wasteful, it’s just insurance.
Strip the bottom leaf closest to your lowest node. That node needs to sit underwater, and a submerged leaf just rots and fouls the water.
Choose the Rooting Medium
Plain tap water in a glass jar is genuinely fine. Use a container narrow enough that the cutting leans against the rim and stays mostly upright, submerging at least one, ideally two, nodes.
Change the water every 5 to 7 days. This is the skipped step that ruins more attempts than anything else, stagnant water grows bacteria, the cut end rots, and the cutting sits there indefinitely doing nothing while looking merely unimpressive instead of visibly dying.
Set the Conditions
Bright, indirect light is what you want, a few feet back from an east or west window, or near but not directly in a south window. Direct sun through glass will scorch a leafless-below cutting fast and can overheat the water.
Room temperature between 65 and 80°F is the sweet spot. Below 60°F, rooting slows to a crawl.
Next comes the part where patience actually pays off, and where most people misjudge what “ready” looks like.
Week by Week: What to Actually Expect
Week 1: Nothing visible happens, and that’s normal. Underneath, the cut end is callusing over and the node is starting to swell slightly.
Week 2 to 3: small white or pale yellow root nubs emerge from the submerged node. This is the moment people get excited and want to pot up immediately. Don’t yet.
Week 4 to 6: roots lengthen and branch, going from little nubs to 1 to 2 inch root systems with visible side branches. This branching is the real signal, not length.
Here’s the misread everyone falls for: a single long, smooth, string-like root looks impressive but is actually still immature. What you want before potting is several roots, at least a half inch to an inch long, with visible branching or fuzzy root hairs. That branching means the root system can actually take up water and nutrients from soil, a single long root often can’t keep the cutting alive once it’s out of water.
Week 6 to 8 is when most cuttings have that branched root system and are genuinely ready.
Once you see that, potting up is straightforward, but the transition itself has its own failure point.
Potting Up Without Losing the Cutting
Use a well-draining houseplant potting mix, and pick a pot only slightly larger than the root mass, around 3 to 4 inches across for a single cutting or small cluster. Too much soil around too little root invites rot.
Make a hole with your finger, settle the roots in without jamming them straight down, and firm soil around the base. Water immediately after potting so the soil settles around the roots and there’s no air gap.
Here’s the honest answer to the question you’re probably already forming: yes, you can skip water entirely and root pothos cuttings directly in moist soil. It works, and it avoids the shock of switching mediums later. The tradeoff is you’re rooting blind, so keep that soil consistently damp, not wet, for the first 3 to 4 weeks and resist the urge to tug the cutting to check for roots.
Either path, keep the freshly potted cutting out of direct sun and in that same bright indirect spot for another week or two while it adjusts.
Most failures, though, happen well before potting, and they’re almost always one of the same three mistakes.
Why Pothos Cuttings Actually Fail
The number one killer is not changing the water. Cloudy, slimy water rots the cut end before roots ever form, and by the time you notice the smell, that cutting is done. Fresh water weekly, non-negotiable.
The second killer is cutting below the wrong point or forgetting the node entirely. A cutting with no node submerged can survive a surprisingly long time on stored energy in the leaves and stem, but it will never root. No node in water, no roots, ever.
The third is potting too early off a single long root, which usually collapses within a week or two of leaving water because that root can’t yet function in soil.
- Yellowing, mushy cutting: rot from stale water or a submerged leaf, start a new cutting and change water more often.
- No roots after 4 weeks: check that a node is actually submerged and that water hasn’t gone cold or dark.
- Roots that shrivel after potting: potted too early on immature roots, or soil was allowed to dry completely before roots established.
Avoid those three and pothos propagation is close to foolproof, which is exactly why it’s the houseplant everyone hands off cuttings of.
Pothos at a Glance
- Best method: water propagation from a stem cutting with at least one node submerged.
- Cutting size: 4 to 6 inches long, two to three nodes, two to three leaves, cut a quarter inch below a node.
- Water care: change every 5 to 7 days, bright indirect light, 65 to 80°F.
- Rooting timeline: visible root nubs in 2 to 3 weeks, branched roots ready to pot in 6 to 8 weeks.
- Ready to pot sign: several branched roots, half inch to an inch long, not one long smooth strand.
- Potting mix: well-draining houseplant soil, pot only slightly larger than the root mass.
- Common killer: stagnant, unchanged water causing the cut end to rot before roots form.
Change the water weekly and wait for branching, not length, and pothos will root for you almost every time.
Get those two things right and the rest of this plant takes care of itself.