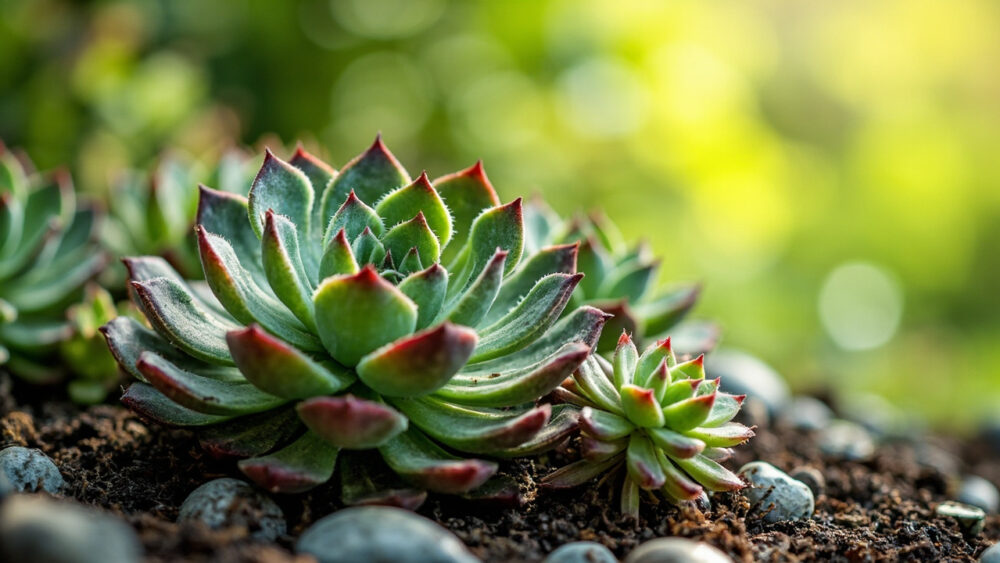
Hens and chicks want gritty, fast-draining soil, at least six hours of sun, and almost no water once they’re established. Plant the small offset “chicks” about 4 to 6 inches apart, barely covering the roots, and walk away. That’s the whole plant in a sentence, but knowing how to grow hens and chicks well, the kind of well that turns one rosette into a spreading mat in two seasons, comes down to a handful of details most people skip.
Here’s what trips people up. The number one killer isn’t cold, isn’t neglect, it’s a well-meaning gardener who keeps the soil damp because the plant “looks thirsty.” There’s also a sign everyone misreads on a mature rosette, one that looks like the plant is dying when it’s actually doing exactly what it’s supposed to do. And there’s a question you’re probably about to ask once you see your first flower stalk shoot up: is that good or bad?
All of that gets answered below, section by section. Stick around to the bottom and you’ll find a save-able Hens and Chicks at a Glance card with the numbers you’ll actually want on your phone next time you’re standing in the garden with dirt on your hands.
When to Plant Hens and Chicks
Plant hens and chicks anytime the ground isn’t frozen and you’re not in the middle of a heat wavebut the two sweet spots are early spring, about two to three weeks after your last frost, and early fall, six weeks or so before your first frost. Soil temperature matters more than the calendar. You want it above roughly 50°F so roots can establish before either heat stress or hard freeze sets in.
These are cold-hardy succulents, reliable in USDA zones 3 through 8, and some varieties push into zone 9 with afternoon shade. That hardiness is actually the reason spring and fall planting both work here, unlike most succulents that panic below 40°F.
If you’re transplanting nursery-grown chicks in summer, it’s not fatal, just give them shade for the first week and skip the fertilizer entirely.
Timing gets you started right, but the spot you choose decides whether they thrive or slowly rot.
Choosing the Spot and Prepping the Soil
Hens and chicks need full sun to light afternoon shade and, more importantly, soil that drains fast. This is the detail most guides gloss over: it’s not really about water amount, it’s about drainage. Standing water around the roots for even a few days will rot a hen faster than a month of drought ever will.
Rock gardens, raised beds, and containers with drainage holes all beat flat garden beds with clay soil. If your native soil is heavy, work in coarse sand, perlite, or fine gravel until roughly a third of the mix is grit. Skip compost or rich topsoil altogether, these plants evolved on thin, rocky, nutrient-poor ground and rich soil just encourages soft, rot-prone growth.
A slight slope or raised mound is ideal because it moves water away from the crown automatically.
Once the bed drains the way it should, the actual planting takes about five minutes.
Planting Hens and Chicks Step by Step
1. Separate the chicks
If you’re starting from a nursery pot or dividing an existing clump, gently pull or snip the small offset rosettes, the “chicks,” away from the mother “hen.” Each chick needs at least a short stub of root or a solid base to root from.
2. Let cut ends callus
Set separated chicks somewhere dry and out of direct sun for 1 to 3 days. This callusing step matters, planting a fresh, moist cut directly into soil is one of the fastest routes to rot.
3. Plant shallow
Dig a shallow depression just deep enough to seat the base of the rosette, roughly 1/2 inch deep. Bury only the roots and the very bottom of the stem, never the leaves.
4. Space for spreading
Set chicks 4 to 6 inches apart. They multiply fast and will fill gaps within a season or two, so resist the urge to crowd them now.
5. Firm and water once
Press soil gently around the base to remove air pockets, then give one light watering to settle everything in. That’s the last deliberate watering you’ll do for a week or two.
Get the planting depth wrong in either direction and you’ll see the fallout within a month, which brings us to watering.
Watering and Feeding Through the Season
If you assumed a plant this small and shriveled-looking in a photo needs regular watering to plump up, that guess kills more hens and chicks than winter cold does. These plants want to dry out completely between wateringsand in many climates rainfall alone covers it after the first month.
Check the soil an inch down. If it’s dry, water thoroughly and let it drain completely. If it’s even slightly damp, wait. In summer that might mean watering every 10 to 14 days; in a rainy spring, it might mean not watering at all for weeks.
Skip fertilizer in almost all cases. These are poor-soil specialists, and feeding them pushes soft, leggy growth that loses the tight, compact rosette shape that makes the plant attractive in the first place.
Containers dry out faster than ground plantings, so adjust your check-the-soil habit accordingly rather than following a fixed schedule.
Get the moisture right and most of the problems below never show up at all.
Problems to Watch For
The most common failure is crown rot from wet soil or poor drainageshowing up as a mushy, discolored, foul-smelling center. There’s no fixing a rotten crown; remove and discard the affected rosette and adjust drainage before replanting nearby chicks.
Vine weevils and mealybugs occasionally show up, the first as notched leaf edges and grubs in the soil, the second as small white cottony clumps tucked in the rosette. For either, remove affected material by hand where you can and treat with an appropriate insecticidal product labeled for succulents, following the label exactly.
Too much shade causes stretching, pale color, and loose, open rosettes instead of tight ones. That’s not a disease, just move the plant into more sun.
One more thing nobody warns you about: a hen that sends up a tall flower stalk is not sick, and that leads straight into harvest and bloom timing.
When Hens and Chicks Mature, Bloom, and Spread
There’s no harvest in the vegetable-garden sense here. The “payoff” with hens and chicks is watching a single rosette multiply into a dense mat, which typically takes 1 to 2 growing seasons depending on climate and variety.
Here’s the sign that looks alarming but isn’t: a mature hen, usually 2 to 3 years old, will eventually send up a thick flower stalk a foot or more tall, bloom, and then die. This is normal, expected, and by design.
Flowering is the end of that individual rosette’s life, not a sign of disease. The mother hen has already done her job by producing chicks around her base before blooming, and those chicks carry on the colony.
Once you see a bloom stalk, you can let it finish for the flowers or cut it off early to redirect a bit more energy to the remaining chicks, either way the clump keeps going.
To keep the colony expanding, simply let chicks stay attached until they’re pea to marble sized, then separate and replant them wherever you want new mats to start.
Hens and Chicks at a Glance
- When to plant: early spring two to three weeks after last frost, or early fall six weeks before first frost, soil above 50°F.
- Planting depth: about 1/2 inch, roots and stem base covered, leaves fully exposed.
- Spacing: 4 to 6 inches apart to allow room for natural spreading.
- Sun and soil: full sun to light afternoon shade, gritty fast-draining soil with sand, perlite, or gravel mixed in.
- Watering: soak thoroughly, then let soil dry completely before watering again, roughly every 10 to 14 days in summer.
- Feeding: none needed in most soils, skip fertilizer entirely.
- Hardiness and lifespan: zones 3 through 8 (some to 9 with shade), individual rosettes bloom and die after 2 to 3 years while chicks continue the colony.
Get the drainage right and leave the watering can alone, and hens and chicks basically take care of themselves.
Everything else, the rot, the stretching, the panic over a blooming stalk, traces back to one of those two things.