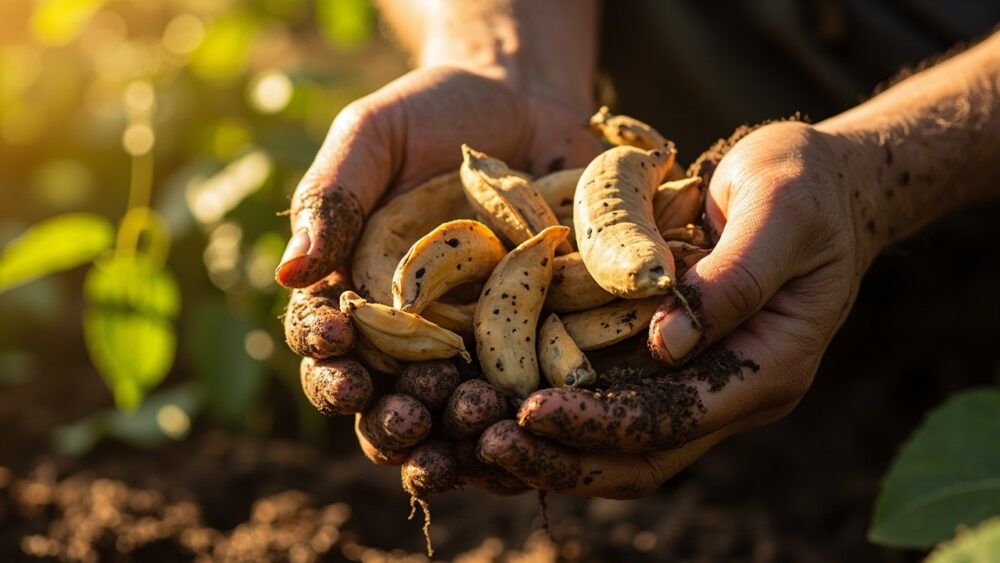
You harvest pinto beans for dry storage when the pods have gone from green to tan or straw-brown and rattle when you shake the plant, usually 90 to 120 days after planting. This is not a snap-bean harvest where you pick young and eat fresh. You are waiting for the plant to basically die back on its own and the seeds inside to harden.
Most people ruin their first pinto bean crop one of two ways: pulling everything the moment a few pods brown, or leaving the whole patch out through a soaking rain and losing beans to mold and sprouting right in the pod. There is also a step almost nobody does correctly on the first try, and it has nothing to do with the plant itself. It happens after the pods are already off the vine.
Stick with me here and I will walk you through the exact signs to check, what early and late harvesting actually cost you, and how to bring these in without shattering pods all over your garden path. Save-able details, spacing, days to maturity, storage life, are all waiting in the “Pinto Beans at a Glance” card at the very bottom, so keep scrolling once you have the timing down.
The Real Ready Signs on a Pinto Bean Plant
A pinto bean plant tells you it is done long before you need a calendar. The whole plant starts yellowing and dying back, which panics new gardeners who think something has gone wrong. Nothing has gone wrong. That is the plant finishing its job.
Pod color and texture
Ripe pods shift from green to a tan, buff, or light brown color, often with darker mottling once they are fully dry. They feel papery and stiff, not fleshy. Squeeze one and you should feel firm lumps, the beans themselves, through the dry husk.
The rattle test
Grab a handful of pods and give the plant a shake. Dry, ready pods rattle audibly because the beans have shrunk slightly and loosened inside. If everything is still quiet and green, you are weeks out.
Once most of the plant sounds like a maraca, the real decision about timing starts.
The Timing Window, and What Early or Late Actually Costs You
Pinto beans planted after your last frost, once soil hits at least 60°F, typically reach dry-harvest readiness 90 to 120 days later depending on variety and heat. In most regions that lands in late summer to mid fall, but the plant’s appearance matters far more than the date on your phone.
If you assumed earlier is always safer, that instinct costs you the crop. Pulling pods while they are still green or yellow-green means the beans inside are immature, soft, and full of moisture. They will not store. They will mold in the bag within days no matter how well you dry them.
Waiting too long has its own price. Fully dry pods left on the plant through wet weather can split open and drop beans in the dirt, or worse, take on moisture and start sprouting right inside the pod. A hard, driving rain on brittle pods is the single most common way gardeners lose a big percentage of an otherwise perfect crop.
The honest target: harvest when 80 to 90 percent of pods on the plant are brown and dry, rather than waiting for every last one.
That leftover 10 to 20 percent, still slightly green, is exactly what the next section deals with.
How to Harvest Without Losing Beans on the Ground
You have two workable methods, and which one you use depends on your weather forecast, not personal preference.
- Whole-plant pull: if a frost or hard rain is coming and most pods are brown but not all, pull the entire plant by the base and hang it upside down somewhere dry, airy, and out of direct sun to finish curing. Garages, covered porches, and sheds work fine.
- Pod-by-pod picking: if weather is stable and dry, pick individual brown pods off the plant by hand every few days as they ripen, leaving the greener ones to keep maturing.
Handle pods gently either way. Dry pods shatter easily, and a rough grab can pop one open and scatter beans into the mulch before you even get them to a container.
Work in the morning after dew has burned off, since damp pods are stickier and more prone to staining, not more pliable.
Getting the pods off cleanly is only half the job, what you do in the next 24 hours matters just as much.
What to Do With the Pods Right After Picking
This is the step almost everyone skips or rushes, and it is the difference between beans that keep for years and beans that mold in the jar within weeks.
Spread pods out, do not pile them. A single layer on a screen, tray, or old window screen with airflow underneath beats a bucket or bag every time. Piled damp pods heat up and mold fast, even ones that felt dry when you picked them.
Let them cure another one to two weeks indoors in a dry spot with decent air movement, out of direct sun. You are finishing the drying process the weather may not have fully completed outdoors.
Test readiness by biting one bean or hitting it with a hammer on a hard surface. A properly dry bean cracks cleanly instead of squashing or denting.
Once they pass that test, shelling and storage decide how long this harvest actually lasts you.
Shelling, Storage, and Keeping Beans Coming
Shell small batches by hand, twisting and cracking pods open over a bowl. For a bigger harvest, an old trick still works well: pile dry pods on a tarp and walk on them, or beat them gently with a stick or rolling pin inside a pillowcase, then winnow out the chaff by pouring the mix in front of a fan.
Store fully dry, shelled beans in airtight jars or containers in a cool, dark spot. Properly dried and stored pinto beans keep well for a year or more, and often longer, though they slowly get harder to cook as they age.
Pinto beans are a one-shot dry harvest per planting, not a pick-and-it-regrows crop like snap beans. If you want a second round, a fast-maturing pinto variety planted right after your first harvest can still finish before fall frost in longer-season climates.
Everything you actually need to remember about timing this crop is in the card below, worth saving before you head back out to the garden.
Pinto Beans at a Glance
- When to plant: after your last frost, once soil is at least 60°F.
- Days to dry harvest: roughly 90 to 120 days from planting, depending on variety and heat.
- Spacing: 3 to 4 inches apart in rows spaced 18 to 24 inches, or thin bush plants to about 4 to 6 inches apart.
- Planting depth: 1 to 1.5 inches deep in average garden soil.
- Ready sign: pods tan or brown, papery, and rattling when shaken, on 80 to 90 percent of the plant.
- Harvest method: pull whole plants before bad weather, or hand-pick individual dry pods in stable weather.
- After harvest: cure one to two more weeks in a single layer indoors, shell, then store airtight for a year or more.
Get the color and the rattle right, and the rest of this crop takes care of itself.
When in doubt, wait a few more dry days rather than pull early, since you can always cure beans longer but you can never fix immature ones.