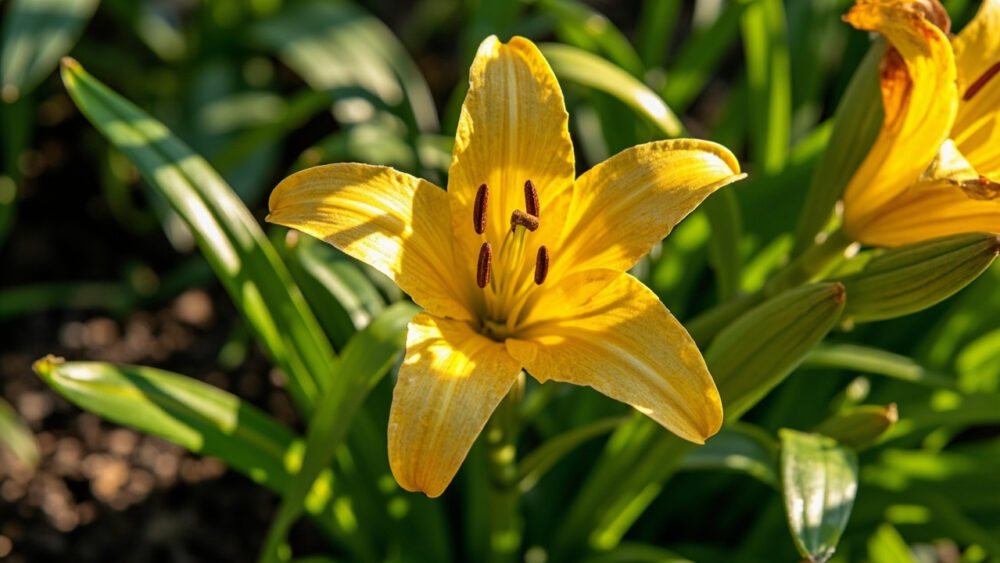
Nine times out of ten, lilies leaves turning yellow means the soil is staying too wet around the bulb. Lily roots rot fast in soggy ground, and the first sign is yellowing that starts at the bottom of the stem and works up. The fix is usually simple: back off watering and check that the spot actually drains, but that is only the most common cause, not the only one.
Everybody blames the sun first, dragging a lily into deeper shade the moment leaves go pale, and that guess is wrong more often than it’s right. There is one detail on the stem, one thing about where the yellow starts and how it spreads, that tells you exactly which of five or six causes you are actually dealing with. Guess wrong and you can waste three weeks moving a plant that never needed moving.
The honest recovery answer depends entirely on which cause you have, and some are fixable within days while others mean the bulb is already gone. Stick with me through the causes and the tell-apart guide, and save the diagnosis checklist at the very bottom for a two-minute walkthrough at the plant itself.
Most Likely Causes, Ranked
1. Overwatering or poor drainage
Confirm it: push a finger two inches into the soil near the bulb. If it feels wet and cool a day or more after watering, or if water pools on the surface after rain, this is your cause. Yellowing typically starts on the lowest leaves and the stem may feel soft or mushy near the soil line.
Fix it by cutting watering back to once the top two inches of soil dry out, and if the spot floods after rain, work in compost or move future bulbs to a raised bed or mounded row. Established bulbs in truly waterlogged ground often need to be lifted, checked for rot, and replanted in better-draining soil.
But wet soil is not the only thing starving a lily’s roots.
2. Underwatering or drought stress
Confirm it: the same finger test now comes up bone dry two inches down, and the yellowing shows up on leaf edges first, often with a dry, papery crispness rather than a soft mushy feel.
Water deeply, about an inch of water covering the root zone, once or twice a week during dry spells rather than a light daily sprinkle. A 2 to 3 inch layer of mulch around the base holds moisture and cuts down how often you need to check.
If the soil test doesn’t point clearly to too much or too little water, the answer might be sitting in the leaves themselves.
3. Nitrogen or magnesium deficiency
Confirm it: older, lower leaves yellow uniformly while the newest growth at the top stays green, and the plant otherwise looks otherwise healthy, no soft rot, no visible pests. This pattern is classic for a plant pulling nutrients from its oldest leaves to feed new growth.
Feed with a balanced fertilizer formulated for bulbs or flowering perennials, following the label rate, in early spring as growth emerges. A light side-dressing of compost each fall also keeps nutrient levels steady without guesswork.
Nutrients matter, but so does whether the roots can even reach them.
4. Too much direct, hot afternoon sun
Confirm it: the yellowing and browning shows up specifically on the side of the plant facing full afternoon sun, especially during a stretch of 90 degree F plus days, and the leaves look scorched or bleached rather than evenly pale.
Most lilies want 6 or more hours of sun but appreciate afternoon shade in hot climates. If scorch is the issue, nothing on the plant needs fixing this season, just note it and consider relocating the bulb this fall to a spot with morning sun and afternoon shade.
If the yellowing has a pattern instead of an even fade, a pest or disease is more likely than light.
5. Basal rot or fungal disease
Confirm it: yellowing pairs with a foul smell at the base, dark streaking on the stem, or bulbs that feel soft and squishy when you dig gently around them. This often follows a stretch of wet weather or heavy soil.
There is no cure for advanced basal rot. Dig up the bulb, and if there is significant soft brown or black tissue, discard it rather than replanting, since the fungus persists in soil and spreads to nearby bulbs. Mild cases caught early sometimes survive if you improve drainage immediately and avoid replanting lilies in that exact spot for a couple of years.
One more culprit hides below the soil line entirely, and it’s easy to miss.
6. Bulb mites or root-feeding pests
Confirm it: lift the bulb and look for tiny white to tan mites clustered in the scales, or soft, tunneled roots without the rot smell described above. Aboveground, growth is stunted and yellowing looks patchy and uneven rather than following a clean top-to-bottom pattern.
Discard heavily infested bulbs. For a lightly affected bulb you want to save, remove damaged outer scales and let it dry a day before replanting in fresh soil away from the original spot.
Once you’ve got a suspect, here’s how to make sure you picked the right one.
How to Tell the Causes Apart
Where the yellow starts is the fastest tell. Bottom-up yellowing points to water or nutrient issues. Patchy or one-sided yellowing points to sun scorch or pests. A sudden, foul-smelling collapse at the base points to rot.
Old leaves yellowing while new growth stays green almost always means a nutrient deficiency, not a watering problem, since water stress tends to hit the whole plant evenly.
Feel the stem and the soil before you decide anything: mushy and wet means rot or overwatering, dry and crisp means drought or scorch.
Knowing the cause is half the job, the other half is knowing what you can actually still save.
Will It Recover?
Overwatering and drought stress both have good odds of full recovery within one to two weeks once you correct the watering pattern, as long as the bulb itself hasn’t started rotting.
Nutrient deficiencies resolve gradually over the season after feeding, and often fully correct by the following year once soil fertility catches up.
Sun scorch on this year’s leaves won’t reverse, but the bulb itself is usually fine and will send up healthy growth next year, especially if you relocate it.
Basal rot and heavy mite infestation are the honest cut-your-losses causes. If the bulb feels soft, smells bad, or is mostly damaged tissue, replanting effort is usually wasted, and you’re better off starting fresh with new bulbs in a new spot.
Recovery odds are good for most causes, which makes prevention worth the little bit of effort it takes.
How to Keep It From Happening Again
Drainage is the prevention that matters most, since it’s the root cause behind both overwatering symptoms and basal rot. Plant lily bulbs in soil amended with compost, or in raised beds if your native soil is heavy clay.
Water deeply but infrequently, and let the soil surface dry between waterings rather than keeping it constantly damp.
Feed lightly each spring, mulch to steady soil moisture, and give bulbs morning sun with afternoon shade in hot climates.
Check bulbs for soft spots before planting and avoid replanting lilies in a spot where rot showed up before.
Get those basics right and yellowing becomes a rare event instead of a yearly fight, which brings us to the checklist you can run right now.
Diagnosis Checklist
- Push a finger two inches into the soil near the base: wet and cool means check for overwatering or rot, dry and crumbly means check for drought.
- Look at the stem base for softness, dark streaking, or a foul smell: any of these points to basal rot, dig up the bulb to confirm.
- Note where on the plant the yellow started: bottom leaves first suggests water or nutrients, one-sided or patchy suggests sun or pests.
- Compare old leaves to new growth: old yellow with green new growth points to a nutrient deficiency, treat with a balanced fertilizer.
- Check which side faces the afternoon sun: scorch on the sun-facing side only means light stress, plan a fall relocation.
- If nothing above fits, lift the bulb gently and inspect the scales for tiny mites or tunneling, discard heavily infested bulbs.
- Once you’ve matched the pattern to a cause, apply that fix this week rather than waiting, since rot and pests only get worse with time.
Most yellowing lilies bounce back once the water and drainage get sorted out.
Catch it early, fix the actual cause instead of the obvious guess, and next season’s blooms won’t even remember the trouble.