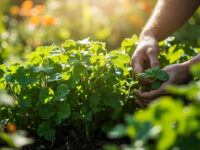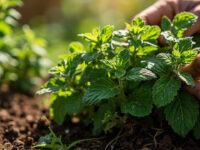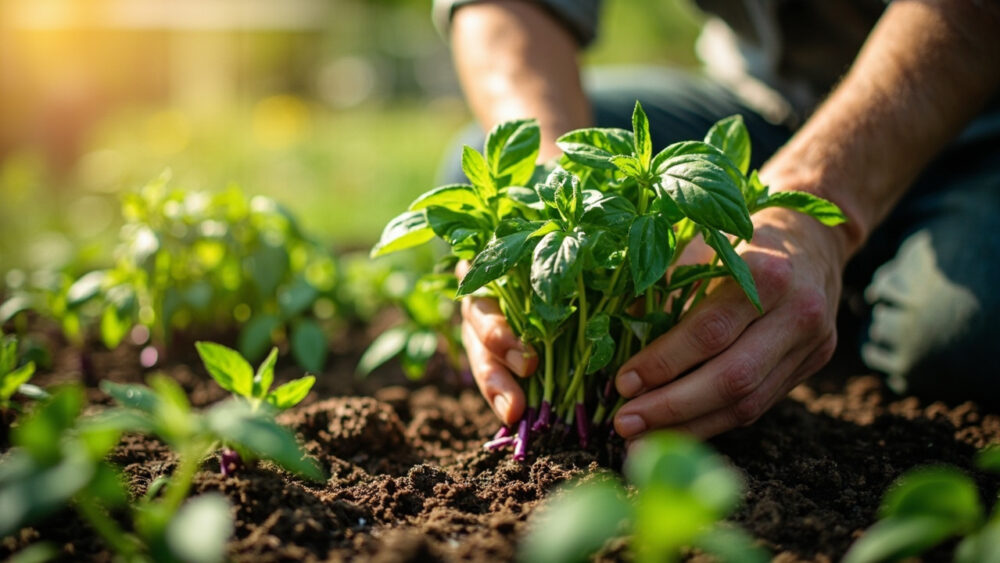
The fastest, most reliable way to grow Thai basil from cuttings is to snip a 4 to 6 inch stem tip below a leaf node, strip the lower leaves, and root it in plain water on a bright windowsill for 10 to 14 days before potting it into soil. Thai basil roots easily this way, often faster than sweet basil, because its stems are a little woodier and hold up better while roots form. Skip soil for the rooting stage entirely. It is the single biggest reason cuttings fail.
That is the short version, but there are three things that trip people up almost every time. One is cutting from the wrong part of the plant, which gives you a stem that either rots or never roots. Another is a sign people misread as failure when it actually means the cutting is working exactly on schedule. And there is a timing question everyone asks right after this one, about when a rooted cutting is actually ready to go in the garden, that most guides skip entirely.
Stick with this and you will get all three answered, plus a save-able Thai Basil at a Glance card at the very bottom with the numbers you will want on hand once you are standing at the plant with scissors in hand.
Why Cuttings Beat Seeds for Thai Basil
Thai basil seed is slower to germinate than sweet basil, often 7 to 14 days, and the seedlings are slow to bulk up. A cutting skips all of that. You get a plant with an established root system and mature flavor in 2 to 3 weeks instead of 6 to 8.
Cuttings also guarantee you are cloning a plant you already know is good, the same anise-clove flavor and purple stems, instead of gambling on seed-grown variation.
The tradeoff is that you need a living Thai basil plant to take the cutting from, whether it is your own or a healthy grocery store bunch with intact stems.
Next comes the part that actually determines whether this works: where and how you cut.
Step by Step: Taking and Rooting the Cutting
Take the cutting from the right spot
Look for a non-flowering stem, 4 to 6 inches long, with at least 3 to 4 leaf nodes. Cut just below a node at an angle using clean scissors or a knife.
This is the mistake most people make: they cut from a woody, thick lower stem because it looks sturdier. Woody stems root far slower and often rot before they root. A softer, actively growing tip roots faster every time.
Strip the bottom 2 sets of leaves so at least 2 nodes are bare, since roots form at the nodes, not along bare stem.
Root it in water, not soil
Set the cutting in a jar or glass with 2 to 3 inches of room-temperature water, submerging the stripped nodes but keeping remaining leaves above the surface.
Place it somewhere bright, a windowsill with indirect light works, but avoid harsh direct sun through glass which can cook a cutting sitting in shallow water.
Change the water every 2 to 3 days. Cloudy water grows bacteria that rot the stem before roots ever form, and this alone accounts for a large share of failed attempts.
Keep conditions steady
Ideal room temperature for rooting is 70 to 80°F. Below 65°F, rooting slows dramatically or stalls.
You do not need rooting hormone for Thai basil. It roots readily on its own, which is part of why this method has such a good success rate compared to fussier herbs.
Once roots show, the real waiting game is knowing what each week is actually telling you.
Week by Week: What to Actually Expect
Days 1 to 4: nothing visible happens above the node, but this is normal. Do not panic and do not add fertilizer to the water, plain water is correct.
Here is the sign everyone misreads: the lower leaves you left on often go slightly limp or yellow around day 3 to 5. That is not the cutting dying. It is the stem redirecting energy into root production instead of leaf maintenance.
Days 5 to 8: tiny white root nubs appear at the submerged nodes. This is the real “it’s working” signal, not leaf color.
Days 10 to 14: roots reach 1 to 2 inches long with visible branching. This is your window to pot up, not before.
Waiting too long past this point matters more than people expect, and that is exactly where potting up goes wrong.
Potting Up and Planting Out
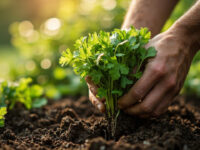
Pot the rooted cutting once roots hit 1 to 2 inches, into a 4 inch pot with a standard well-draining potting mix, burying the root ball with the lowest leaf set just above the soil line.
Water it in well immediately, then keep the soil evenly moist, not soggy, for the first week while it adjusts from water roots to soil roots. This transition is the second-highest failure point after the cutting stage itself, so do not skip the settling-in water.
Keep the newly potted plant out of harsh direct sun for the first 4 to 5 days, then move it into a bright spot getting at least 6 hours of light.
For planting outside, wait until nighttime temperatures stay reliably above 50°F and soil temperature is at least 60°F, generally 2 to 3 weeks after your last frost date. Thai basil is a warm-season herb through and through and stalls or sulks in cool soil.
Space plants 10 to 12 inches apart, in full sun, in soil that drains well; basil sitting in wet feet is asking for root rot.
Harden the plant off over 5 to 7 days before it lives outside full time, giving it a few hours of outdoor sun the first day and building up gradually.
Even with perfect timing, a good number of cuttings still fail, and almost always for the same handful of reasons.
Why Cuttings Fail, and the Honest Fixes
- Rot at the base: caused by stale water or leaves submerged below the waterline. Change water often and keep leaves above it.
- No roots after 3 weeks: usually a cutting taken from woody, flowering, or stressed stem. Start over with a fresh tip cutting from actively growing growth.
- Cutting wilts fast after potting: transplant shock from skipping the settling-in water or moving it into harsh sun too soon.
- Leggy, weak growth: not enough light during rooting or the early pot stage. Move it somewhere brighter, a south or west window or under a grow light.
- Plant stalls outdoors: planted too early into cold soil. Thai basil genuinely will not grow, and can decline, below 50°F nights.
None of these mean you did something unfixable, just that you know exactly what to change next time.
That brings you to the card worth keeping on your phone for the next cutting you take.
Thai Basil at a Glance
- Best cutting: a 4 to 6 inch non-flowering tip with 3 to 4 leaf nodes, cut just below a node.
- Rooting method: plain water, changed every 2 to 3 days, bright indirect light, 70 to 80°F.
- Time to root: visible roots by day 5 to 8, ready to pot at 1 to 2 inches of root, around day 10 to 14.
- Potting mix: standard well-draining potting soil, 4 inch pot to start.
- Planting outside: after nights stay above 50°F and soil is at least 60°F, spaced 10 to 12 inches apart in full sun.
- Watering: evenly moist soil, never soggy, especially the first week after potting.
- Biggest failure causes: stale rooting water, cuttings taken from woody or flowering stems, cold soil at planting time.
Take the cutting from soft new growth, keep the water fresh, and wait for roots before you rush it into soil.
Get those three things right and Thai basil roots about as easily as any herb you will grow.