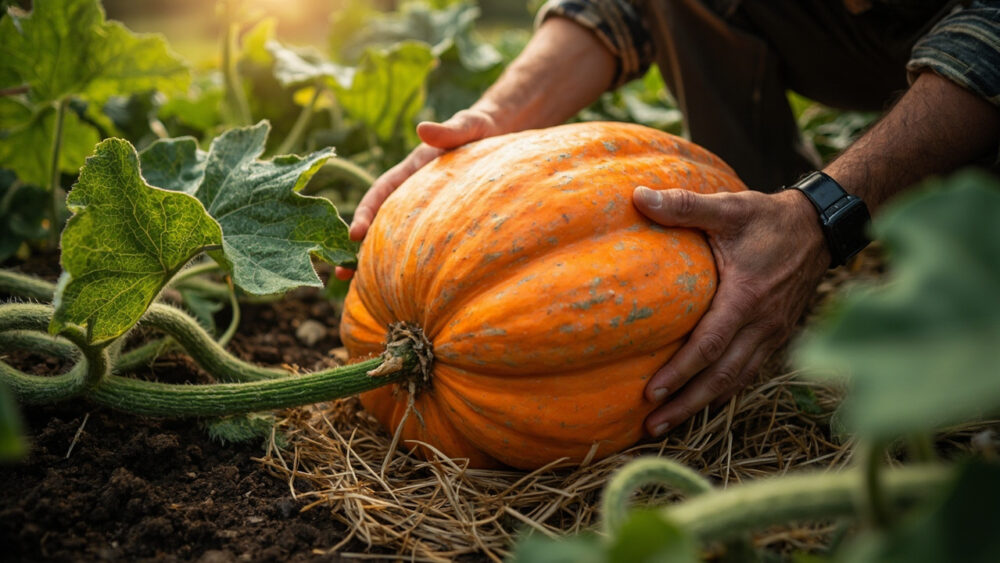
Growing giant pumpkins means starting seeds indoors about 3 to 4 weeks before your last frost, transplanting into hot, heavily enriched soil once nights stay above 50°F, then spending the summer aggressively feeding, watering, and pruning a single vine down to one fruit. Do that consistently and you can realistically grow a pumpkin in the 200 to 500 pound range in your first year, with dedicated growers pushing well past 1,000 pounds using named cultivars like Dill’s Atlantic Giant.
Here is the part nobody tells you upfront: almost every failed attempt fails from too much kindness, not too little. Growers overwater, overcrowd the vine with fruit, and baby a weak seedling instead of ruthlessly selecting for the strongest one. The mistake that quietly ruins the most attempts happens in the first three weeks after transplant, and it has nothing to do with fertilizer.
Stick with this and you will also get the honest answer on when a giant pumpkin is actually “ripe” (it is not what most people assume), the pruning trick that determines whether you get one massive fruit or six mediocre ones, and a save-able Giant Pumpkins at a Glance card at the bottom with every number in one place.
When to Plant Giant Pumpkins
Start seeds indoors 3 to 4 weeks before your last expected frost, one seed per 4-inch pot, standing the seed on its edge rather than flat. Giant pumpkin seeds are thick-shelled and slow to germinate below 75°F, so a heat mat matters more than most people expect.
Do not transplant outside until soil temperature at a 4-inch depth holds at 60°F or higher and nighttime air temps stay above 50°F. In most of zones 5 through 7 that lands 1 to 2 weeks after your last frost date, not on it.
A seedling that sits in cold, wet soil waiting to “catch up” almost never catches up.
Choosing the Spot and Prepping the Soil
Full sun, all day, is non-negotiable. Giant pumpkins want at least 8 hours of direct light and a patch of ground roughly 20 by 20 feet, since a single vine can easily cover that much territory by August.
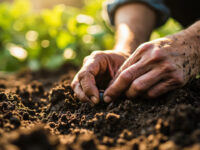
Dig a planting circle at least 6 feet across and work in 3 to 4 inches of finished compost or aged manure to a depth of 12 to 18 inches. These plants are heavy feeders from day one, and thin, sandy, or compacted soil is where undersized fruit starts.
A slightly mounded bed, 6 to 8 inches high, warms faster and drains standing water away from the stem.
Good soil gets you in the game, but planting technique decides if the vine survives its first month.
Planting Step by Step
- Harden off seedlings for 5 to 7 days before transplanting, gradually increasing outdoor sun exposure.
- Plant depth: set the transplant at the same depth it sat in its pot, no deeper. Burying the stem invites rot.
- Spacing: one plant per mound, mounds at least 10 to 15 feet apart if you’re growing more than one vine.
- Protect immediately with a cold frame, cloche, or floating row cover for the first 10 to 14 days. Nights in the 40s stall growth hard.
- Water in with about a half gallon of lukewarm water right at transplant, then hold off on heavy watering for 2 to 3 days to force roots to reach outward.
That early protection step is the one nearly everyone skips, and it is the mistake we opened with.
The Mistake That Ruins Most Attempts
If you guessed the biggest risk to a young plant is frost, you are only half right. The real killer is a cold snap combined with wet soil, which rots the stem base before frost even becomes a factor.
A seedling can shrug off one chilly night if the soil around it drains well and stays on the dry side. It cannot shrug off cold, soggy ground for three straight days.
Cover on cold nights, vent the cover during warm days so the plant does not cook, and resist the urge to water “just in case” during that first stretch.
Get the plant established and the next challenge shifts from survival to sheer volume of food and water.
Watering and Feeding Through the Season
Water deeply and infrequently, aiming for 1 to 2 inches per week early on, ramping up to as much as 10 to 20 gallons a day per plant once the fruit is sizing up in peak summer heat. Soak the root zone, not the leaves, and water in the morning so foliage dries before evening.
Feed on a rotation: a nitrogen-heavy fertilizer for the first 4 to 6 weeks to build vine and leaf, then shift to a phosphorus and potassium-heavy feed once a fruit is set and growing, roughly early to mid summer. Side-dress with compost every 2 to 3 weeks all season.
Bury a section of vine at each leaf node as it grows. Buried nodes root into the soil and pull in extra water and nutrients that feed straight into the fruit.
None of that feeding matters if you let the vine set the wrong number of pumpkins, which is the pruning trick most people get backwards.
Pruning and Fruit Selection
A vine left alone will set 6 to 10 small pumpkins instead of one giant one. Around mid to late summer, once you have 2 or 3 fruits at softball size, pick the roundest, most evenly shaped one closest to the main root and remove the rest.
Keep training the main vine outward and pinch back secondary vines once they reach about 8 to 10 feet, leaving the leaves intact since they are what feed the fruit through photosynthesis.
This feels wasteful the first time you do it. It is exactly how growers get one pumpkin to several hundred pounds instead of a pile of pie-sized ones.
Even with perfect pruning, giant pumpkins face a specific set of threats worth knowing before they show up.
Problems Most Likely to Strike
- Squash vine borers: look for sawdust-like frass near the base of the stem and sudden wilting of one vine section. Slit the stem carefully to remove the larva, then bury the wounded section to encourage new rooting.
- Powdery mildew: shows as white, dusty patches on leaves in humid late summer. Improve airflow, avoid overhead watering, and treat with a labeled fungicide if it spreads fast.
- Blossom end rot or fruit splitting: usually from inconsistent watering, not a calcium problem specific to pumpkins. Keep moisture even, especially during rapid fruit growth.
- Stem rot at the base: from soil staying wet against the stem. Keep the crown slightly raised and mulch a few inches away from direct contact.
Catch these early and none of them cost you the season, but ignoring the first signs usually does.
When and How to Harvest
If you assumed a giant pumpkin is ready once it turns fully orange, that guess costs growers real weight. Many competition growers harvest while there is still some green blush on the pumpkin, because the fruit keeps gaining pounds right up until a hard frost threatens or the vine naturally starts dying back in early to mid fall.
The real signs of maturity are a dulling, matte skin instead of glossy, a hardened rind that resists a fingernail press, and a stem that has started to shrink and corkscuf slightly where it meets the fruit.
Cut the stem, leaving 3 to 4 inches attached, and always move the pumpkin on a pallet or hard board with several people rather than dragging it, since the rind bruises and cracks under its own weight surprisingly easily.
Weigh it the same day if you can. Giant pumpkins can lose several pounds of water weight within just a day or two off the vine.
Giant Pumpkins at a Glance
- When to plant: start seeds indoors 3 to 4 weeks before last frost, transplant once soil hits 60°F and nights stay above 50°F.
- Spacing: one plant per 6-foot mound, mounds 10 to 15 feet apart, plan for a 20 by 20 foot territory per vine.
- Sun and soil: full sun 8-plus hours, soil enriched with 3 to 4 inches of compost worked in 12 to 18 inches deep.
- Watering: 1 to 2 inches weekly early on, up to 10 to 20 gallons daily per plant once fruit is sizing up.
- Feeding: nitrogen-heavy for the first 4 to 6 weeks, then phosphorus and potassium-heavy once fruit sets.
- Fruit selection: choose one round, evenly shaped fruit near the root once 2 to 3 fruits reach softball size, remove the rest.
- Harvest signs: matte skin, hardened rind, shrinking corkscrewed stem, usually early to mid fall before hard frost.
Giant pumpkins reward patience and consistency far more than any single trick or fertilizer.
Get the early weeks right, feed steadily, prune down to one fruit, and the size takes care of itself.