Here is how to grow green beans from seed with no wasted seasons: direct sow them outdoors about 1 inch deep, 2 to 3 inches apart, once soil temperature holds above 60°F, which is usually 1 to 2 weeks after your last spring frost. Skip the indoor seed-starting most vegetables need. Beans hate having their roots disturbed, and a seed started indoors rarely outgrows the setback of transplanting.
That part is simple. What trips people up is everything around it.
The mistake that wastes the most seed: planting into cold, wet soil because the calendar says it’s time. The next section tells you exactly what to check with your hand instead of a date. There’s also a germination sign that panics first-time growers into re-digging their rows, and a very specific point in the plant’s life where feeding it the wrong thing shuts down the harvest entirely. Stick around for the Green Beans at a Glance card at the bottom, it’s built to be saved to your phone for the whole season.
When to Start Seeds: Indoors, Direct Sow, or Wait
Direct sow is correct for almost everyone. Bean seeds are large, fast, and impatient. They germinate in 6 to 10 days in warm soil and resent the root disturbance of transplanting far more than they’d benefit from a head start indoors.
Soil temperature matters more than the date on your calendar. Push a soil thermometer 2 inches down. You want a steady 60°F or warmer, ideally 65 to 85°F, for quick, even germination.
Plant too early into cold, wet ground and seeds simply rot before they sprout, no matter how good the seed was.
If you’re determined to get a jump start in a short-season climate, you can start seeds indoors in biodegradable pots 2 to 3 weeks before your last frost, then transplant the whole pot without disturbing roots. It’s extra work for a gain of maybe a week.
Once your soil has actually warmed, the sowing itself takes about five minutes.
Sowing Green Bean Seed, Step by Step
1. Pick the spot
Full sun, 6 to 8 hours minimum. Beans grown in shade get leggy and produce a fraction of the pods.
2. Prep the bed
Loosen soil to about 8 inches deep. Beans aren’t heavy feeders, but they do want drainage. Skip a big dose of nitrogen fertilizer here; beans fix their own nitrogen from the air with help from soil bacteria, and too much nitrogen buys you huge leaves and few pods.
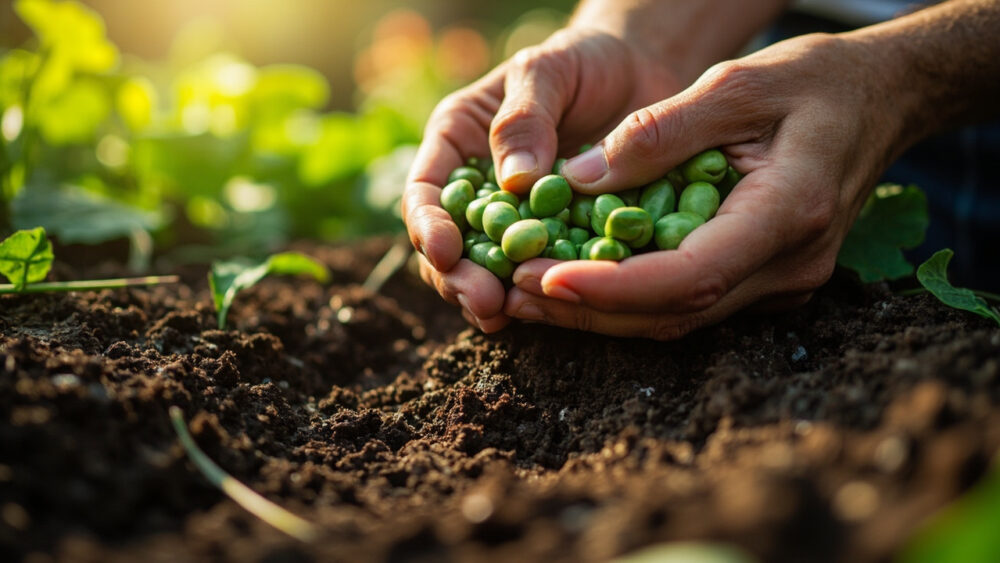
3. Sow the seed
Push seeds 1 inch deep in warm, moist soil, 1 inch deeper if your soil runs sandy and dries fast. Space bush beans 2 to 4 inches apart in rows 18 to 24 inches apart. Pole beans go 4 to 6 inches apart at the base of a trellis or pole, spaced 3 feet between rows.
4. Water it in
Water gently right after sowing, then keep soil evenly moist, not soaked, until you see sprouts.
Do that much correctly and germination is nearly automatic.
Germination: What’s Normal and What Actually Means Trouble
Expect sprouts in 6 to 10 days at soil temps in the mid 60s to 70s, faster in warmer soil. The seed pushes up a bent stem first, then straightens and unfolds two rounded leaves.
If you assumed a cracked, split seed coat sitting half above the soil is a dying seedling, that’s the wrong read. It’s completely normal. The bean is shedding its seed casing as it straightens up, and it will shrug the shell off within a day or two on its own.
What’s actually worth worrying about: no movement at all after 12 to 14 days in warm soil. That usually means the seed rotted from cold, waterlogged soil, or something dug it up. Crows and squirrels pull sprouted beans right out of the ground for the seed still attached at the base.
If a stretch of your row is bare after two weeks, reseed it now rather than waiting and hoping.
Hardening Off and Transplanting (If You Started Indoors)
If you started seed indoors in pots, you do need to harden it off, same as any transplant. Set pots outside in a sheltered, shaded spot for an hour or two the first day, then add an hour daily, working up to full sun over 5 to 7 days.
Transplant on a cloudy, calm day if you can get one. Bright, windy afternoons stress a bean seedling badly right after the move.
Handle the root ball as little as possible. Beans have shallow, easily torn roots, and a seedling that loses too many root hairs in transplant often just stalls out and never really recovers its stride.
Set it at the same depth it was growing in the pot, water it in, and leave it alone for a few days.
Most growers who skip this step entirely, and just direct sow, never have to think about any of it again.
Caring for Green Beans Through the Season
Water is the main lever. Beans want about 1 inch of water a week, more during flowering and pod set, less once soil is consistently moist an inch down already.
The wrong-guess fix here is fertilizer. Growers see a slow, sluggish bean patch and reach for a high-nitrogen feed, which is the same mistake as overdoing it at planting. It pushes leafy growth and can actually delay or reduce flowering. If you feed at all, use something low in nitrogen and let the plant’s own root bacteria handle the rest.
Mulch 1 to 2 inches deep to hold moisture and keep weeds down; beans have shallow roots that don’t compete well with weeds and don’t love being hoed near their base.
Watch for Mexican bean beetles and aphids. Handpicking and a strong water spray handle light infestations. For heavier pressure, an insecticidal soap or labeled garden insecticide works, always applied exactly per the product label.
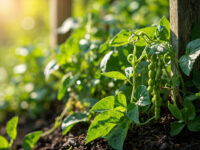
Pole varieties need their support in place before they start reaching for it, ideally at planting.
Once the plant is thriving, the next question is always the same one: how do you know it’s actually ready to pick.
Bloom to Harvest: Knowing When and How to Pick
Bush beans flower and start setting pods roughly 45 to 55 days from seed. Pole beans run longer, typically 55 to 70 days.
The sign most people misread is pod size. Bigger is not better here. A green bean at its best is firm, bright, snaps cleanly, and is about the diameter of a pencil, roughly 4 to 6 inches long depending on variety. Let pods swell and bulge with visible seed shapes inside and you get tough, stringy, starchy beans, and the plant slows down new flowering to finish ripening seed instead.
Pick every 2 to 3 days once pods start coming. Frequent picking is what actually keeps a bean plant producing for weeks instead of a single flush.
Bush beans tend to give a heavier, more concentrated harvest over 2 to 3 weeks. Pole beans spread production out over a much longer window if you keep picking.
Everything above is the real process. Here’s the short version worth keeping on your phone.
Green Beans at a Glance
- When to plant: direct sow once soil hits a steady 60°F or warmer, about 1 to 2 weeks after your last spring frost.
- Depth and spacing: 1 inch deep, bush beans 2 to 4 inches apart in rows 18 to 24 inches apart, pole beans 4 to 6 inches apart with support in place at planting.
- Germination window: 6 to 10 days in warm soil, reseed any bare spots after 12 to 14 days with no sprouts.
- Sun and water: full sun, 6 to 8 hours minimum, about 1 inch of water weekly, more during flowering and pod set.
- Feeding: go light on nitrogen. Beans make their own, and too much feeds leaves instead of pods.
- Days to harvest: bush types in about 45 to 55 days, pole types in about 55 to 70 days.
- Harvest cue: pods pencil-thin, firm, and snapping clean, picked every 2 to 3 days to keep the plant producing.
Get the soil temperature right and the spacing right, and green beans genuinely grow themselves from there.
Pick often, feed light, and you’ll be harvesting off the same plants for weeks.