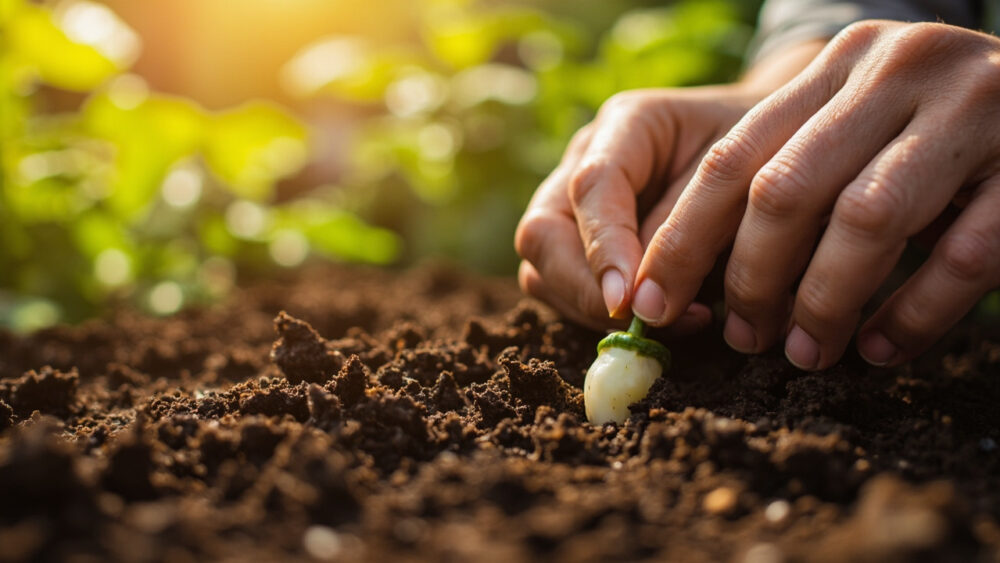
Growing bell peppers from seed starts 8 to 10 weeks before your last frost date, indoors, under warmth and light strong enough to mimic a slow, steady summer. Peppers are not a direct-sow crop in most of the country: they need a long, warm head start most climates cannot deliver outdoors in spring. Get that timing right and the seedlings basically grow themselves.
Here is what almost nobody tells you upfront. The mistake that kills most pepper attempts is not overwatering or underwatering, it is cold soil, both in the seed tray and later in the garden bed. Peppers will sit and sulk, or rot outright, in anything they consider chilly, and “chilly” to a pepper is warmer than most gardeners assume.
There is also a sign everyone misreads at transplant time, a follow-up question about why flowers keep dropping with no peppers forming, and the honest truth about how long this crop really takes from seed to a ripe, full-colored fruit. All of it is covered below, and the printable Bell Peppers at a Glance card is waiting at the bottom once you have the full picture.
When to Start Bell Pepper Seeds
Count backward 8 to 10 weeks from your average last frost date and start seeds indoors then. Peppers are slow starters, slower than tomatoes, and they need every one of those weeks to build a root system worth transplanting.
Direct-sowing pepper seed outdoors is a real option only in zones 9 and warmer, where soil stays reliably above 65°F for months on end. Everywhere else, the outdoor season simply is not long enough for seed sown straight into the ground to reach a harvestable pepper before fall.
If you are already past that 8 to 10 week window, do not panic and do not skip straight to direct sowing in a cool climate. Buy started transplants from a nursery this year and start your own seed on time next spring.
Timing is the foundation everything else in this guide sits on.
Sowing Bell Pepper Seeds Step by Step
Peppers germinate on warmth more than almost anything else you’ll grow. Get the temperature right and the rest is simple mechanics.
Step by step
- Medium: use a light, sterile seed-starting mix, not garden soil and not straight compost. Garden soil compacts in small cells and invites damping-off disease.
- Depth: sow seeds about 1/4 inch deep, no deeper. Buried too deep, a pepper seed may never push through.
- Containers: cell trays or 2-inch pots work fine at this stage, peppers do not need to start big.
- Temperature: keep the medium at 80 to 85°F using a seedling heat mat. Room temperature alone, even a warm room, is usually too cool and slows germination to a crawl.
- Light: light does not matter until germination happens, but have grow lights or a very bright south window ready the moment seedlings appear.
- Moisture: keep the mix evenly moist, never soggy, using a spray bottle or bottom watering so you do not dislodge the shallow seed.
Once seedlings break the surface, the temperature game changes completely.
Germination: What to Expect and When to Actually Worry
At 80 to 85°F, expect the first sprouts in 7 to 14 days. Drop to room temperature in the mid 60s and it can stretch to three weeks or more, with spotty, uneven results.
If nothing has emerged by day 21 and the medium has stayed consistently warm and moist, the seed is not coming. Old seed, seed that dried out once, or seed started too cool all fail this way, and the honest fix is to resow rather than keep waiting.
Once up, move seedlings under bright light immediately, within a day. Leggy, pale, stretched seedlings are almost always a light problem, not a water problem, a mix-up that costs people weeks of stunted growth before they figure out what actually went wrong.
Getting seedlings this far is the easy part, hardening them off for the outdoors is where patience actually pays.
Hardening Off and Transplanting
Here is the sign everyone misreads: seedlings that look strong and sturdy indoors are not automatically ready for direct sun and wind. That sturdiness is greenhouse strength, not outdoor strength, and skipping the hardening-off step scorches leaves within a day or two.
Harden off over 7 to 10 days, starting with an hour or two in a shaded, sheltered spot and adding time and sun exposure daily until seedlings tolerate a full day outside.
Transplant only after both the air and the soil have genuinely warmed. Nighttime lows should stay reliably above 55°F, and soil temperature should sit at 65°F or higher.
This is usually 2 to 3 weeks after your last frost date, not on the frost date itself. Peppers set outside too early into cold soil stall for weeks, sometimes never fully recovering their growth rate for the season, even once it warms up.
Space transplants 18 to 24 inches apart in rows 24 to 36 inches apart, and bury each seedling to the same depth it sat at in its pot, no deeper.
Once they are in the ground and settled, the plant’s needs shift toward steady maintenance.
Caring for Bell Peppers Through the Season
Peppers want consistent moisture, about 1 to 1.5 inches of water a week, and a mulch layer to keep soil temperature and moisture steady. Wide swings in either one cause blossom drop and blossom end rot on developing fruit.
Feed lightly and don’t overdo nitrogen. A balanced vegetable fertilizer at planting and again when the first flowers appear is enough. Too much nitrogen buys you a lush, leafy plant with few peppers on it.
Here is the honest answer to the question most people ask next: why do flowers keep dropping with no fruit forming? Usually it is heat stress above about 90°F, or a stretch of nights below 60°F, both of which peppers handle poorly during bloom.
It is rarely a pest or a disease, and it is not something you fix by feeding more. Give it a week of milder weather and pollinator activity picks back up on its own.
Support matters too. Bushy varieties loaded with fruit benefit from a stake or a small cage, since a heavy pepper load on a windy day snaps stems at the crotch.
With the plant fed, watered, and supported, the last stretch is simply waiting on color.
When Bell Peppers Reach Harvest
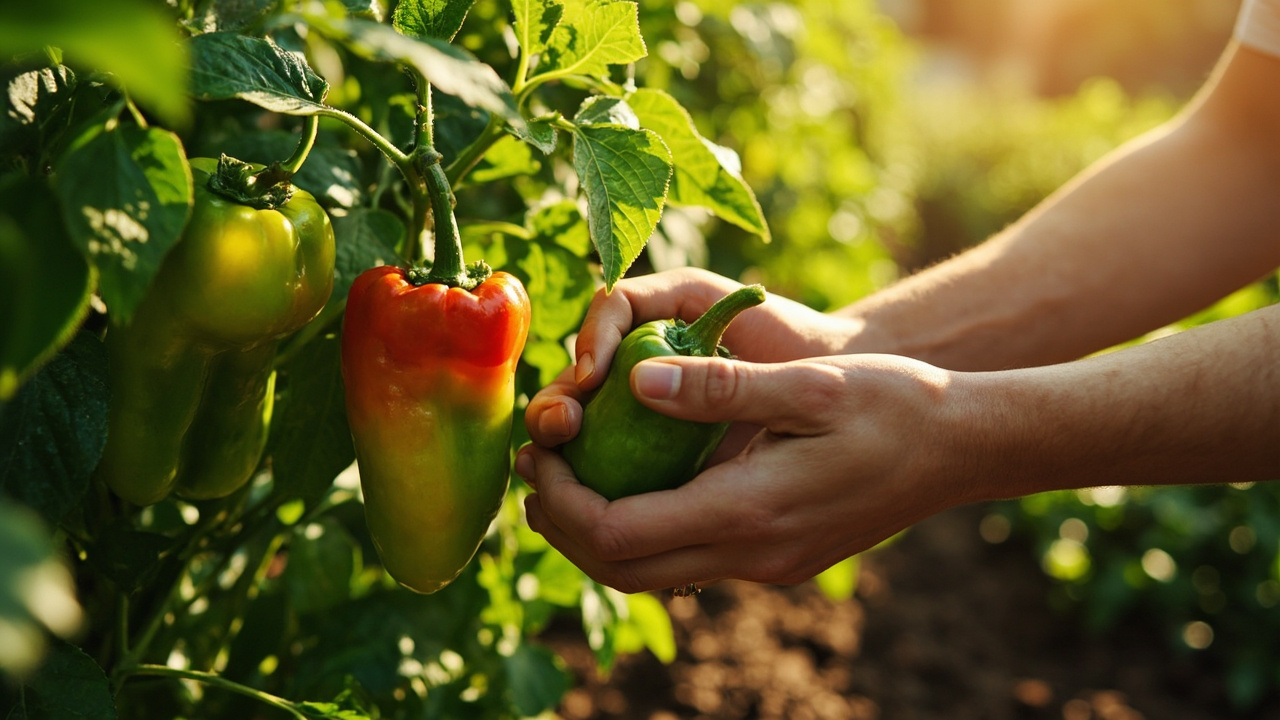
Bell peppers are edible, crunchy, and fully mature at green stage, usually 60 to 75 days after transplant. But green is not the final answer for most varieties.
Left another 2 to 4 weeks on the plant, the same pepper ripens to red, yellow, orange, or purple depending on variety, sweetening considerably as it does. That full color-change wait is the part most new gardeners underestimate, expecting a bell pepper to finish in one clean pass.
Harvest by cutting, not pulling, leaving a short piece of stem attached to the fruit and avoiding damage to the brittle branch it grew on.
Picking a few peppers green partway through the season actually encourages the plant to keep setting new flowers, so there is no wrong time to start harvesting once fruit reaches usable size.
Everything above adds up to one clean set of numbers, which is exactly what the card below is for.
Bell Peppers at a Glance
- When to start seeds: 8 to 10 weeks before your last frost date, indoors on a heat mat.
- Germination conditions: 80 to 85°F soil temperature, sprouts in 7 to 14 days, resow if nothing shows by day 21.
- When to transplant: 2 to 3 weeks after last frost, once nights stay above 55°F and soil hits at least 65°F.
- Spacing: 18 to 24 inches apart, rows 24 to 36 inches apart.
- Water and feed: 1 to 1.5 inches of water weekly, light balanced fertilizer at planting and at first bloom.
- Days to harvest: 60 to 75 days to green maturity, another 2 to 4 weeks on the plant for full color.
- Harvest method: cut with a bit of stem attached, don’t pull.
Warmth is the thread through every stage of this crop, from the seed tray to the transplant hole to the bloom itself. Get the temperature right at each step and bell peppers are one of the more forgiving vegetables you’ll grow.