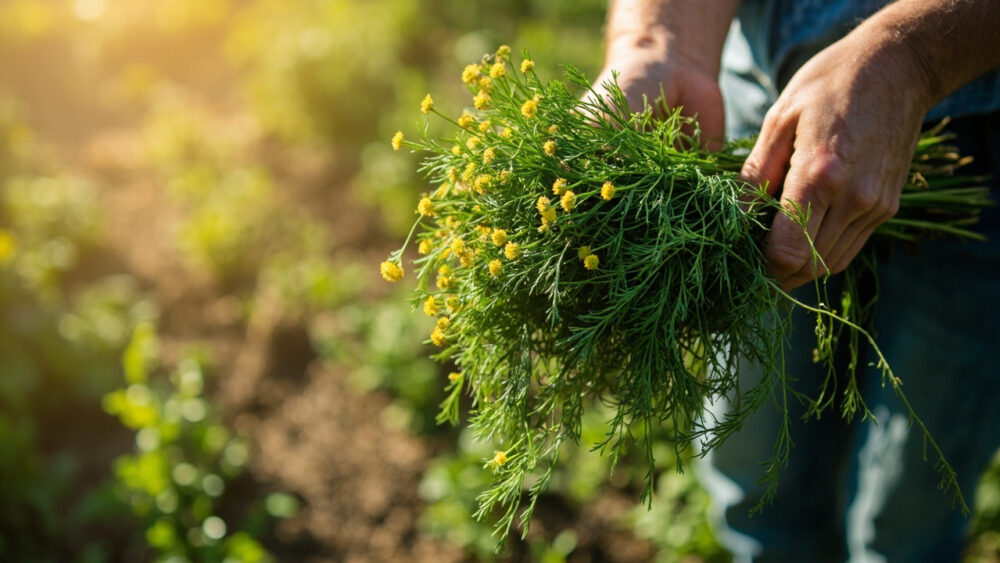
The best way to dry dill is to cut the feathery fronds in the morning right after the dew burns off, tie them in loose bunches, and hang them upside down in a warm, dark, airy spot for one to two weeks until the leaves crumble between your fingers. You can also lay the fronds flat on a screen or run them through a dehydrator at a low setting for a faster batch. Either way, how to dry dill comes down to catching the plant at the right stage and getting moisture out fast enough that it never sits around losing flavor or turning moldy.
Most people who try this end up with dill that tastes like grass clippings, and it is almost never a drying-method problem. It is a timing problem, and it happens before the herb ever reaches the hook.
There is also a sign gardeners misread constantly: the moment dill starts flowering, most people panic and rip the whole plant out. That instinct costs you flavor either way, and the real move depends on whether you want leaf, seed, or both. Stick with me and you will get the exact window, the harvest technique that keeps a plant producing for weeks instead of one cut, and a save-able Dill at a Glance card at the bottom with every number in one place.
The Signs Dill Is Ready to Cut for Drying
Dill is ready to harvest for drying once the plant has at least four to five feathery fronds and stands 8 to 12 inches tall, which usually takes 6 to 8 weeks from seeding. Younger dill has thin, watery leaves that lose almost all their flavor in the drying process.
Color and Texture
Look for fronds that are a deep, uniform blue-green, not pale or yellowing. The leaves should feel slightly firm, not limp, when you rub them between two fingers, a sign the oils that carry dill’s flavor have developed.
The Flowering Question
Once dill sends up a flat, umbrella-shaped flower head, leaf flavor starts to fade fast, though the plant itself is far from done. If you want dried leaf, harvest before or right at the first flower buds. If you want dill seed too, let some stalks flower and go to seed while cutting leaf from the rest of the plant.
Get this stage right and everything downstream, drying included, gets easier.
The Timing Window, and What Early or Late Cutting Actually Costs You
The real window for leaf harvest runs from when the plant hits 8 inches tall until just before it flowers, roughly a two to three week stretch depending on your climate. Dill grown in cooler weather holds that leafy stage longer; hot summer stretches push it toward flowering fast, sometimes in under two weeks.
Cut too early and you get thin, low-oil fronds that dry into flavorless straw. There is no fixing that later, thin leaf stays thin leaf.
Cut too late, after flowering is underway, and the leaves turn bitter and the plant redirects its energy into seed production. The dried result smells more like hay than dill. This is the mistake that sinks most first attempts: gardeners wait for the plant to look “full” and impressive, but by the time it looks that way it has usually already flowered.
Once you know the window, the next question is how to cut without stalling the plant’s regrowth.
How to Harvest Dill Without Wrecking the Plant
Dill does not regrow well from a hard chop at the base, so technique matters here more than people expect.
- Harvest in the morning, after dew dries but before the heat of the day, when essential oil content in the leaves is highest.
- Snip individual fronds or side stems with clean scissors or a sharp knife, cutting where the stem meets a main stalk, rather than shearing the whole plant flat.
- Leave the central growing tip and at least a few inches of stem and leaf lower on the plant intact so it can keep producing.
- Take no more than a third of the plant at one time if you want repeat harvests through the season.
Handle the cut fronds gently. Bruised dill oxidizes and browns faster, both fresh and once dried.
Cutting right gets you the material, but what happens in the next hour matters just as much.
What to Do Immediately After Cutting
Get dill out of direct sun the second it is cut. A basket left on a porch step in July heat starts wilting and losing oil within twenty minutes.
Rinse only if needed, and only if you are dealing with garden grit or aphids, since wet dill takes longer to dry and is more prone to mold. If you do rinse, shake off excess water and pat the fronds dry with a towel before moving on.
Sort out any yellowed, damaged, or flowering stems now. Drying does not improve compromised leaf, it just preserves whatever state you started with, flaws included.
With good material sorted and dry, you are ready for the actual drying step.
Drying Dill: Hang, Screen, or Dehydrator
All three methods work. Pick based on your climate and how much dill you have.
Air Drying (Hanging)
Gather 4 to 6 stems into a loose bunch, secure with string or a rubber band, and hang upside down in a warm, dark, dry room with good air movement. A closet, pantry, or covered porch out of direct light all work. This takes 7 to 14 days depending on humidity. Skip this method in humid climates unless you have a fan running, since dill mold’s before it fully dries if moisture lingers.
Screen or Rack Drying
Lay individual fronds flat, not touching, on a mesh screen or paper towel-lined tray in a warm, dark spot, flipping once a day. This is often faster and more reliable than hanging because more surface area is exposed to air, typically 4 to 7 days.
Dehydrator
Set the dehydrator to its lowest heat setting, ideally around 95 to 100°F. Spread fronds in a single layer and check every hour. Dill dries in 1 to 4 hours this way, but higher heat cooks off the volatile oils that give it flavor, so patience beats speed here.
However you dry it, you will know it is done the same way, and that test matters more than the clock.
How to Tell Dill Is Fully Dry, and How to Store It
Dried dill should crumble instantly when rubbed between your fingers, with no bend, no give, and no coolness or dampness left in the stem. If a leaf folds instead of snapping, it needs more time.
This is where a second common mistake happens: storing dill that feels “dry enough” but still holds trace moisture. Any residual moisture sealed in a jar turns to mold within days, and you will not catch it until you open the jar to a musty smell.
Once fully dry, strip leaves from the tough stems, discard the stems, and crumble the leaf coarsely rather than into powder, since finer bits lose flavor faster in storage. Pack into an airtight jar, label with the date, and store in a dark cabinet away from heat.
Stored this way, dried dill holds decent flavor for 6 to 12 months, though it is noticeably stronger in the first 3 to 4 months.
Get the drying right and storage is simple, but keeping the plant producing all season is its own skill.
Keeping the Harvest Coming
Dill is a cool-season herb that bolts to flower fast once heat arrives, so one planting rarely lasts an entire summer.
Succession sow every 3 to 4 weeks from early spring through midsummer to keep a steady supply of leafy, pre-flower plants coming instead of relying on one aging patch. Regular light harvesting, taking outer fronds and leaving the center, also delays flowering somewhat compared to letting the plant grow untouched.
If a planting bolts anyway, do not fight it. Let those stalks flower and go to seed for next year’s planting or for pickling, and start your next dill succession elsewhere.
All of that adds up to one simple reference you can keep on hand.
Dill at a Glance
- When to harvest for drying: once plants are 8 to 12 inches tall with four or more feathery fronds, before flower heads form, usually 6 to 8 weeks after seeding.
- Best time of day to cut: morning, after dew dries and before afternoon heat, when leaf oil content is highest.
- How much to take: up to one third of the plant per cutting, leaving the central growing tip intact for regrowth.
- Air drying time: 7 to 14 days hanging in a dark, warm, well-ventilated spot, faster on a screen at 4 to 7 days.
- Dehydrator setting: around 95 to 100°F, checking every hour, usually done in 1 to 4 hours.
- Doneness test: leaves crumble instantly with no bend or coolness left in the stem.
- Storage: airtight jar, dark cabinet, best flavor within 3 to 4 months, usable up to a year.
The whole process hinges on one thing: cut before it flowers, dry until it truly crackles.
Get those two moments right and everything else about drying dill takes care of itself.