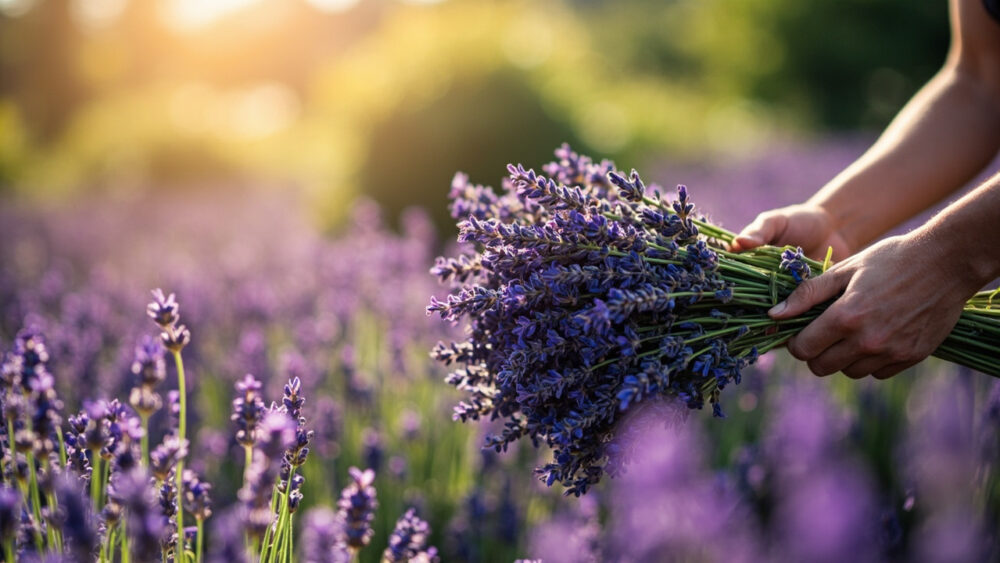
The right way to dry lavender is to cut the stems when about a third to half the flowers on the spike have opened, bundle six to ten stems with a rubber band, and hang them upside down in a dark, dry, airy spot for two to three weeks. That timing matters more than almost anything else you’ll do. Cut too early or too late and you lose scent, color, or both before the stems even finish drying.
Most people who try how to dry lavender for the first time make the same mistake: they wait for the whole spike to bloom because it looks prettiest right then. That’s actually the point of no return for fragrance.
There’s also a hanging mistake that quietly ruins batches over weeks, not days, and a storage step almost nobody does that decides whether your lavender still smells like anything six months from now. Stick around, because the full at-a-glance card with cut timing, bundle size, drying time, and storage is waiting at the bottom.
The Real Ready Signs, Not Just “When It Blooms”
Forget waiting for full bloom. The sign you actually want is partial color on the spike, roughly one third to one half of the individual flowers showing their true purple, blue, or pink, with the rest still tight buds.
Squeeze a flower head gently between your fingers. If it feels slightly waxy and firm rather than soft or wilted, you’re in the window.
The scent test
Rub a flower head between two fingers and smell them. If the oil is strong and sharp, the plant is loaded with the essential oils that give dried lavender its scent and color retention.
Weak smell now generally means weak smell later, no amount of drying time fixes that.
Next: what actually happens if you cut before or after this window, because both directions cost you something different.
The Timing Window: Early, Late, and the Sweet Spot
Cut too early, while the spike is still all green buds with no color at all, and the oil content hasn’t peaked. You’ll get pale, weak-smelling dried lavender that fades fast.
Cut too late, after most flowers have fully opened and started dropping, and you’ll lose flower heads to shattering during drying and handling. The color also dulls faster once flowers are fully spent.
The sweet spot, that one third to one half open stage, usually falls in early to mid summer in most climates, but it’s tied to your local bloom timing, not a date on the calendar. English lavender types typically bloom before French or Spanish lavender, so check each variety on its own schedule if you’re growing more than one.
Morning cutting beats afternoon every time. Cut after the dew has dried but before the heat of the day pulls the essential oils up and out of the flowers.
Once you know the window, the cut itself has its own rules.
How to Harvest Without Wrecking the Plant
Use clean, sharp bypass pruners, not scissors that crush the stem. A crushed stem invites rot and disease into the plant you’re leaving behind.
Cut stems long, taking 8 to 10 inches where the plant allows it. Long stems give you more to hang and more usable length if you’re making bundles, wreaths, or sachets later.
Cut just above a set of leaves, never down into bare woody stem. Lavender doesn’t reliably resprout from old wood the way some shrubs do, so cutting into leafless wood can leave that stem dead for the season.
Take no more than about a third of the plant’s flowering stems in one pass if you want strong regrowth and a second flush later in the season.
Here’s where most people undo all that careful cutting in the next five minutes.
What to Do in the First Hour After Cutting
Get stems out of direct sun immediately. Lavender left lying in a hot garden cart or on a sunny porch step starts losing oil within the hour.
Sort stems by length so your bundles hang evenly, then gather them in small bunches of six to ten stems. Bundles thicker than that trap moisture in the center and invite mold before the inside stems ever dry.
Secure each bundle with a rubber band, not string. Rubber bands tighten as the stems shrink while drying, so your bundle stays snug instead of loosening and dropping stems on the floor.
If you were about to guess that more stems per bundle means a bigger harvest faster, that’s the guess that grows mold instead of lavender.
Hanging to Dry: The Part Everyone Rushes
Hang bundles upside down, flowers pointing down, in a spot that’s dark, dry, and has decent air movement. A closet, attic, garage, or covered porch out of direct light all work.
Darkness matters as much as dryness. Direct sun bleaches the purple out of dried lavender fast, turning vivid spikes gray brown within days.
Give bundles space between them, at least a few inches, so air moves freely around each one. Crowded bundles hung wall to wall dry unevenly and are where mold usually starts.
Most lavender is fully dry in two to three weeks. You’ll know it’s ready when stems snap cleanly instead of bending, and flower heads feel brittle and crumbly rather than springy.
Humid climates and thick bundles can push drying past three weeks, so check rather than assume.
Once it’s dry, the clock starts on how well you protect what you just made.
Curing, Storing, and Keeping the Scent Alive
Strip flowers off the stems by running your fingers down the spike over a bowl or paper bag, or just leave whole spikes intact if you want them for wreaths and bundles rather than loose buds.
Store loose buds in an airtight glass jar, out of direct light, in a cool spot. Plastic bags work in a pinch but glass holds scent longer and doesn’t trap residual moisture against the flowers.
Whole dried bundles keep their look and scent for six months to a year before fading. Loose buds in a sealed jar, kept dark and cool, can hold decent scent for a year or more.
If the scent ever feels weak once dried, that’s an oil problem from harvest timing, not a storage fix, so note the timing for next year rather than blaming the jar.
That’s the whole cycle, cut, bundle, hang, cure, store, and the card below is the version worth saving.
Lavender at a Glance
- When to cut: when about one third to one half of the flowers on each spike have opened, usually early to mid summer depending on your climate and variety.
- Time of day: mid morning, after dew dries but before afternoon heat pulls oils out of the flowers.
- How to cut: use clean bypass pruners, take 8 to 10 inch stems, cut just above a leaf set and never into bare woody stem.
- How much to take: no more than about a third of the plant’s flowering stems per harvest for good regrowth.
- Bundle size: six to ten stems per bunch, secured with a rubber band, not string.
- Drying conditions: hang upside down in a dark, dry, airy spot, bundles spaced apart, for two to three weeks.
- Storage: strip buds into an airtight glass jar kept cool and dark, or keep whole bundles intact for six months to a year of good scent.
Get the cutting window right and everything else is just patience and a dark closet.
Get it wrong and no amount of careful hanging brings the scent back.