Here’s the honest answer: most of the time, you don’t need to deadhead hibiscus at all. Each bloom only lasts a day or two anyway and drops on its own, so the plant is already doing the cleanup for you. Learning how to deadhead hibiscus really matters for tidiness, for stopping seed pod formation on hardy types, and for a specific pinch-back technique that pushes out more branching and more flowers than deadheading alone ever will.
That last part surprises most people. If you assumed deadheading is the main lever for more blooms on hibiscus, that guess costs you flowers, because the real lever is pinching new growth tips, not chasing spent flowers around the shrub.
There’s also a mistake that quietly ruins a whole season on tropical hibiscus, a sign on the stem that everyone reads backwards, and the honest truth about whether cutting spent blooms actually gets you more flowers. All of it is below, and the saveable Hibiscus at a Glance card is waiting at the bottom once you’ve walked through it.
When to Deadhead, and When to Leave It Alone
Tropical hibiscus (Hibiscus rosa-sinensis) blooms nearly nonstop through warm months, and each flower closes and drops within a day or two on its own. There’s nothing to cut here in most cases. You’re mainly removing spent blooms for appearance, or clipping the swollen bud base if it’s turning brown and mushy before it drops naturally.
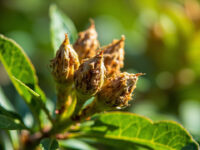
Hardy hibiscus (Hibiscus syriacus, the rose of sharon type, and Hibiscus moscheutos) is where deadheading earns its keep. These set seed pods behind every spent bloom, and if you don’t remove them, the plant redirects energy into seed production instead of more flowers, and you’ll get volunteer seedlings coming up everywhere next spring.
Don’t deadhead once you’re within about six weeks of your first fall frost. Cutting that late just wastes the plant’s energy on new growth that won’t have time to harden off.
Timing decided, the next question is what you actually need in hand before you make a cut.
The Tools and the One Prep Step That Matters
You need clean, sharp bypass pruners or simply your fingernails, since hibiscus stems at the bloom are soft enough to pinch through by hand. That’s really it for tools.
The prep step people skip is checking the base of the flower before you cut anything off. Hardy hibiscus flowers sit right in front of a developing seed pod, and if you just snap off the papery petals and leave the swollen green pod behind, you’ve done nothing. The pod is the part driving energy away from new blooms, not the wilted petals.
Wipe your pruner blades with rubbing alcohol between plants if you’re working on more than one hibiscus, especially if any of them are showing leaf spot or dieback. It takes ten seconds and it stops you from spreading a problem from a sick plant to a healthy one.
Once your eyes know where the pod actually is, the cut itself is simple.
How to Deadhead Hibiscus, Step by Step
Step 1: Find the true cutting point
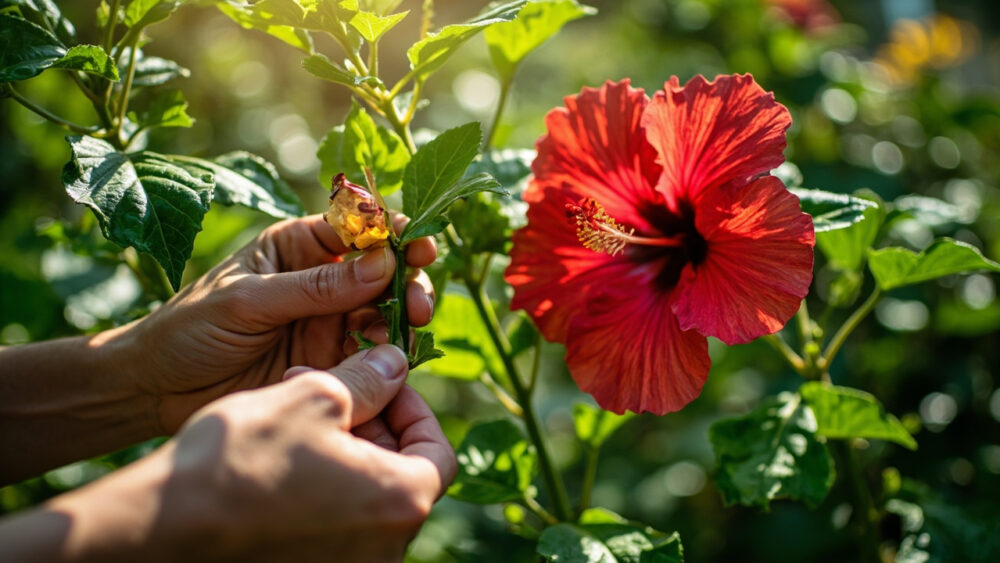
Follow the spent bloom down to where its short stem meets the main branch, or to the swollen pod just behind the petals on hardy types. That junction, not the flower itself, is where you cut.
Step 2: Cut or pinch just above a leaf node
Snip about a quarter inch above the nearest leaf node or side bud. Cutting too far above it leaves an ugly stub that dies back; cutting into the node itself can damage the growth point you want to keep.
Step 3: Remove the pod, not just the petals
On hardy hibiscus, cut through the stem below the developing seed pod. On tropical hibiscus, you’re usually just removing the whole spent flower and its short stem back to the nearest leaf.
Step 4: Pinch growing tips separately for more blooms
This is the technique most people never learn. Pinch out the very top half inch of actively growing stem tips on young or leggy plants, which forces two new side branches where there was one growing point. More branches means more bud sites by midsummer.
That’s the whole physical process, but knowing what happens next tells you whether it worked.
What to Expect After You Deadhead
On tropical hibiscus, don’t expect a visible flush of new blooms just because you deadheaded. New buds were already forming days ago along the stem, so removing old flowers mostly just cleans up appearance rather than triggering fresh growth.
The sign everyone misreads is a black or dark brown spot right where a flower dropped. People assume that’s disease and panic. It’s almost always just the natural abscission scar where the bloom detached, and it will callus over and disappear into the bark within a couple of weeks.
On hardy hibiscus, removing seed pods before they mature and dry does redirect energy, and you’ll typically see a modest increase in bud count over the following few weeks, especially early in the season.
If you pinched growing tips, expect a short pause before you see two shoots emerge where you cut, usually within one to two weeks in warm weather.
The pause is normal, but a few habits turn that pause into a real setback.
The Mistakes That Cost You Flowers
- Deadheading in late summer or fall on hardy types: pushing new growth within six weeks of frost wastes energy on tissue that will just die back over winter.
- Leaving the seed pod behind: pulling off wilted petals but ignoring the swollen pod means you haven’t stopped seed production at all.
- Shearing the whole plant like a hedge: this removes future bud sites indiscriminately and delays bloom by weeks compared to targeted spot deadheading.
- Cutting tropical hibiscus back hard in cool weather: below about 50°F, tropical hibiscus stops actively growing, and hard pruning then just leaves open wounds that heal slowly.
- Ignoring bud drop and blaming deadheading for it: unopened buds dropping is almost always thrips, inconsistent watering, or a sudden temperature swing, not anything you did with your pruners.
Avoid those five and deadheading becomes a five-minute habit instead of a chore you dread.
Hibiscus at a Glance
- When to deadhead: anytime blooms fade during active growing season, but stop cutting within about six weeks of your first fall frost.
- Where to cut: just above the nearest leaf node, and on hardy types, below the swollen seed pod behind the flower.
- How much to remove: only the spent bloom and its short stem, not healthy foliage or unopened buds.
- Tools needed: clean bypass pruners or just your fingers, since hibiscus stems at the bloom are soft.
- Best trick for more flowers: pinch the top half inch off actively growing stem tips to force branching.
- Normal after cutting: a small dark scar where the flower detached, which calluses over in a couple of weeks.
- Skip deadheading entirely on: tropical hibiscus grown purely for casual color, since spent blooms drop on their own within a day or two anyway.
Most hibiscus flowers are gone within a day whether you touch them or not.
Your real job is pinching growth tips and clearing seed pods, not chasing every faded bloom.