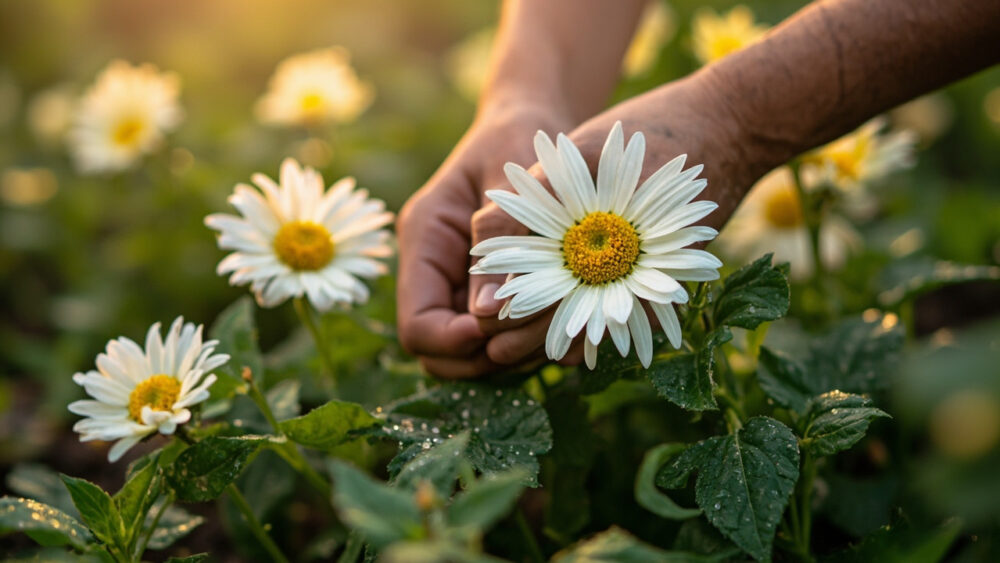
Care for Shasta daisies by giving them full sun, well-drained soil, and about an inch of water a week, then dividing the clumps every two to three years so they do not choke themselves out. That last part is the piece most people skip, and it is why a bed of Shasta daisies looks incredible for two summers and then goes thin and floppy in the third. Get the division timing right and this plant will outlive the fence you planted it next to.
There are a few other things nobody tells you upfront. The plant everyone assumes is drought-tough because it looks so tough actually sulks fast in dry clay. The floppy, splitting-open-in-the-middle look that shows up in year three is not a disease, and most people treat it like one. And the deadheading step gets skipped constantly, which is the single fastest way to turn a summer-long bloomer into a plant that quits by July.
Stick with me through the sections below and I will walk through light, watering, soil, the seasonal chores, the pests and problems actually worth worrying about, and how to read a genuinely happy plant. At the bottom is a save-able Shasta Daisies at a Glance card with the numbers in one place, worth screenshotting before you head back out to the garden.
Light, Placement, and Temperature
Shasta daisies want full sun, six or more hours a day. In hot, dry climates, zone 8 and up, afternoon shade helps them hold their flowers longer and keeps the foliage from crisping. In cooler regions, more sun means more and sturdier bloom stalks.
They are hardy roughly in zones 4 through 9, and the plant itself tolerates cold well. What it does not tolerate is soggy winter feet, so if your soil holds water, raise the bed a few inches or work in coarse material before you plant.
Give them room too. Crowd them against a wall or under taller perennials and you get leggy, sun-starved stems that flop instead of standing up straight.
Get the site right and watering gets a lot more forgiving.
Watering: How Much, How Often, and How to Tell
Water new plants two to three times a week for the first few weeks, then taper to about an inch of water weekly once established, from rain or hose combined. Established clumps handle brief dry spells, but do not mistake that for drought tolerance the way people assume it works.
If you guessed this plant shrugs off neglect because the foliage looks tough and a little fuzzy, that guess is what produces stunted, sparse bloom stalks by midsummer. Shasta daisies actually want consistent moisture, especially while budding, and dry soil during that window is the main reason people get a weak first flush of flowers.
Check by pushing a finger two inches into the soil near the base. Dry at that depth means water. Damp means wait a day.
The soil under those roots matters just as much as what comes out of the hose.
Soil, Drainage, and Feeding
Shasta daisies want soil that drains fast but still holds a little moisture, something like a loose loam with compost worked in. Heavy clay is the top killer of this plant over winter, since wet roots that sit cold and soggy rot before spring.
If your ground is clay, amend generously or plant in a raised bed or mound. Skip that step and you will lose plants to crown rot no matter how well you handled everything above ground.
Feeding stays light. A balanced granular fertilizer in early spring, or an inch of compost worked into the surface, is plenty. Heavy nitrogen feeding produces lush leaves, weak stems, and fewer flowers, which is the opposite of what you’re after.
Good soil sets the plant up, but the yearly chores are what keep it looking like this every single summer.
The Chores That Actually Keep This Plant Blooming
Deadhead spent flowers by snipping the stem down to the next set of leaves or to the base. Skip this and the plant redirects energy into seed production instead of new buds, and bloom slows to a stop by midsummer instead of running until fall.
Cut the whole plant back by roughly a third after the first big flush fades, usually mid to late summer, and you will often get a second round of flowers before frost.
In late fall or early spring, cut dead foliage down to a couple inches above the crown. Leaving old, wet foliage sitting on the crown over winter is an easy way to invite rot.
Dividing, the Step Everyone Skips
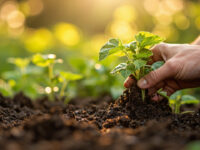
Every two to three years, dig the whole clump in early spring or right after fall bloom, and split it into fist-sized sections with a spade or your hands. Replant those sections 12 to 18 inches apart.
That open, splitting-apart, floppy-centered look in an older clump is not disease and it is not a sign you did something wrong. It is simply an overgrown crown that has outcompeted its own roots, and division is the entire fix.
Miss this step for too many years running and even a healthy-looking planting can decline fast.
Problems Worth Watching For
Powdery mildew, a gray-white coating on leaves, shows up in humid weather with poor air circulation. Space plants properly, water the soil instead of the foliage, and remove badly affected leaves. A fungicide labeled for powdery mildew on ornamentals can help if it’s caught early; follow the product label exactly.
Aphids cluster on new growth and buds. A strong water spray or insecticidal soap applied per the label usually knocks them back within a week or two.
Slugs and snails chew ragged holes in leaves, especially on young spring growth in damp conditions. Handpicking in the evening or a labeled slug bait handles most infestations.
Shasta daisies are not toxic to dogs or cats according to major toxicity references, though any plant material eaten in quantity can cause mild stomach upset. If a pet eats a large amount and seems unwell, call your veterinarian.
Most of these problems are minor and beatable, which brings up the more useful question: what does it look like when none of them are a problem at all?
How to Tell Your Shasta Daisy Is Actually Thriving
A thriving plant has dark green, upright foliage that stays dense at the base, not sparse or yellowing. New basal shoots should appear at the crown edges each spring, which is next year’s growth announcing itself early.
Bloom stalks should stand mostly on their own, needing little to no staking, with flowers held above the foliage rather than flopping into it. A plant putting out a strong first flush, a shorter rebloom after cutback, and returning fuller the following year is doing exactly what it should.
If clumps are getting crowded and centers are thinning even while the plant looks otherwise healthy, that is not decline. It’s your reminder that division season is coming.
Everything above adds up to a short list worth keeping on your phone for the next time you’re standing in front of this plant wondering what to do.
Shasta Daisies at a Glance
- Light: full sun, six or more hours daily, afternoon shade in hot climates zone 8 and up.
- Watering: about one inch weekly once established, more frequent for new transplants, check soil two inches down.
- Soil: loose, well-drained loam with compost worked in, raised beds if you have clay.
- Feeding: light balanced fertilizer or an inch of compost in early spring, avoid heavy nitrogen.
- Pruning: deadhead through summer, cut back by a third after first flush for rebloom, cut to the crown in fall or early spring.
- Dividing: every two to three years, early spring or after fall bloom, replant sections 12 to 18 inches apart.
- Hardiness: roughly USDA zones 4 through 9, cold-hardy but intolerant of soggy winter soil.
Get the drainage and the division schedule right and almost nothing else can go seriously wrong.
Everything else on this list is just maintaining a plant that wants to be easy.