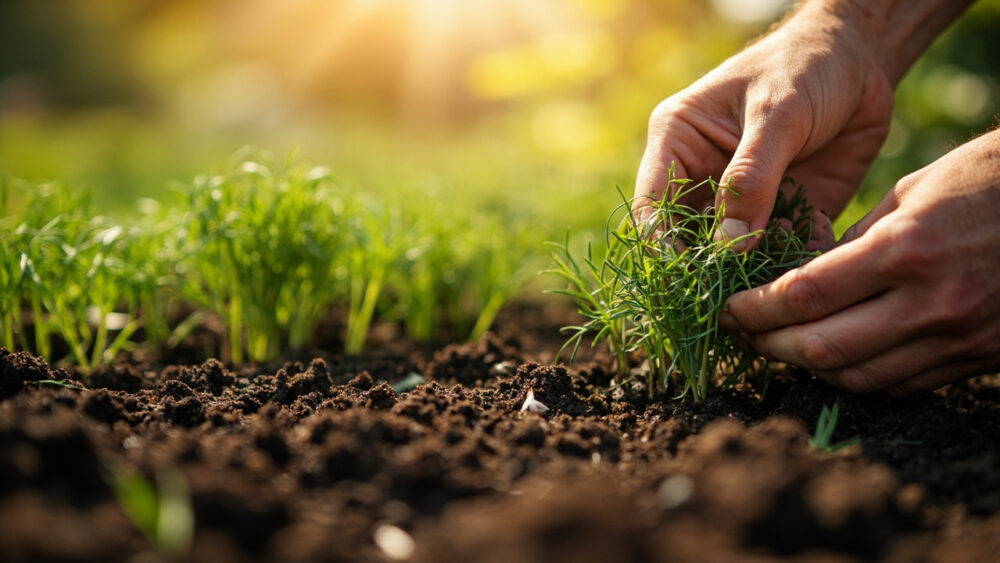
Learning how to grow dill from seed comes down to this: sow it shallow, direct in the garden where it can drop a taproot, once soil hits about 60°F, and keep it away from transplanting whenever you can. Dill resents having its roots disturbed, it germinates in one to three weeks, and it goes from seedling to flowering seed head faster than most gardeners expect. Get the timing and depth right and it is nearly foolproof.
But there are a few honest traps here. Most people either bury the seed too deep and wonder why nothing came up, or they start it indoors in cell packs and watch half the transplants sulk and bolt straight to flower without ever giving them a real harvest.
There is also the question nobody asks until it happens: why did my dill just throw up a flower stalk after three weeks of good growth. That is coming, along with the exact fix. Stick around for the Dill at a Glance card at the bottom, save it to your phone before you head out to the garden.
When to Start Dill Seeds
Direct sow dill two to three weeks before your last frost date, once you can work the soil, or wait until a week or two after last frost if your springs run cold and wet. Dill tolerates light frost as a seedling but germinates poorly in cold, soggy ground.
Soil temperature matters more than the calendar. Dill wants soil in the 60 to 70°F range for reliable, even germination. Below 50°F it will sit there and rot before it sprouts.
Skip starting dill indoors unless you have no other option. It grows a long taproot almost immediately, and that root does not forgive transplant shock the way tomatoes or peppers do.
If your season is genuinely too short to direct sow, there is still a way to start it indoors without wrecking it.
Sowing Dill Step by Step
If you are direct sowing, which is the better move for most gardens, here is the exact process.
Steps for direct sowing dill
- Pick full sun: dill wants six or more hours of direct sun and grows tall, so give it a spot sheltered from strong wind.
- Loosen the soil: work it eight to ten inches deep so that taproot has nowhere to fight.
- Sow shallow: plant seeds only 1/4 inch deep. Dill seed needs light to germinate well, so do not bury it.
- Space or thin: sow seeds about an inch apart, then thin seedlings to 12 to 18 inches once they have true leaves.
- Water gently: keep the top inch of soil consistently moist, not soaked, until germination.
If you must start indoors, use biodegradable pots you can plant whole, so the roots never get disturbed at transplant.
Once seed is in the ground, the waiting game starts, and knowing what normal looks like saves you from pulling up seedlings that were fine.
Germination: What’s Normal and What’s Not
Expect dill to germinate in 10 to 21 days at 60 to 70°F soil temperature. Cooler soil stretches that out considerably, sometimes past three weeks.
The seedlings emerge as two thin, grass-like leaves, easy to mistake for weeds if you were not paying attention to your rows. Give it a full three weeks in warm soil before you assume a failure.
If nothing has shown at three weeks and the soil has stayed reliably above 60°F, the seed lot or seed depth is the likely culprit, not your technique. Reseed rather than waiting longer.
If you assumed uneven sprouting means bad seed, that is usually not it. Dill germinates in flushes, so a thin first showing followed by more seedlings a week later is completely normal and not a sign to resow.
Once you have a solid stand of seedlings an inch or two tall, thinning is next, and this step is the one most new growers skip.
Thinning, Hardening Off, and Transplanting
Thin ruthlessly. Crowded dill produces spindly, weak stems and bolts to flower faster under stress. Snip extra seedlings at the soil line with scissors instead of pulling, so you do not disturb the roots of the ones staying.
If you started indoor pots, harden off over five to seven days: a couple hours of outdoor shade the first day, building up to a full day of sun by the end of the week.
Transplant on an overcast day or in the evening, pot and all if you used biodegradable containers, disturbing the root ball as little as possible. Water it in well immediately.
Even with careful handling, transplanted dill often bolts sooner than direct-sown dill, that is the tradeoff, not a mistake on your part.
Once plants are established, whether direct sown or transplanted, the season’s real work is keeping them growing instead of flowering.
Caring for Dill Through the Season
Dill is low-maintenance but not zero-maintenance. Water consistently, about an inch a week, more in hot, dry stretches. Inconsistent watering stresses the plant into bolting early.
Skip heavy fertilizing. Dill grown in rich, over-fed soil grows lanky and prone to flopping over; a single light feeding at planting is plenty.
Tall varieties may need staking or a spot with some wind protection, since a mature dill plant can hit three to five feet and topple in a summer storm.
Watch for aphids clustering on the ferny foliage and flower heads. A strong blast of water or insecticidal soap applied per the product label handles most infestations; dill also attracts beneficial predatory wasps and ladybugs, so light infestations often resolve on their own.
Succession sow a new round every three to four weeks through early summer if you want continuous fresh leaf instead of one big flush that all bolts at once.
That successive sowing trick is also the real answer to the bolting problem everyone runs into.
Why Dill Bolts, and the Honest Fix
Here is the follow-up question everyone has once their dill suddenly throws up a tall central stalk with a flat cluster of yellow flowers: is this normal, and did I do something wrong.
It is normal. Dill is an annual that is genetically wired to flower and set seed once days lengthen and temperatures climb, usually 8 to 10 weeks after germination. Heat stress and inconsistent watering speed this up further.
You cannot stop bolting once it starts. Cutting off the flower stalk buys a little time but the plant’s energy is already committed to seed production, and leaf quality drops regardless.
The real fix is not fighting bolting, it is planning around it: succession sow every few weeks, and treat each planting as a six to eight week leaf-harvest window before letting the rest go to flower and seed.
That flowering stage is not wasted, though, it is exactly what you want if you are harvesting dill seed or dill heads for pickling.
When and How to Harvest Dill
For fresh leaf, or “dill weed,” start snipping once plants are 6 to 8 inches tall, usually 8 weeks or so after sowing. Cut the feathery leaves in the morning after dew dries, when their aromatic oils are strongest.
Harvest no more than a third of the plant at a time so it keeps producing.
For dill seed, wait until the flower heads turn brown and seeds feel firm and dry, not green and soft. Cut the whole head into a paper bag and let it finish drying somewhere airy for a week before shaking the seed loose.
For pickling, cut the flower heads (called dill flower or dill weed heads) right when they are fully open and bright yellow, before seed sets.
However you plan to use it, here is everything worth keeping in one place.
Dill at a Glance
- When to plant: direct sow two to three weeks before last frost, or once soil holds steady at 60 to 70°F.
- Depth and spacing: sow 1/4 inch deep, thin to 12 to 18 inches apart in full sun.
- Germination: 10 to 21 days in warm soil, slower and patchier in cool soil, uneven emergence is normal.
- Water and feeding: about an inch of water weekly, light feeding only, rich soil makes weak, floppy stems.
- Time to harvest leaf: about 8 weeks from sowing, when plants reach 6 to 8 inches tall.
- Bolting: expect flowering around 8 to 10 weeks, especially in heat, succession sow every 3 to 4 weeks for continuous leaf.
- Seed harvest: cut flower heads once brown and dry-feeling, finish drying in a paper bag a week before threshing.
Dill does not need coddling, it needs a shallow hole, warm soil, and to be left alone once it is in the ground.
Get those three things right and you will have more dill than you know what to do with by midsummer.