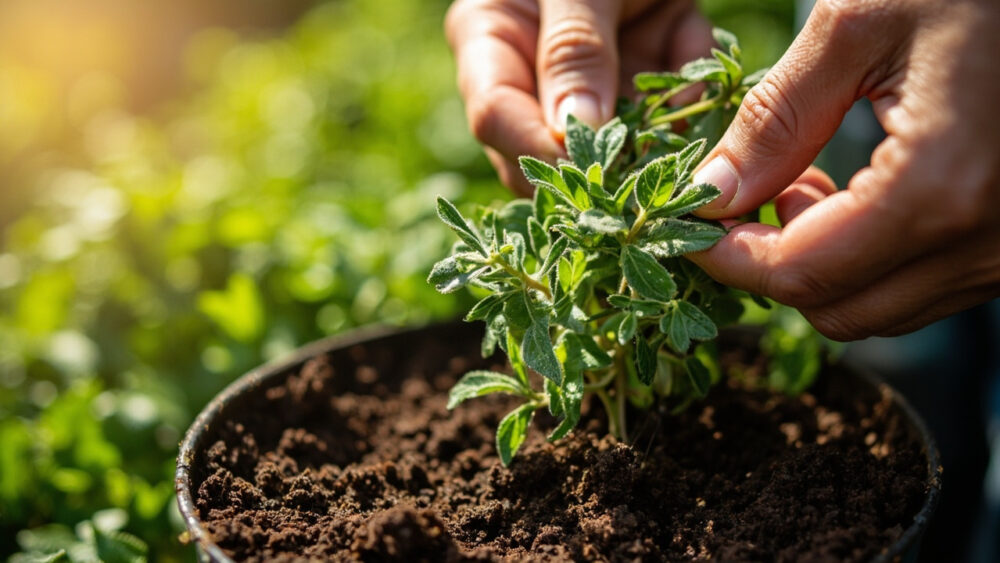
The method that actually works is a 3 to 4 inch stem cutting, stripped of its lower leaves, rooted in plain water or damp perlite, kept out of direct sun until it grows real roots. That’s it. No rooting hormone required, no special setup, and most healthy cuttings show roots in 10 to 14 days. If you’re trying to figure out how to grow oregano from cuttings and you’ve got a leggy plant in front of you right now, you can start this in the next five minutes.
But here’s where most people lose the plant without realizing it: they take the cutting from the wrong part of the stem, or they leave it sitting in a sunny window “to help it root faster,” which does the opposite. There’s also a sign at day 10 that looks like failure but usually isn’t, and a step almost everyone skips that determines whether your cutting turns into a real bushy plant or a sad single stem that limps along for months.
I’ll walk through the whole thing in order, week by week, including the mistakes that quietly kill most attempts. Save-able specifics, spacing, timing, the works, are in the “Oregano at a Glance” card at the very bottom, so keep scrolling once you’ve got the method down.
Why Cuttings Beat Seeds for Oregano
Oregano grown from seed is slow and genetically unpredictable. Seed-grown plants can vary wildly in flavor strength, since oregano cross-pollinates and doesn’t come true to type reliably.
A cutting is a clone. If you’re rooting from a plant with good flavor and a compact habit, every cutting inherits exactly that. It’s also faster: a cutting can be a plantable, established herb in 4 to 6 weeks, where seed takes 2 to 3 months just to get to transplant size.
The catch is that cuttings need the right piece of stem and the right conditions, and that’s where the process actually lives or dies.
Step by Step: Taking and Rooting the Cutting
Taking the cutting
Look for a stem that’s green and semi-soft, not the woody brown growth at the base of an older plant. Woody stems root poorly and slowly, if at all.
Cut a 3 to 4 inch piece just below a leaf node, using clean scissors or a sharp knife. Morning is the best time, when the stem is full of water and hasn’t stressed in afternoon heat.
Strip the bottom leaves, leaving only the top 2 to 3 pairs. Those bare lower nodes are exactly where roots will form, and leaves left on that section will just rot in water or soil.
Rooting medium and conditions
Water works fine for oregano, and it lets you watch root progress, which is satisfying and useful. Use a small glass, change the water every 2 to 3 days so it doesn’t turn stagnant and rot the stem.
Damp perlite or a light, well-drained seed-starting mix works just as well and often produces sturdier roots that transplant with less shock. Either way, keep the cutting in bright, indirect light, never direct sun.
Direct sun on a leafy, rootless cutting causes it to lose water faster than it can replace it with no roots to pull from. That’s the mistake that quietly kills more cuttings than anything else, and it looks like the plant is “getting more light,” when really it’s being dehydrated to death in slow motion.
Next comes the part where most people either get impatient or misread a totally normal warning sign.
Week by Week: What to Actually Expect
Week 1: The cutting may droop a little for the first day or two, which is normal transplant stress, not failure. No visible change below the waterline or soil yet.
Week 2: Small white root nubs appear at the stripped nodes, usually between day 8 and 14. In soil or perlite, you won’t see this, so instead watch for the cutting standing firm and upright rather than flopping.
Here’s the sign everyone misreads: around this time, a lower leaf or two may yellow and drop. People assume the cutting is dying. Usually it’s just the plant reallocating energy into root growth, completely normal as long as the top leaves stay green and upright.
Week 3 to 4: Roots thicken and multiply, reaching 1 to 2 inches long. New tiny leaf growth at the tip is your clearest confirmation that the cutting has truly taken and is functioning as a plant again, not just surviving.
Once you’ve got that new growth, it’s time to think about moving the cutting into real soil.
Potting Up and Planting Out
Pot rooted cuttings into a 3 to 4 inch container once roots hit about 1 to 2 inches long, using a well-drained potting mix. Oregano hates wet feet, so skip anything that holds heavy moisture.
If you rooted in water, the transition to soil is the riskiest moment, since water roots are softer and more brittle than soil roots. Handle them gently, plant at the same depth they were sitting, and water in immediately so the roots don’t dry out during the move.
Keep the newly potted cutting out of harsh direct sun for another 7 to 10 days to let it adjust, then gradually introduce more light.
For moving outdoors, wait until nighttime temperatures are reliably above 50°F, generally a couple weeks after your last frost date. Harden the plant off over 5 to 7 days, giving it a bit more outdoor time each day before it lives outside full time.
Space plants 8 to 12 inches apart in a spot with at least 6 hours of sun and soil that drains fast after rain, and that’s your last real decision point before this becomes a normal, established oregano plant.
That brings us to the honest reason most attempts at this fail in the first place.
Why Most Cutting Attempts Actually Fail
It’s rarely the rooting itself. Oregano roots easily, easier than basil, easier than rosemary. The real failure points are almost always about what happens before and after rooting.
- Taking cuttings from woody stems: old, brown, stiff growth rarely roots, no matter how long you wait.
- Leaving leaves on the buried or submerged section: those leaves rot, foul the water or soil, and take the stem down with them.
- Direct sun too early: a rootless cutting in full sun dehydrates before it ever gets the chance to root.
- Overwatering after potting up: oregano’s biggest killer at every life stage is soggy, poorly drained soil.
- Rushing the hardening-off step: a cutting moved straight from a sheltered spot to full outdoor sun and wind can collapse in a single afternoon.
Fix those five things and there’s genuinely little left to go wrong, which is exactly why this method has such a strong reputation among people who grow their own herbs.
Here’s everything worth keeping on hand for next time, in one place.
Oregano at a Glance
- Best cutting type: green, semi-soft stem, 3 to 4 inches long, taken just below a leaf node.
- Rooting medium: plain water, changed every 2 to 3 days, or damp perlite, both work well.
- Light while rooting: bright, indirect light only, no direct sun until roots are established.
- Time to root: 10 to 14 days for visible roots, 3 to 4 weeks for a strong, transplant-ready root system.
- When to pot up: once roots reach 1 to 2 inches long, into a well-drained potting mix.
- When to plant outside: after nighttime temperatures stay above 50°F, hardened off over 5 to 7 days.
- Spacing outdoors: 8 to 12 inches apart, in full sun, in fast-draining soil.
Oregano is genuinely one of the easiest herbs to clone, as long as you keep it out of direct sun until it earns its roots.
Get that one detail right and the rest of this pretty much takes care of itself.