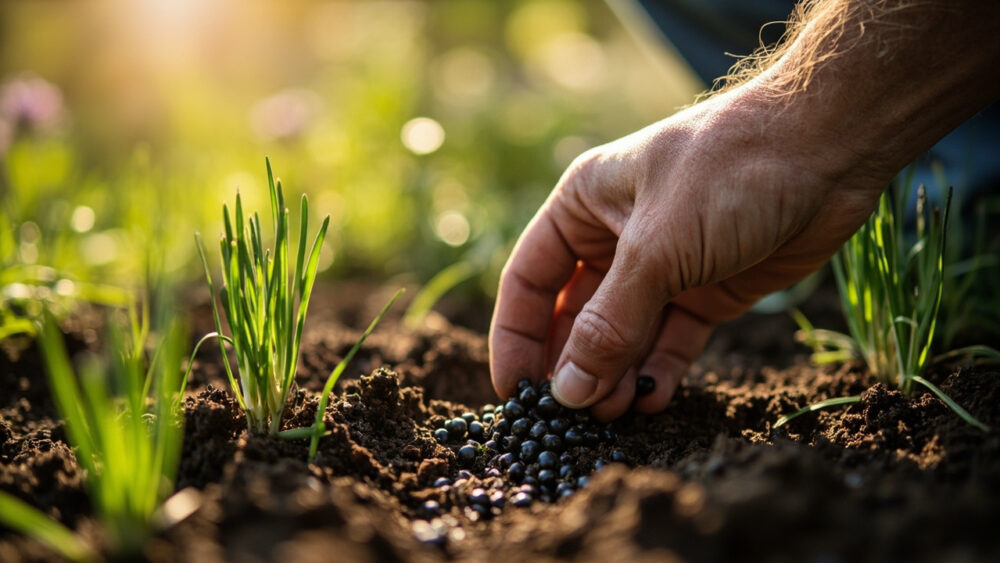
Growing chives from seed is genuinely one of the easier herb projects you can take on, but most people blow the timing before they ever drop a seed in soil. Sow indoors 8 to 10 weeks before your last frost, or direct sow outside once soil hits about 60°F, cover the seed barely with 1/8 to 1/4 inch of soil, and expect germination in 10 to 21 days. From there you’re looking at 60 to 90 days to a harvestable clump, though the plant will test your patience early on.
Here’s what nobody tells you upfront: chive seed germinates slowly and unevenly compared to most kitchen herbs, and the seedlings look so thin and grass-like for the first month that a lot of people assume they failed and rip out a perfectly good tray. There’s also a mistake with depth that quietly kills more seed starts than bad luck ever does, and a sign at bloom time that looks like a problem but is actually the plant doing exactly what it should.
Stick with this through to the end and you’ll get the full “Chives at a Glance” card, saved and ready to check any time you’re standing over the seed packet wondering if today’s the day.
When to Start Chive Seeds
Chives tolerate cold well, so you have two honest paths. Starting indoors 8 to 10 weeks before your last spring frost gets you a head start and a harvest that comes weeks earlier. Direct sowing works fine too, but only once soil has warmed to around 60°F, which for most regions is a few weeks after your last frost date, not right on it.
If you direct sow into cold, wet soil, expect little to nothing to happen for weeks. Cold soil is the number one reason people think their chive seed is dead.
Indoors gives you control over that variable entirely, which is why most experienced growers start chives in trays even though the plant is hardy enough to handle outdoor sowing later on.
Either path works, but the soil temperature is what actually decides it, not the calendar.
Sowing Chive Seed Step by Step
Chive seed is small and needs almost no depth to germinate, which is exactly where people go wrong. Bury it deep and it may never break the surface.
Steps for sowing
- Medium: use a light seed-starting mix, not garden soil, if starting indoors. It drains well and won’t crust over.
- Depth: sow at 1/8 to 1/4 inch deep. Chive seed needs darkness to germinate but not much soil weight on top of it.
- Spacing: scatter 3 to 4 seeds per cell if starting indoors, or space direct-sown seed about 1 inch apart and thin later.
- Temperature: keep the soil at 60 to 70°F. A seedling heat mat helps a lot indoors, especially in a cool room.
- Light: chives germinate in darkness fine, but move the tray under strong light the moment you see any green. Weak light now means floppy, pale seedlings later.
Keep the surface evenly moist, never soggy, until you see the first thread-like sprouts.
Getting the seed in is the easy part, waiting on it without panicking is where most people struggle next.
Germination: What to Expect and When to Actually Worry
Chive seed germinates in 10 to 21 days under good conditions, and it comes up looking like fine green grass, not like a recognizable herb seedling. That’s normal, not a sign of failure.
If you assumed a sparse, weedy-looking tray at day 14 means the seed was bad, that guess causes more people to quit than the seed itself ever does. Chive germination is naturally uneven. Some seeds pop at day 10, others straggle in past day 20.
The real warning sign isn’t slow, thin growth, it’s zero growth after 3 weeks combined with soil that’s stayed cold or gone completely dry. That combination means start over, but patchy timing alone does not.
Once you’ve got a decent stand of green threads an inch or two tall, you’re through the hardest part of the whole process.
Hardening Off and Transplanting
Chive seedlings started indoors need about a week of hardening off before they go outside permanently. Set them outdoors in a sheltered, shaded spot for an hour or two the first day, and add an hour or two daily until they’re outside full time and taking direct sun.
Skip this step and you’ll watch seedlings that looked perfectly healthy indoors bleach out or flop over within a day of transplant. It’s sun and wind shock, not disease, and it’s completely avoidable.
Transplant once nighttime temps are reliably above the mid-40s, spacing clumps 6 to 8 inches apart in a spot with at least 6 hours of sun. Chives will grow in partial shade, but the clump stays thinner and harvests slower.
Plant them out and the character of the work changes completely, now it’s about maintenance, not rescue.
Caring for Chives Through the Season
Once established, chives ask for very little. Water when the top inch of soil dries out, which in most climates means once or twice a week outside of heat waves. They’re not a thirsty plant once rooted in.
Feed lightly in spring with a balanced fertilizer or a topdressing of compost. Chives grown in rich soil don’t need much more than that all season.
Divide established clumps every 2 to 3 years in early spring. Crowded clumps get woody in the center and produce thinner, less flavorful growth, so division isn’t optional maintenance, it’s what keeps the plant productive.
Watch for one honest pest issue: onion thrips can show up in dry, hot stretches, showing as silvery streaking on the leaves. A strong water spray and consistent moisture usually handles a light infestation; for anything heavier, follow the label on an insecticidal soap exactly.
Feed it and divide it on schedule, and the plant basically takes care of the rest, which brings you to the part everyone’s actually waiting for.
When Chives Are Ready to Harvest, and What Blooming Really Means
Chives are ready for a first light harvest once the clump reaches about 6 inches tall and has several distinct blades, usually 60 to 90 days from seed. Snip leaves an inch or two above the base with scissors, never pull them, and never take more than a third of the clump at once.
Here’s the part that confuses new growers: chives will send up round purple flower buds in late spring or early summer, and a lot of people assume blooming means the plant is done or the leaves have gone bad. It doesn’t, and they haven’t.
Flowering does change the leaves though. Once a plant blooms heavily, the older leaves toughen and get more fibrous. The fix isn’t to abandon the clump, it’s to snip the flower buds off if you want tender leaves all season, or let some bloom for the pollinators and edible flowers, and just harvest new growth from elsewhere in the clump.
Chives are also mildly toxic to dogs and cats, along with the rest of the allium family, and can cause gastrointestinal upset or more serious effects in larger amounts. If a pet eats a significant quantity, call your veterinarian rather than waiting to see what happens.
Once you know what the buds actually mean, the whole plant makes a lot more sense, and everything you need to remember about growing it fits on one short list.
Chives at a Glance
- When to plant: start seed indoors 8 to 10 weeks before last frost, or direct sow once soil hits about 60°F.
- Depth and spacing: sow 1/8 to 1/4 inch deep, thin or transplant to 6 to 8 inches apart.
- Germination: 10 to 21 days at 60 to 70°F, uneven timing is normal.
- Light needs: full sun to light shade, at least 6 hours for a thick, productive clump.
- Water and feed: water when the top inch of soil dries, feed lightly once in spring.
- First harvest: 60 to 90 days from seed, once the clump hits about 6 inches with several blades.
- Ongoing care: divide every 2 to 3 years, snip flower buds if you want tender leaves all season.
Get the soil warm before you sow and don’t panic at three weeks of thin, grassy growth. That’s chives working exactly on schedule.