Growing celery from seed means starting indoors 10 to 12 weeks before your last frost, since celery is painfully slow to germinate and needs a long, cool head start most gardens cannot give it outdoors. Sow the seed shallow, keep it around 70°F until it sprouts, then grow it on cool and bright until it is safe to transplant a couple weeks after your last frost date. That sounds simple, and the mechanics are, but celery has a way of humbling people who assume it behaves like a normal garden vegetable.
Here is the mistake that sinks most first attempts: treating celery like tomatoes or squash and rushing the germination stage, or worse, giving up on the tray after two weeks because “nothing happened.” Celery seed can take three full weeks to show a sprout, and there is a specific light trick almost nobody tells you about that speeds it up.
There is also a bolting problem that ambushes gardeners who do everything else right, and an honest truth about why grocery-store celery spoiled a lot of people on the homegrown version before they even started. Stick with this and you will get to the bottom, where there is a full “Celery at a Glance” card worth saving to your phone before you touch a seed packet.
When to Start Celery Seeds
Celery needs 10 to 12 weeks indoors before it is ready to go outside, and it should go outside about 2 to 3 weeks after your last frost date, once nights are reliably staying above 40°F. Work backward from that transplant window to figure out your sowing date.
Direct sowing outdoors is a real option only in long, mild-summer climates with a slow, cool spring, and even then it is a gamble most gardeners lose. In most of the country, celery grown from seed sown straight into garden soil simply runs out of season before it bulks up.
Celery also has an odd cold relationship worth knowing early: a young plant exposed to a hard cold snap, especially below 40°F for an extended stretch, can be triggered to bolt and go to seed later in the season instead of forming a good stalk.
That single fact explains a problem you will not understand until a few months from now.
Sowing Celery Seed Step by Step
Celery seed is tiny, slow, and a little particular about how it is started. Get these details right and germination stops being the mystery it is for most people.
Depth and medium
Use a light, sterile seed-starting mix in cell trays or small pots. Sow seeds no deeper than 1/8 inch, barely covered, since celery seed needs light to germinate well and burying it deep is a common reason trays stay empty.
Temperature
Keep the soil around 70 to 75°F during the day. A seedling heat mat helps enormously here, since a cool windowsill often runs too cold for celery to sprout in reasonable time.
Light and moisture
Set trays under grow lights or in your brightest window immediately, and keep the surface consistently damp, never soggy, with a humidity dome or plastic wrap over the top until sprouts appear.
Get the temperature and light right and the next stage stops feeling like a waiting game.
Germination: What to Expect and When to Worry
Celery is slow. Expect germination anywhere from 10 days to 3 weeks, and do not assume failure just because week one and week two pass with nothing visible.
If you assumed a bare tray after two weeks means dead seed, that guess is wrong more often than right with celery. This is normal, frustrating behavior for this particular vegetable, not a sign you did something wrong.
Here is the trick that actually shortens the wait: some gardeners chill moistened celery seed in the refrigerator for 2 to 3 days before sowing, which can improve and speed germination, especially with older seed. It is not required, but it helps explain why some trays sprout in 10 days and others take the full three weeks.
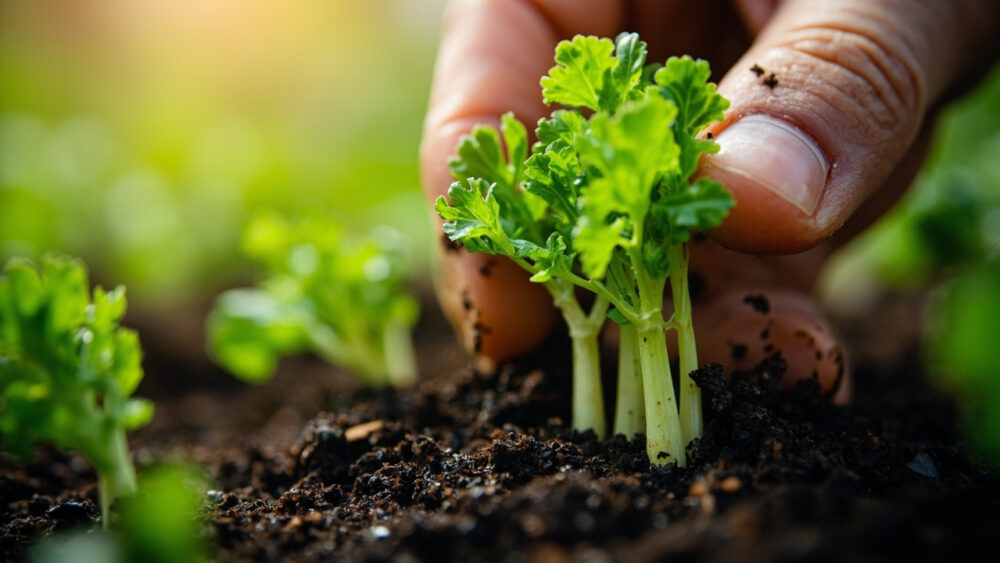
Once sprouts appear, pull the humidity dome and keep light close and constant, 14 to 16 hours a day, to prevent the thin seedlings from stretching and flopping over.
Getting seedlings up is only half the battle, the transition outside is where celery either settles in or sulks for a month.
Hardening Off and Transplanting
Start hardening off 7 to 10 days before you plan to transplant, once seedlings have several true leaves and the outdoor forecast has settled above 40°F at night. Set trays outside in shade for an hour the first day, gradually building up to a full day of sun and outdoor conditions.
Space transplants 8 to 10 inches apart in rows 18 to 24 inches apart, in soil that has had a generous amount of compost worked in. Celery is a heavy feeder with shallow roots, and it wants rich, moisture-retentive soil, not the average garden bed.
Plant at the same depth the seedling was growing in its cell, water in well, and avoid any hard cold snap for the first couple weeks, since this is exactly the vulnerable window where cold-triggered bolting gets set in motion.
Once celery is in the ground, the job shifts from patience to steady, unglamorous maintenance.
Season-Long Celery Care
Celery wants consistent moisture, full sun to light afternoon shade in hot climates, and rich soil that never fully dries out. This is not a plant you can neglect for a week and expect good results from.
Water deeply enough to keep soil moist an inch down at all times, and mulch heavily to hold that moisture and keep roots cool. Inconsistent watering is the direct cause of the hollow, stringy, bitter stalks that make people swear off homegrown celery after one bad try.
Feed every 3 to 4 weeks with a balanced fertilizer or compost tea, since celery pulls heavily on soil nutrients over its long season.
Some gardeners blanch stalks by wrapping the base with cardboard or mounding soil around them 2 to 3 weeks before harvest, which reduces bitterness and lightens the color, though it is optional and modern varieties bred for self-blanching need it far less than older ones.
All that steady care is building toward one specific visual cue that tells you it is finally time.
Harvest, or the Bolt You Were Warned About
Celery is ready to harvest 90 to 120 days from transplant, when stalks are firm, roughly 8 to 12 inches tall, and thick enough to snap cleanly rather than bend. You can harvest the whole plant at once by cutting at the base, or take outer stalks a few at a time and let the center keep growing.
Here is the honest answer to the question you are about to ask: if your celery sends up a tall central stalk with small flower clusters instead of bulking up, that is bolting, and it is triggered by the early cold exposure or heat stress mentioned earlier. Bolted celery turns bitter and woody fast, and there is no reversing it once it starts.
The fix is not something you do after the fact, it is avoiding that early cold snap and keeping plants consistently watered through hot spells, since both cold shock and drought stress are the two most common bolt triggers.
If you catch bolting early, harvest what you can immediately, since quality drops daily once flowering begins.
Save this next part, because it is the card worth having pulled up while you are standing at the seed rack or out in the garden.
Celery at a Glance
- When to start seeds: indoors 10 to 12 weeks before your last frost date, since celery is too slow for reliable direct sowing in most climates.
- Sowing depth: 1/8 inch or less, barely covered, since the seed needs light to germinate.
- Germination conditions: soil around 70 to 75°F, consistently damp, expect 10 days to 3 weeks to sprout.
- Transplant timing: 2 to 3 weeks after last frost, once nights hold above 40°F, after 7 to 10 days of hardening off.
- Spacing: 8 to 10 inches apart, rows 18 to 24 inches apart, in rich, compost-heavy soil.
- Care: keep soil moist an inch down at all times, feed every 3 to 4 weeks, mulch heavily.
- Harvest: 90 to 120 days from transplant, when stalks are firm and snap cleanly, before any central flower stalk appears.
Consistent moisture and consistent cool-to-mild temperatures are what celery actually needs, everything else is detail.
Give it those two things and skip the early cold exposure, and you will get stalks worth the long wait to sprout them.