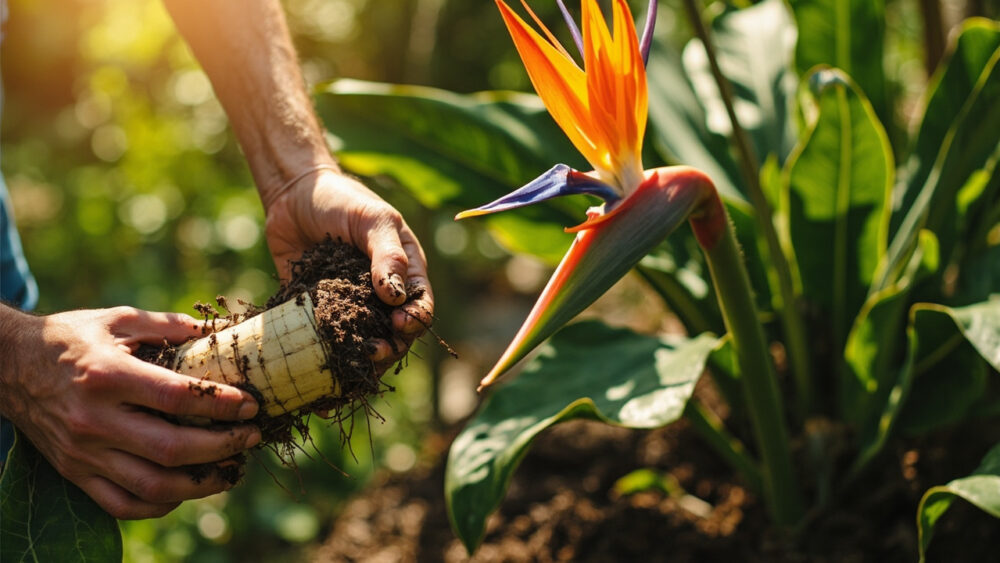
The method that actually works for bird of paradise is division, not stem cuttings, because this plant has no real stem to cut. You separate a rooted offshoot (called a pup) from the base of a mature plant, keeping some roots attached, and pot it up on its own. Rooting a leaf in water, which is what most people try first, almost never produces a new plant, so if you know how to propagate bird of paradise the way most houseplant cuttings work, unlearn it right now.
There is one mistake that wastes an entire growing season before the person even realizes it happened, and it involves taking a division too early. There is also a sign on the pup itself that tells you whether it is ready, and most people either miss it or misread it completely.
Stick with me through the how and the why, and you will find the full Bird of Paradise at a Glance card at the bottom, saveable to your phone before you go touch the plant.
Why Division Beats Every Other Method
Bird of paradise (Strelitzia reginae and Strelitzia nicolai) grows from a rhizome, a thick underground stem that sends up new shoots, or pups, around the base of the mother plant. Each pup can eventually grow its own roots and become an independent plant.
Leaf cuttings and stem cuttings fail because a bird of paradise leaf has no growth node capable of producing roots or a new crown. You can keep a leaf alive in water for months and it will never become a plant.
Growing from seed works but tests your patience: seeds are slow to germinate, often taking one to three months, and a seed-grown plant can take five to eight years to flower. Division skips all of that and gives you a plant that is already partway to mature size.
The pup you separate is genetically identical to the parent and already has a head start on root growth, which is the whole reason this method wins.
Step by Step: How to Divide a Bird of Paradise Pup
Check the Pup First
Look at the base of your plant for a smaller shoot growing beside the main stem, usually with two or three of its own leaves. The sign everyone misreads is leaf count.
A pup with two leaves looks promising, but what actually matters is whether it has its own roots. Gently dig around the base with your fingers or a small trowel to check before you commit to cutting anything.
If you find no independent root system at all, wait. A pup separated without roots usually just sits there and rots instead of growing.
Once you confirm real roots, the actual separation is the easy part.
Separate the Division
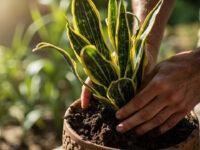
Water the mother plant a day ahead so the soil is loose and workable, not bone dry. Ease the whole plant out of its pot, or dig carefully around it if it is in the ground.
Locate where the pup’s rhizome connects to the main root mass. Using a clean, sharp knife or pruning saw, cut straight through that connection, keeping as many of the pup’s own roots intact as possible.
Aim for a division with at least a few inches of rhizome and a handful of roots, not just a leaf stuck to a sliver of root. A larger, well-rooted division establishes faster than a small one every time.
Let the cut surfaces on both the mother plant and the division air dry for a few hours before potting, which helps prevent rot.
Choose the Rooting Medium and Set the Conditions
Skip water rooting entirely here. Pot the division directly into a well-draining mix, something like two parts standard potting soil to one part perlite or coarse sand.
Use a pot only slightly larger than the root mass, since too much wet soil around a small root system invites rot. Plant it at the same depth it was growing before, and water it in once, then let the top inch of soil dry out before watering again.
Warmth matters more than light for the first few weeks. Keep the division at 65 to 75°F and in bright, indirect light rather than direct sun, which stresses a plant that just lost part of its root system.
Get the conditions right and the waiting game becomes fairly predictable.
The Timeline: What to Expect Week by Week
The honest answer to the question every reader is about to ask is that this is slow, and there is no shortcut. In the first one to two weeks, expect the division to look stalled or even slightly wilted, which is normal transplant shock, not failure.
By weeks three to six, if roots are establishing, you will typically see the existing leaves firm back up and hold their color, even without new growth yet.
New growth, a fresh leaf spike emerging from the base, usually shows up somewhere between six and twelve weeks, depending on temperature and how much root the division had to begin with.
If nothing has happened by twelve weeks and the leaves are declining rather than holding steady, the division likely did not root, and that is worth knowing plainly rather than waiting indefinitely.
Assuming it does root, the next question is when to give it more room.
When and How to Pot Up
Once you see new leaf growth and the plant resists a gentle tug (a sign roots have anchored it), it is ready to move to a slightly bigger container, typically 4 to 6 weeks after that first new leaf appears.
Go up only one pot size at a time, roughly 2 inches in diameter. Bird of paradise actually flowers better when it is a little rootbound, so resist the urge to give it a huge pot too soon.
If you are planting outdoors, this only works in USDA zones 9 through 11, or as a container plant elsewhere that moves indoors before frost.
Wait until nighttime temperatures reliably stay above 50°F before moving any division outside, even temporarily.
A plant that gets the right pot size and timing now will reward you with sturdier growth later.
Why Most Attempts Fail (and the Fix)
The single biggest mistake is separating a pup before it has its own roots, based on leaf count alone. Fix it by digging to check roots first, every time, no exceptions.
The second most common failure is overwatering the new division. A rootless or barely-rooted cutting sitting in soggy soil rots at the base within a couple of weeks, and once that rot sets in, the division cannot be saved.
Cold, drafty windowsills cause the third common failure. Divisions that get chilled below 55°F for extended periods stall out and are prone to fungal issues, even if they were healthy going in.
Avoid those three things, and division is genuinely one of the more forgiving propagation methods in the houseplant world, not one of the fussiest.
Here is everything above condensed into the version worth keeping.
Bird of Paradise at a Glance
- Best method: division of a rooted pup from the base of the mother plant, not leaf or stem cuttings and not water rooting.
- When to divide: during active growth in spring or early summer, once the pup has visible roots of its own, checked by hand before cutting.
- Rooting medium: well-draining potting mix, about two parts soil to one part perlite or coarse sand, never plain water.
- Ideal conditions: 65 to 75°F, bright indirect light, top inch of soil dry between waterings.
- Timeline: transplant shock for one to two weeks, roots establishing by weeks three to six, new leaf growth typically by six to twelve weeks.
- When to pot up: after the first new leaf appears and the plant resists a gentle tug, moving up only one pot size, about 2 inches, at a time.
- Outdoor planting: only in USDA zones 9 through 11, and only once nights stay reliably above 50°F.
Division works because you are giving the new plant a real root system from day one, not asking a leaf to become something it never can.
Check for roots before you cut, keep it warm and just barely moist, and let it take the twelve weeks it needs.