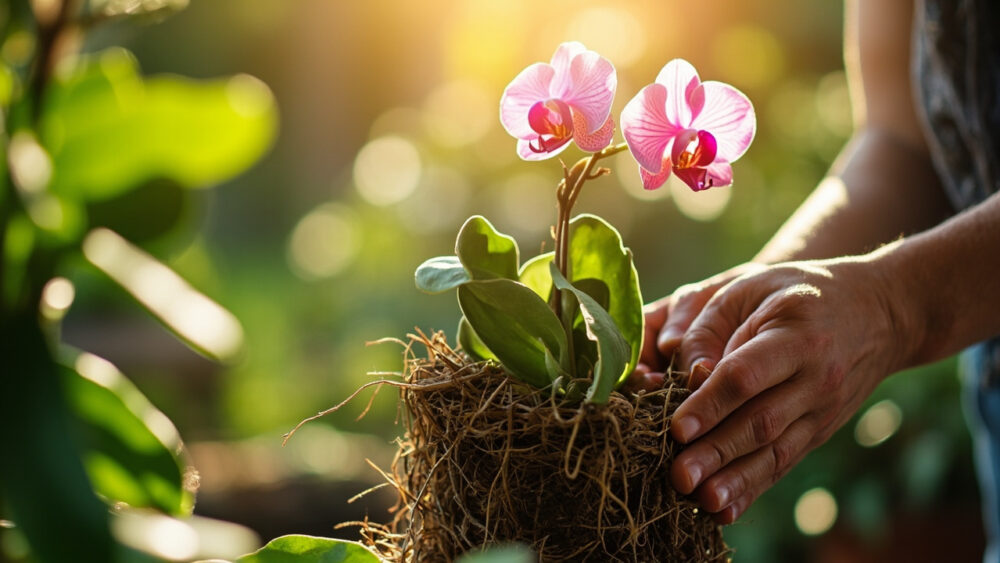
Growing an orchid starts with getting one basic fact right: most houseplant orchids are epiphytes, meaning in the wild they grow clinging to tree bark with their roots exposed to air, not buried in dirt. That single fact is why how to grow orchid successfully has almost nothing to do with regular houseplant habits and everything to do with chunky bark mix, bright indirect light, and watering far less often than you think. Get the medium and the light right and a healthy orchid will rebloom for you every single year, sometimes for decades.
Here is the mistake that kills more orchids than anything else: potting them in regular potting soil, or watering them on the same weekly schedule as everything else on the windowsill. Both suffocate the roots. There is also a sign almost everyone misreads, wrinkled or shriveled leaves that people assume means the plant needs more water, when it often means the roots have already rotted and cannot take up water at all.
Stick with me and I will walk through the planting, the watering rhythm that actually works, the problems that show up on nearly every orchid eventually, and exactly when to expect that first flower spike. Save the last section, the Orchid at a Glance card, straight to your phone before you leave, it has every number you will need standing at the plant.
When to Start (and Why Timing Matters Less Than You’d Think)
Orchids are houseplants for most growers, so there is no frost date or soil temperature to wait on. You can pot or repot one any month of the year.
The one exception is timing repotting to right after a bloom cycle finishes, when the plant is pushing new roots, usually in spring for the common moth orchid (Phalaenopsis). Repotting mid-bloom wastes the flowers and stresses the plant for no reason.
If you’re buying a new orchid, spring and early summer nurseries have the widest selection and the healthiest stock, since growers push inventory hardest right before Mother’s Day season.
Next up is the part almost nobody gets right on the first try: the spot you pick.
Choosing the Spot and the Right Medium
Orchids want bright, indirect light, an east-facing window is close to ideal, a south or west window works if you hang a sheer curtain between the plant and the glass. Direct midday sun through unfiltered glass will scorch the leaves within a few hours.
Skip potting soil entirely. Use a bark-based orchid mix, often bark chips mixed with sphagnum moss and perlite, sold specifically as orchid medium. It drains fast and lets air reach the roots, which is the entire point.
Pick a pot with generous drainage holes, clear plastic orchid pots are common because they let you see root color through the sides, which becomes a genuinely useful diagnostic tool later.
Most orchids also like it humid, 40 to 70 percent, which a pebble tray with water underneath the pot or a small humidifier nearby can supply.
Once the spot is right, the potting itself only takes a few minutes.
Planting an Orchid Step by Step
1. Loosen and inspect the roots
Slide the plant from its nursery pot and gently tease the bark mix away from the roots. Healthy roots are firm and green or tan, rotten ones are brown, hollow, and mushy, snip those off with clean scissors.
2. Choose a pot one size up
Orchids actually prefer being a little snug in the pot, so size up only if roots are visibly circling the current one, going from a 4 inch pot to a 5 or 6 inch pot is typical.
3. Set the plant and fill around it
Hold the base of the plant so the crown sits at the same depth it was growing before, never buried deeper. Pour bark mix in around the roots, tapping the pot on the counter so chunks settle into the gaps.
4. Skip the fertilizer for the first week
Freshly disturbed roots are vulnerable, let the plant settle for five to seven days in its new spot before feeding.
Now comes the part that trips up even experienced houseplant growers: how much to water.
Watering and Feeding Through the Season
If you assumed more frequent watering equals a happier orchid, that assumption is exactly what causes root rot, the single most common cause of orchid death. Most Phalaenopsis need water only once every 7 to 10 days, less in winter when growth slows.
Check by feel, not by calendar. Stick a finger into the bark an inch down, if it still feels damp, wait. Bark mix should dry out noticeably between waterings, unlike soil, which most houseplants prefer to keep evenly moist.
Water thoroughly at the sink, letting water run through the drainage holes for 15 to 20 seconds, then let the pot drain completely before setting it back on a saucer or tray. Never let an orchid sit in standing water.
Feed with a fertilizer labeled for orchids at quarter to half strength, every second or third watering during active growth in spring and summer, tapering off in fall and winter.
Get the watering rhythm wrong and you’ll meet one of a short list of predictable problems next.
The Problems That Strike Almost Every Orchid Eventually
- Root rot: the top cause of orchid failure, roots turn brown and mushy from overwatering or a pot with poor drainage. Trim affected roots with clean scissors and repot into fresh, dry bark mix, and let the medium dry out more between waterings going forward.
- Wrinkled leaves: usually means damaged roots can’t absorb water, not that the plant is thirsty, check root color before adding more water.
- Yellowing lower leaves: normal and expected occasionally as older leaves age out, one at a time is fine, several at once signals a watering or light problem.
- Scale and mealybugs: small bumps or cottony white spots on leaves and stems, wipe off with a cloth dipped in diluted rubbing alcohol, or treat with an insecticidal soap labeled for houseplants, following the product label exactly.
- No blooms despite healthy leaves: often a light or temperature issue, Phalaenopsis in particular need a nighttime temperature drop of roughly 10 degrees for several weeks to trigger a flower spike.
strong>A note on pets: common houseplant orchids like Phalaenopsis are considered non-toxic to cats and dogs, but if a pet chews on any houseplant and shows vomiting, drooling, or lethargy, call your veterinarian rather than waiting it out.
Handle those issues early and the plant rewards you with the part everyone’s actually waiting for.
When and How Orchids “Harvest,” or Bloom
Orchids don’t harvest like a vegetable, the payoff is the bloom spike, and here’s the honest timeline: a newly potted, mature orchid typically reblooms once a year, with flowers lasting anywhere from six weeks to three or four months depending on the species.
You’ll see the sign clearly before it happens. A flower spike emerges as a green, slightly flattened stem from between the lower leaves, distinct from a root, which is rounder and grows downward toward the pot’s edge.
Once you spot a spike, resist the urge to move the plant. Orchids can drop buds if light direction or temperature changes suddenly mid-development.
After the last flower fades, you can cut the spent spike back to about an inch above its base, some growers leave a healthy green spike in place since a few varieties will rebloom from the same stem.
All of that comes together in the card below, worth saving before you set the phone down.
Orchid at a Glance
- When to plant or repot: any time indoors, ideally right after a bloom cycle ends when new roots are actively growing.
- Light: bright, indirect light, an east window is ideal, filter south or west light with a sheer curtain.
- Medium and pot: bark-based orchid mix in a pot with generous drainage, never regular potting soil.
- Watering: once every 7 to 10 days, check by pressing a finger into the bark an inch down, water thoroughly and let it drain fully.
- Feeding: orchid fertilizer at quarter to half strength every second or third watering during spring and summer growth.
- Common problems: root rot from overwatering, wrinkled leaves from root damage rather than thirst, scale and mealybugs on leaves and stems.
- Bloom timing: most rebloom once a year, flowers lasting six weeks to several months, triggered partly by a nighttime temperature drop.
If you remember only one thing, remember this: water far less than instinct tells you and check root color, not leaf droop, before you decide the plant needs anything.
Everything else about growing orchids well follows from getting that one habit right.