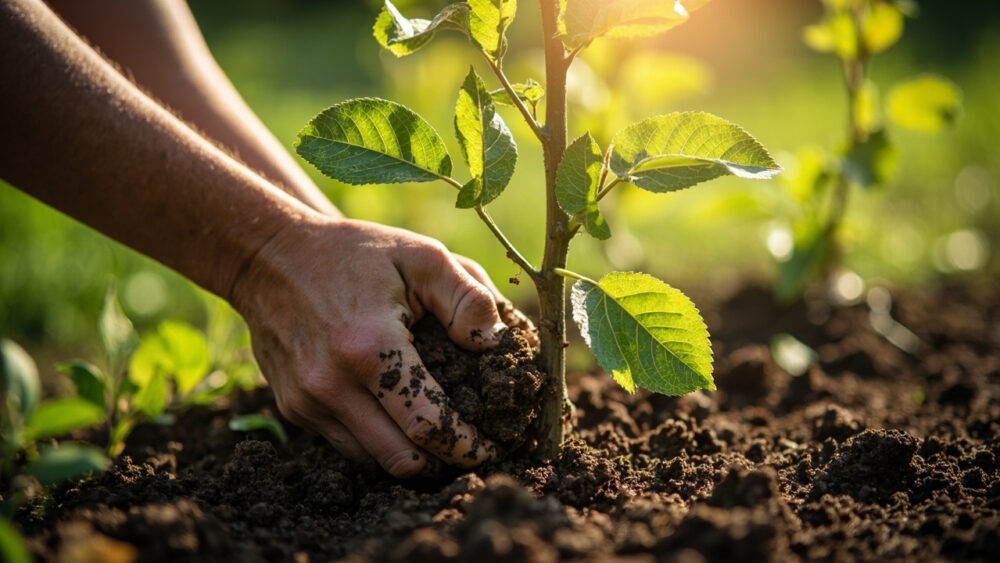
Learning how to grow apple trees comes down to four things: plant a bare-root or young tree in early spring while it’s still dormant (or fall in mild climates), give it full sun and well-drained soil, plant a second variety nearby so it can actually produce fruit, and be patient for two to five years before your first real harvest. Get those right and the rest is maintenance.
Most first attempts fail for one specific, avoidable reason, and it has nothing to do with watering or fertilizer. It’s the pollination mistake almost nobody warns you about until the tree is three years old and covered in blossoms that never turn into apples.
There’s also a pruning sign everyone misreads in year two, and an honest answer about how long this really takes that most nursery tags conveniently leave off. Stick with me through each section and grab the Apple Trees at a Glance card at the bottom before you buy a single tree.
When to Plant an Apple Tree
Plant bare-root apple trees in early spring, about 2 to 4 weeks before your last expected frost, as soon as the soil can be worked and isn’t waterlogged. In mild-winter regions (zone 7 and warmer), fall planting works just as well and lets roots establish before summer heat.
Container-grown trees are more forgiving. You can plant them any time the ground isn’t frozen, but spring still gives the best head start since the tree isn’t fighting summer stress on brand-new roots.
Apples need a real winter to fruit well. They’re reliably hardy in zones 3 through 8, with specific varieties stretching into zone 9 if you pick low-chill types.
Timing gets the tree in the ground safely, but where you put it decides whether it thrives at all.
Choosing the Spot and Prepping the Soil
Full sun is non-negotiable. Apple trees want 6 to 8 hours of direct light daily. Shade cuts fruit production and invites fungal disease from the sitting moisture that low light leaves behind.
Soil should drain well but hold some moisture, ideally a loamy soil with a pH between 6.0 and 6.8. Dig a test hole and fill it with water: if it’s still standing after an hour, you’ve got a drainage problem to fix with raised beds or a different spot before you plant.
Avoid low spots where cold air pools. Frost pockets kill spring blossoms even when the rest of your yard is fine.
Good ground is only half the setup. What you plant next to your tree matters just as much.
The Pollination Mistake That Ruins Most Harvests
Here’s the one that gets almost everyone: most apple varieties cannot pollinate themselves. Plant a single tree, and you can get gorgeous blossoms every spring and zero apples, year after year.
You need a second, different variety blooming at the same time, planted within about 50 feet, ideally closer. A neighbor’s crabapple or another backyard apple tree can do the job if it blooms in the same window.
A few varieties are labeled “self-pollinating” or partially self-fruitful, but even those set more fruit with a partner nearby. If you only have room for one tree, check with your local nursery for a compatible bloom-time pair before you buy.
Solve pollination before you dig, because you can’t fix it after the tree is three years in the ground and blossom-only.
Planting an Apple Tree Step by Step
1. Dig the right hole
Dig a hole twice as wide as the root ball but no deeper. Planting too deep is the second most common failure, and it slowly suffocates the roots.
2. Find the graft union
Look for the swollen bump or angled scar low on the trunk, that’s the graft union. Keep it 2 to 3 inches above the final soil line. Bury it and you lose the benefit of the dwarfing or disease-resistant rootstock entirely.
3. Set and backfill
Spread bare roots naturally in the hole, backfill with native soil, and firm gently as you go. Skip heavy soil amendments in the hole itself; they can create a bathtub effect that traps water.
4. Space for the mature size
Dwarf trees need 8 to 10 feet between trunks, semi-dwarf trees need 12 to 15 feet, and standard full-size trees need 18 to 25 feet. Crowded trees compete for light and airflow, which invites disease later.
5. Water and stake
Water deeply right after planting to settle the soil around the roots. Stake young or dwarf trees for the first year or two since their root systems are shallow.
The tree is in the ground, but the next year of care decides whether it actually establishes.
Watering and Feeding Through the Season
New trees need about 1 to 2 inches of water per week for the first two growing seasons, more during hot, dry stretches. Check soil moisture by pushing a finger 2 inches down; if it’s dry, water deeply rather than sprinkling often.
Hold off on fertilizer at planting time. Wait until the tree shows new growth, then feed lightly each spring with a balanced fertilizer or compost, following the product label’s rate for young trees.
If you assumed more fertilizer means more fruit faster, that’s the mistake that actually delays it. Excess nitrogen pushes leafy growth at the expense of flowering and can make the tree more attractive to pests.
A well-fed, well-watered tree still needs shaping, and that’s where year two confuses most new growers.
The Pruning Sign Everyone Misreads
In year two or three, many young trees put out a flush of thin, upright shoots called water sprouts, and new growers assume this vigorous growth means the tree is thriving and ready to fruit heavily. It’s actually the opposite signal.
Water sprouts are often a stress response, and left alone they shade out the fruiting wood below and crowd the canopy. Prune apple trees in late winter while dormant, removing water sprouts, crossing branches, and anything growing straight up or straight into the center of the tree.
Aim for an open, vase-like shape that lets light reach every branch. That open structure is also your best defense against the diseases apples are prone to.
Good pruning heads off most problems before they start, but a few will find your tree anyway.
Problems Most Likely to Strike
- Apple scab: dark, scabby spots on leaves and fruit, worse in wet springs. Improve airflow with pruning and choose scab-resistant varieties where scab is a known regional problem.
- Fire blight: blackened, wilted shoot tips that look scorched. Prune out infected wood well below the damage during dry weather and disinfect tools between cuts.
- Codling moth: the classic wormy apple. Monitor with pheromone traps and manage per your local extension office’s timing if you see damage.
- Aphids and mites: curled or stippled leaves. Usually manageable with a strong water spray or insecticidal soap, following the label exactly.
None of these are usually fatal to an established tree if you catch them early and keep the canopy open.
Get the tree through blossom and fruit set healthy, and the only thing left is knowing exactly when to pick.
When and How to Harvest
Most apple trees bear their first real crop in 2 to 5 years, depending on rootstock: dwarf trees fruit fastest, standard trees take the longest. That’s the honest timeline nursery tags rarely spell out clearly.
Harvest timing depends on variety, generally landing anywhere from late summer to mid fall. Don’t judge by color alone since many varieties turn red before they’re actually ripe.
Test instead: lift and twist gently. A ripe apple separates from the branch easily, stem intact. If you have to tug hard, give it another few days.
Cut one open too. Ripe flesh should be firm, juicy, and the seeds should have turned brown rather than white or pale green.
Store harvested apples in a cool spot around 32 to 40 degrees Fahrenheit, and they’ll keep for weeks to a few months depending on the variety.
Everything above gets you from bare root to full basket, and here’s the short version to save before you head out to the yard.
Apple Trees at a Glance
- When to plant: early spring, 2 to 4 weeks before last frost, or fall in zone 7 and warmer.
- Sun and soil: full sun, 6 to 8 hours daily, well-drained loamy soil with a pH of 6.0 to 6.8.
- Pollination: plant two different compatible varieties within about 50 feet, since most apples can’t self-pollinate.
- Spacing: 8 to 10 feet for dwarf trees, 12 to 15 feet for semi-dwarf, 18 to 25 feet for standard.
- Watering: 1 to 2 inches per week for the first two seasons, checked by feel 2 inches down.
- Pruning: late winter, dormant season, remove water sprouts and crossing branches for an open shape.
- First harvest: 2 to 5 years depending on rootstock, picked when fruit twists free easily and seeds have browned.
Get the pollination partner and the planting depth right, and most of what follows takes care of itself.
Everything else is just patience, a pair of pruners, and one more spring.