Chamomile from seed is one of the easier herbs to grow if you get one thing right: light. The seeds are tiny and need light to germinate, so bury them and you’ll wait forever for nothing to happen. Scatter them on the surface of moist soil after your last frost (or start indoors 6 to 8 weeks before), keep them at 65 to 70°F, and you’ll see sprouts in 7 to 14 days.
Most failed attempts die for one of three reasons, and none of them is bad luck. There’s the depth mistake everyone makes without thinking twice. There’s a stall in week two that panics new growers into pulling perfectly healthy seedlings. And there’s a question about German versus Roman chamomile that changes your whole spacing and harvest plan, one that most guides never bother answering before you’ve already planted the wrong one.
All of that is coming up, section by section. Save your scrolling for the bottom too, where there’s a quick-reference “Chamomile at a Glance” card built to save to your phone before you head back out to the garden.
German or Roman: Know Which One You’re Planting
This matters more than most seed packets let on. German chamomile (Matricaria chamomilla) is an annual, grows 18 to 24 inches tall, and reseeds itself freely once established. Roman chamomile (Chamaemelum nobile) is a low, spreading perennial, more of a groundcover at 3 to 6 inches, often used between pavers or as a lawn substitute.
If you want the classic apple-scented tea herb with the biggest flower yield, German is the one. Roman is prettier as a living mat but gives a smaller, more bitter harvest.
The rest of this guide covers both, but German is what most home growers mean when they say chamomile.
Once you know which one is in your hand, timing the seed start is the next decision.
When to Start Chamomile Seeds
Chamomile tolerates light frost once established, so you have two honest windows. Direct sow outdoors 2 to 3 weeks before your last expected frost, as soon as the soil can be worked and daytime temperatures are consistently above 45°F. Or start indoors 6 to 8 weeks before that same last frost date, which gets you earlier blooms and stronger seedlings if your spring is unpredictable.
Fall sowing works too in mild climates, zones 7 and warmer, where seedlings can overwinter and bloom the following spring.
Chamomile does not care about the calendar. It cares about soil temperature and light, and getting the sowing itself right is where most people trip up next.
Sowing Chamomile Seed, Step by Step
1. Prepare a light, well-draining medium
Use a seed-starting mix or loosen garden soil to a fine crumb. Chamomile hates heavy, waterlogged soil and will rot before it ever sprouts in it.
2. Do not bury the seed
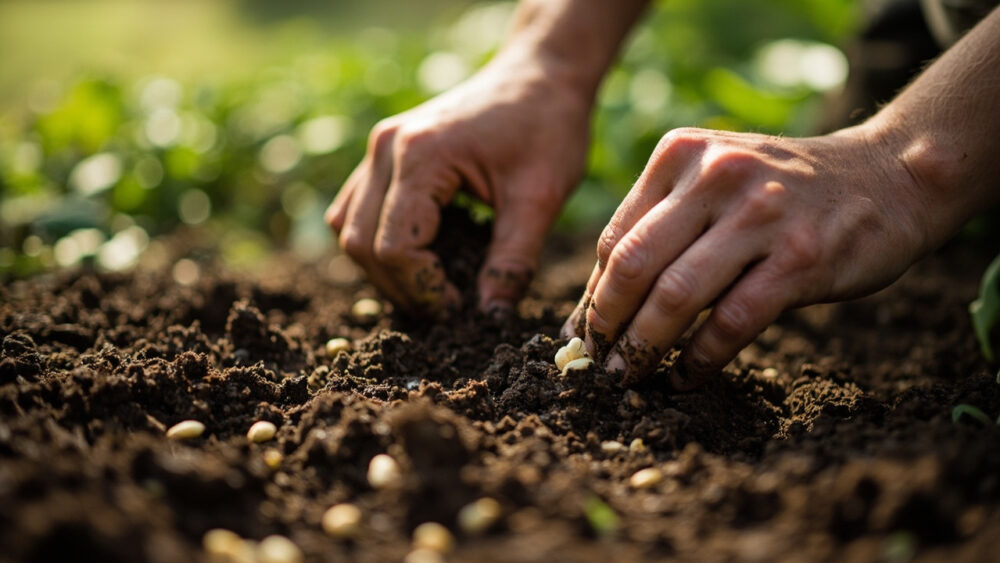
Press the seeds gently into the surface, or scatter and mist lightly. Cover with nothing more than a whisper of soil, no deeper than 1/16 inch. This is the mistake that ends most attempts before they start: bury chamomile seed a quarter inch deep like a bean or squash, and it simply will not get the light signal it needs to germinate.
3. Space with the mature plant in mind
Sow seeds every 1 to 2 inches, then thin seedlings to 8 to 12 inches apart once they have true leaves. Roman chamomile can go a little tighter if you want a solid mat.
4. Keep it warm, bright, and evenly moist
Hold the soil surface consistently damp, never soggy, and keep the temperature between 65 and 70°F. A sunny windowsill or grow light 3 to 4 inches above a seed tray works well indoors.
Get the seeds down right, and the next stretch is mostly patience, with one exception.
Germination: What’s Normal and What Isn’t
Expect the first thread-like sprouts in 7 to 14 days under good conditions. They will look almost nothing like a plant at first, just pale green hairs barely thicker than the soil crumbs around them.
Here’s the stall everyone misreads. Around day 10 to 14, growth often appears to stop entirely for several days while the seedling puts energy into roots instead of visible top growth. New growers assume this means failure and either overwater trying to fix it or give up and reseed on top of perfectly viable seedlings.
Resist doing anything. As long as the seedlings are still green and the soil is still evenly moist, that pause is normal. True worry starts if nothing has emerged at all by day 18 to 20, or if seedlings turn translucent and collapse at the soil line, which usually means damping-off from soil kept too wet.
Once the seedlings have two or three sets of true leaves and stop looking fragile, it’s time to think about moving them outside.
Hardening Off and Transplanting
If you started indoors, harden off over 5 to 7 days: set trays outside in a sheltered, shaded spot for an hour or two the first day, and gradually increase sun and time until they’re outside full days before the final transplant.
Transplant after your last frost, once seedlings have at least two sets of true leaves and nighttime temperatures stay above 40°F. Set plants at the same depth they were growing, space 8 to 12 inches apart for German chamomile, and water in well.
Choose a spot with full sun to light afternoon shade in hot climates, and soil that drains fast after rain.
Transplant shock is rare with chamomile, but the first two weeks in the ground still set the tone for the whole season.
Caring for Chamomile Through the Season
Chamomile is genuinely low-maintenance once established, which is part of why it has a reputation as a beginner herb. Water when the top inch of soil is dry, roughly once a week in average conditions, more in extended heat. Established plants tolerate short dry spells better than soggy roots.
Skip heavy feeding. Rich soil and regular fertilizer push lush leaves at the expense of flowers, which is the opposite of what you’re growing this for.
Watch for aphids and powdery mildew in humid, crowded plantings. Good airflow from proper spacing prevents most of it; if mildew shows up, remove affected foliage and treat with a labeled fungicide only if it’s spreading, following the product instructions exactly.
Deadhead spent blooms on Roman chamomile to keep it tidy, though German chamomile is often left to reseed itself for next year.
All that low-effort care is building toward the payoff: the flowers themselves.
When Chamomile Is Ready to Harvest
German chamomile typically starts flowering 6 to 8 weeks after germination and keeps blooming for months if you harvest regularly. The flowers are ready when the white petals have started to droop slightly downward and the yellow center is fully domed and firm, not flat.
Pick in the morning after dew has dried, when the essential oils are most concentrated. Snip just the flower heads, leaving the plant to keep producing.
Regular picking, every 2 to 3 days during peak bloom, actually increases total flower production rather than stressing the plant.
Dry harvested flowers in a single layer somewhere warm, dark, and airy for a week or two before storing in an airtight container.
Chamomile is generally considered safe as a tea herb for most people, but if you have a pet that has eaten a large quantity of the plant or seems unwell, contact your veterinarian rather than guessing at home.
That’s the full cycle from seed to teacup, and here’s the short version worth saving.
Chamomile at a Glance
- When to plant: direct sow 2 to 3 weeks before last frost, or start indoors 6 to 8 weeks before, at soil temperatures of 65 to 70°F.
- Sowing depth: barely cover, no deeper than 1/16 inch, since seeds need light to germinate.
- Germination time: 7 to 14 days, with a normal-looking growth pause around day 10 to 14.
- Spacing: 8 to 12 inches apart for German chamomile, tighter for Roman groundcover use.
- Light and soil: full sun to light shade, fast-draining soil, no heavy feeding.
- Water: weekly once established, when the top inch of soil dries out.
- Harvest window: 6 to 8 weeks after germination, picking flowers every 2 to 3 days at peak bloom.
Get the seed depth and light right, and chamomile mostly grows itself from there.
Everything else in this guide is just keeping you from second-guessing a plant that already knows what it’s doing.