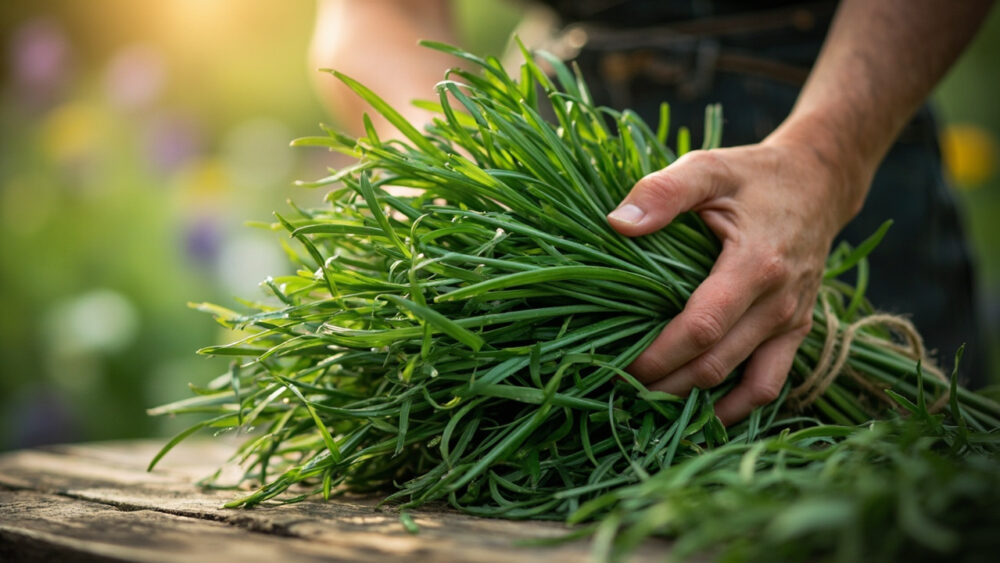
The fastest way to dry chives is to snip whole stems in the morning, tie them into loose small bunches, and hang them somewhere warm, dark, and airy for one to two weeks until they snap instead of bend. You can also speed things up in a dehydrator at a low setting or an oven on its lowest heat with the door cracked, both done in a few hours instead of days. Skip any of that and rush the process, and you end up with chives that taste like hay instead of onion.
Most people ruin their harvest in one of two ways: they cut chives at the wrong point in the plant’s cycle, or they dry them somewhere with too much humidity and end up with mold instead of herbs. There’s also a sign almost everyone misreads, thinking chives are done drying when they’re really just dry on the outside and still damp at the core. And once you’ve got a jar of dried chives, there’s a storage mistake that turns them flavorless within a month.
Stick around for all of that, plus the exact timing window that keeps your chive patch producing all season instead of quitting on you. There’s a save-able Chives at a Glance card at the very bottom with everything on one list, worth scrolling down for even if you skim the rest.
How to Tell Chives Are Ready to Cut for Drying
Chives are ready to harvest for drying whenever the plant has grown at least 6 inches tall and has been established for one full growing season, or about 8 to 10 weeks from seed. Established clumps can be cut repeatedly through spring and summer. You’re looking for upright, firm, deep green stems with no yellowing at the tips.
The color test
Healthy chive stems are uniform green from base to tip. Any yellowing lower down means the plant is stressed or the clump needs dividing, and those stems dry with a duller, weaker flavor.
The flower question
If you assumed flowering chives are past their prime, that’s a reasonable guess, but it’s not quite right. Flavor does drop once a plant puts energy into blooming, but you can still dry those stems, just expect a milder result and snip the purple flower heads off before bunching.
Get the timing wrong on either end, though, and the problem gets worse, not better.
The Timing Window, and What Happens If You Miss It
The best time to cut chives for drying is mid morning, after the dew has burned off but before the heat of the day, when the plant’s essential oils are most concentrated. Early morning cutting leaves the leaves wet, which invites mold during drying. Afternoon cutting in hot weather means some of that flavor has already evaporated off the leaf surface.
Cut too early in the season, before the plant has at least 6 inches of growth, and you weaken a young clump that hasn’t built up reserves yet. Cut too late, after a hard freeze has hit the foliage, and you’re working with mushy, flavorless stems not worth drying at all.
The sweet spot is anytime between late spring and early fall, cutting no more than a third of the clump at once so it can recover.
Once you’ve picked the right morning, the way you actually cut matters more than most people think.
How to Harvest Chives Without Wrecking the Plant
Use clean, sharp scissors or shears rather than pinching or tearing by hand.
- Grab a small handful of stems and cut straight across, 1 to 2 inches above the soil line.
- Never cut into the white base or below where the leaves emerge, that’s the growth point.
- Avoid cutting the entire clump down at once, take from the outer edges first.
- Leave at least a third of the clump uncut so the plant keeps photosynthesizing.
Cutting too close to the soil or shearing the whole plant flat can stall regrowth for two to three weeks instead of the usual one. That’s the mistake that costs people their second and third harvests of the season.
Once the stems are off the plant, the clock starts on getting them dry before they start to break down.
Right After the Cut: Rinse, Dry, and Bundle
Rinse the stems gently if they’re dusty or you’ve had recent rain, then pat them completely dry with a towel. Any lingering surface moisture is what causes mold during the drying process, so don’t skip this step even though it feels like an extra chore.
Bundle 8 to 10 stems together with a rubber band or string, kept loose enough for air to move between them. Tight, fat bundles dry unevenly and the center stems can rot before the outer ones are even close to done.
Hang the bundles upside down in a warm, dark, well-ventilated spot, a closet, pantry, or covered porch out of direct sun works well. Direct sunlight bleaches the color and cooks off the essential oils that carry the flavor.
This is where the waiting game starts, and it’s also where the sign everyone misreads shows up.
How Long Drying Actually Takes, and the Sign People Get Wrong
Air drying takes 1 to 2 weeks depending on humidity in your space. A dehydrator on a low setting, around 95 to 115°F, gets chives dry in 2 to 4 hours. An oven on its lowest setting with the door propped open takes roughly 1 to 2 hours, and needs close watching since ovens run hotter than they claim.
The sign most people trust too early is a stem that feels dry and papery on the outside. That outer crispness can show up days before the interior is actually dry, and any leftover moisture inside the stem is enough to start mold in a sealed jar. The real test is snapping a stem in half. It should break clean and crumble a little, with no bend, no give, and no cool damp feeling at the break point.
If a stem bends before it breaks, it needs more time no matter how dry the outside looks.
Storing Dried Chives So They Actually Keep Their Flavor
Once fully dry, crumble the stems by hand or with a rolling pin into small pieces, roughly the size you’d sprinkle on a baked potato. Store them in an airtight glass jar, not plastic, out of direct light.
The storage mistake that wrecks flavor fastest is jarring chives while any trace of warmth or moisture remains, or storing the jar near a stove or sunny window. Dried chives lose most of their punch within two to three months under bad conditions, but can hold decent flavor for 6 to 12 months in a cool, dark cabinet.
Label the jar with the date. Chive flavor fades gradually rather than going bad, so an unlabeled jar is easy to keep using long after it’s basically green confetti with no taste left.
Keep the clump cut regularly through the season and you’ll have fresh material for another batch before the first jar runs out.
Chives at a Glance
- Best time to cut: mid morning, after dew dries and before peak afternoon heat.
- Minimum plant size: at least 6 inches tall, established for one full season or 8 to 10 weeks from seed.
- How to cut: snip stems 1 to 2 inches above the soil, take no more than a third of the clump at once.
- Bundle size: 8 to 10 stems per bunch, tied loosely for airflow.
- Air dry time: 1 to 2 weeks in a warm, dark, ventilated spot.
- Dehydrator or oven time: 2 to 4 hours at 95 to 115°F, or 1 to 2 hours on an oven’s lowest setting with the door cracked.
- Doneness test: stems snap clean with no bend and no cool, damp spot at the break.
- Storage: airtight glass jar, cool and dark, best flavor within 6 to 12 months.
Dry chives are only as good as the moisture you didn’t leave behind.
Check every stem at the break, not just by feel on the outside, and you’ll never open a moldy jar.