The short answer: prune your hibiscus tree in early spring, just as new growth buds start to swell, cutting back last year’s growth by about a third to keep that lollipop shape and force fresh flowering wood. Late-season pruning is the single fastest way to lose an entire summer of blooms, and it’s the mistake almost everyone makes at least once.
There’s more to get right than timing, though. How much you cut determines whether you get a tree covered in blooms or one that sulks for months growing leaves instead of flowers.
Below, the exact steps, the signs that tell you the plant is ready, the recovery mistakes that cost people their entire flower show, and a save-able Hibiscus Tree at a Glance card at the very bottom so you don’t have to remember any of this by the time you’re standing in front of the plant with shears in hand.
When to Prune, and When to Leave It Alone
Early spring is the window, roughly two to four weeks before your last expected frost, once you see new buds starting to swell along the stems but before full leaf-out. For tropical hibiscus grown as a standard (that lollipop-shaped “tree” form), this is also when you’d move it back outside if it wintered indoors.
Hardy hibiscus (the perennial kind that dies back to the ground) gets treated differently and is cut nearly to the base in late winter or early spring, not shaped like a tropical standard.
Don’t prune in fall or right before a cold spell. Fresh cuts push tender new growth that gets damaged by cold, and pruning late in the season removes the wood that would have carried next spring’s earliest flowers.
Get the season right first, because the sharpest shears in the world won’t fix bad timing.
Tools and the One Prep Step Everyone Skips
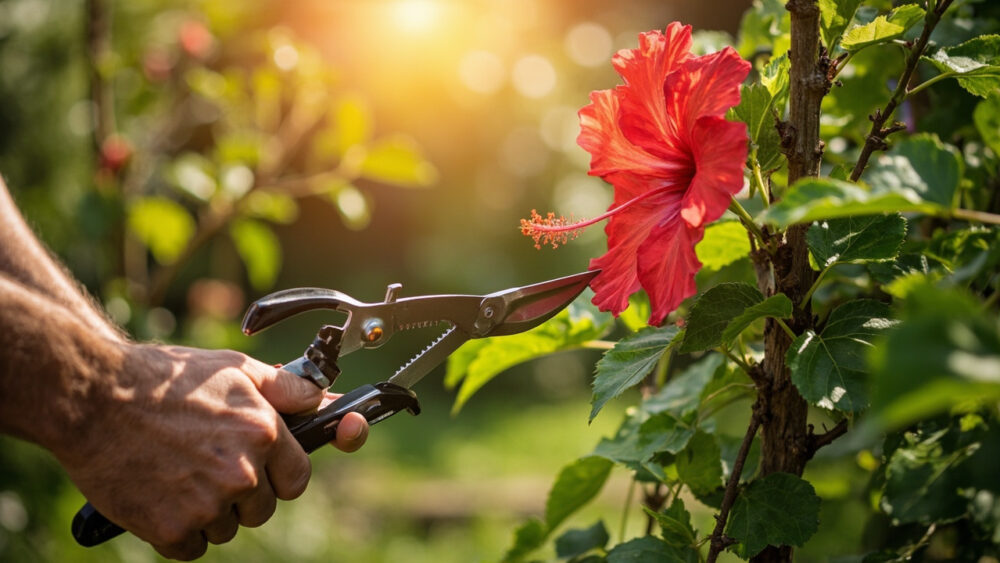
You need clean, sharp bypass pruners for anything pencil-thick or smaller, and loppers for thicker branches on an older standard. That’s really it for tools.
The prep step people skip: wipe your blades with rubbing alcohol between plants, and ideally between cuts if you see any sign of disease on the wood you’re removing. Hibiscus can carry fungal issues, and dirty blades move problems from one plant to the next without you ever noticing.
Also water the plant a day or two before pruning if the soil an inch down feels dry. A stressed, thirsty plant heals cuts more slowly and is more likely to drop leaves after a hard prune.
Once your tools are clean and the plant isn’t drought-stressed, you’re actually ready to cut.
How to Prune a Hibiscus Tree Step by Step
Step 1: Remove the dead, damaged, and crossing wood first
Before shaping anything, cut out anything obviously dead (dry, brittle, no green when you scratch the bark with a thumbnail), damaged, or crossing through the center of the canopy. This alone often opens up 20 to 30 percent of the clutter and makes the real shaping decisions much easier to see.
Step 2: Cut back last year’s growth by about a third
On healthy stems, cut back to about a third of last season’s growth, making each cut just above a set of outward-facing leaf buds. This is where most people freeze up and either barely trim the tips or, worse, hack it back by half or more out of nervousness that they’re not doing enough.
If you assumed harder pruning means more flowers, that guess is exactly backward with a standard hibiscus. Cut too hard and you get a flush of vigorous green growth all summer with very few blooms, because the plant spends its energy rebuilding structure instead of setting flower buds.
Step 3: Maintain the shape of the head
For the classic tree form, keep the canopy rounded and roughly even on all sides, trimming the outer growth back to maintain a ball two to three feet across for a mature standard, smaller for a young one. Pinch or snip any shoots that try to grow straight up out of the top, since those ruin the shape fast if ignored.
Step 4: Clear suckers and the trunk
Remove any shoots growing from the base of the trunk or along the trunk itself below the canopy. These suckers steal energy from the head of the tree and, left alone, will eventually turn your tidy standard into a scraggly bush.
Once the cuts are made, the waiting game starts, and this is where most people misread what they’re seeing.
What to Expect After You Cut
Expect the plant to look a little bare and unimpressive for two to four weeks. New leaf buds will swell first, then new stems, then finally flower buds on that new growth, usually six to ten weeks after pruning depending on temperature and light.
The sign everyone misreads: a short stretch with fewer or no blooms right after pruning. That’s not a sign you did something wrong. Hibiscus flowers form on new growth, so there’s an honest lag between cutting and the next flush of color, and rushing to “fix” it with heavy fertilizer or another round of cuts only resets the clock.
Feed lightly with a balanced fertilizer once new growth appears, not immediately after cutting, and keep soil evenly moist but not soggy while the plant rebuilds.
Patience here pays off in blooms, but patience is exactly where the next round of mistakes creeps in.
The Mistakes That Cost You a Season of Flowers
- Pruning in fall or winter: removes the wood that would have flowered first in spring and exposes fresh cuts to cold damage.
- Cutting back more than half the growth: triggers a leafy rebuild instead of a flower flush, delaying blooms by weeks.
- Ignoring the suckers at the base: lets the plant revert from a clean tree shape to a shrubby mess within a season or two.
- Using dull or dirty blades: crushes stems instead of cutting cleanly and spreads fungal problems between plants.
- Fertilizing heavily right after a hard prune: pushes weak, floppy growth before the root system has caught up.
- Shaping only the top: leaves the sides sparse and uneven, which gets worse every year if not corrected early.
Avoid those six and the rest of hibiscus care is genuinely forgiving.
Hibiscus Tree at a Glance
- When to prune: early spring, two to four weeks before last frost, as buds swell but before full leaf-out.
- How much to remove: about a third of last season’s growth, cutting just above outward-facing buds.
- Shape goal: a rounded head two to three feet across on a mature standard, kept even on all sides.
- Never prune: in fall or right before a cold spell, since fresh growth is cold-tender.
- Watch for: suckers at the base and trunk, removed as soon as you see them.
- After pruning: expect a bare-ish look for two to four weeks and blooms roughly six to ten weeks out.
- Feeding timing: light, balanced fertilizer once new growth appears, not immediately after cutting.
Prune on time, cut lightly, and keep the base clean.
Do those three things every spring and the flowers take care of themselves.