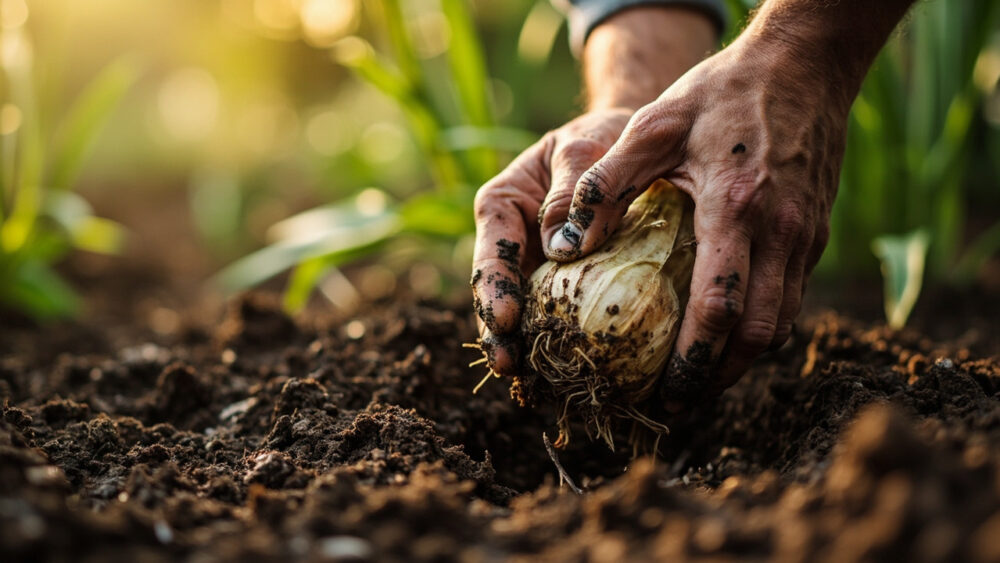
Plant gladiolus corms 4 to 6 inches deep and 4 to 6 inches apart, measuring from the bottom of the hole, not the soil surface. Bigger corms (over 1.5 inches across) go toward 6 inches deep, small ones closer to 4. Get the depth right and the plant stands on its own; get it wrong and you spend August driving stakes into the bed to keep your gladiolus from face-planting after a rainstorm.
That depth number is only half the story, though. There’s a spacing mistake almost everyone makes the first time they plant a row of these, a sign of overcrowding that looks like a nutrient problem but isn’t, and a real answer to the question you’re already forming about whether you can just shove them closer together to save space.
Stick around for all of that, and save your scroll for the bottom, where I’ve put a full Gladiolus at a Glance card with every number in one place so you can pull it up on your phone next spring without digging through the whole article again.
The Real Depth and Spacing Numbers, and Why They’re Not Arbitrary
Depth on gladiolus isn’t a rule someone made up. It’s an anchor. Gladiolus grow tall, often 3 to 5 feet, on a stalk that’s mostly leaf and flower spike with surprisingly little root mass holding it down. Plant shallow, at 2 or 3 inches, and that stalk becomes a lever with nothing to resist it.
Four to six inches of soil over the corm gives the root system enough purchase to keep the plant upright through wind and rain without staking. Depth also buffers soil temperature swings and keeps the corm from heaving out of the ground over winter in mild climates.
Spacing works differently. It’s not about anchoring, it’s about competition. That’s the part most people get wrong.
The Spacing Mistake That Costs People Their Best Blooms
Here’s the guess almost everyone makes: closer spacing means more flowers per square foot, so tighter is better. It’s the wrong instinct, and it’s the single most common reason a gladiolus planting looks great in July and disappoints in August.
Corms planted closer than 4 inches compete hard for water and nutrients underground, even though the tops look fine for weeks. The real damage shows up at bloom time: shorter spikes, fewer florets per stalk, and smaller individual flowers than the same variety grown with proper spacing.
Go the other direction and space them 6 inches apart in rows 12 to 18 inches apart if you want bigger, showier spikes for cutting. Tighter spacing at 4 inches works fine for a dense border planting where you want mass color rather than individual show-stopper blooms.
Spacing decides what kind of gladiolus display you get, not just how many you can fit.
Rows, Blocks, or Scattered: Choosing a Layout That Actually Holds Up
Gladiolus lean toward looking gangly as individuals but excellent in groups, so layout matters more than it does for something like a single hosta.
Row planting is the standard for cut-flower gardens: corms 4 to 6 inches apart within the row, rows 12 to 18 inches apart. This spacing lets you walk between rows to harvest without trampling neighboring stalks.
Block or cluster planting, groups of 7 to 15 corms in a loose triangular grid rather than straight lines, reads more naturally in a mixed perennial bed. Keep the same 4 to 6 inch spacing between corms within the cluster.
Whatever layout you choose, plant in a spot with at least 6 hours of direct sun. Gladiolus grown in partial shade stretch, lean, and bloom weaker regardless of how well you spaced them.
Layout solves the look of the bed, but depth and spacing together solve whether the plants stay standing at all.
What Actually Happens When Gladiolus Are Planted Too Close
The symptom that fools people: yellowing lower leaves and stalks that seem to stall out mid-season. That reads like a fertility problem, so most gardeners reach for fertilizer first.
It’s usually not a nutrient deficiency, it’s root competition. Overcrowded corms are pulling from the same small volume of soil, and adding fertilizer doesn’t fix a space problem. You’ll also see spikes that open unevenly, from the bottom florets up, with the top third of the spike never fully coloring before the bottom fades.
Overcrowding also raises humidity right at soil level between tightly packed stalks, which is exactly the condition that invites thrips and fungal leaf spot. Airflow is doing real disease-prevention work, and tight spacing removes it.
Too far apart causes a milder version of the opposite problem: floppy, sparse-looking stands with weak wind resistance, since gladiolus foliage actually helps brace neighboring stalks when spaced correctly.
If your bed already looks like this, don’t panic, there’s a fix, and it’s coming up next.
Gladiolus in Containers: The Depth Rule Doesn’t Change, the Spacing Does
Container growing is genuinely a good option for gladiolus, especially if your soil is heavy clay that holds too much winter moisture around the corms.
Depth stays the same, 4 to 6 inches of soil over the corm, in a container at least 10 to 12 inches deep to leave room for root development below that. Skimp on pot depth and you’ll fight the same toppling problem shallow planting causes in the ground.
Spacing tightens slightly in containers since you’re not worried about long-term bed competition across a whole season of other plants. Three to 4 inches apart works in a pot, with 3 to 5 corms comfortable in a 14-inch container.
Containers also make staking easier to manage, since you can push a stake straight down along the pot’s inner edge without guessing where the corm sits underground.
One catch with containers: they dry out faster, and a stressed, drought-cycled gladiolus is a shorter, weaker one no matter how well you spaced it.
Fixing an Overcrowded Planting Without Losing the Season
If you already planted too tight, you have two honest options, and the right one depends on timing.
Before shoots reach 6 inches tall, you can still dig and relocate corms with minimal setback. Water the bed first so you can lift corms with roots intact, then replant immediately at proper spacing.
- Shoots under 6 inches: safe to dig and move, expect little to no bloom delay.
- Shoots over a foot or spikes forming: leave them alone this season, thin by removing the weakest stalks instead.
- After foliage yellows in fall: dig all corms, discard the smallest, and replant at correct spacing next year.
Thinning mid-season, cutting out the weakest third of an overcrowded stand at ground level, redirects water and nutrients to the stalks you keep and often rescues bloom size even when it’s too late to relocate roots.
Next year’s planting is where you actually fix this for good, and that’s exactly what the card below is for.
Gladiolus at a Glance
- When to plant: after soil warms to at least 55 to 60°F, generally 1 to 2 weeks after your last frost date.
- Depth: 4 to 6 inches, measured from the bottom of the corm, deeper for large corms and in sandy soil.
- Spacing: 4 to 6 inches apart within rows, 12 to 18 inches between rows for cut flowers, 4 inches for dense border color.
- Sun: at least 6 hours of direct sun daily, more sun means sturdier stalks.
- Container depth: pot at least 10 to 12 inches deep, corms 3 to 4 inches apart, 3 to 5 corms per 14-inch pot.
- Staggered blooms: plant new corms every 2 weeks through early summer for continuous flowers instead of one big flush.
- Overcrowding fix: relocate corms while shoots are under 6 inches, thin weak stalks later, replant at correct spacing the following spring.
Get the depth and spacing right once, and you stop fighting floppy stalks and thin blooms every summer.
Everything else about growing good gladiolus is easy once the corms are sitting at the right depth with room to actually feed themselves.