The method that actually works for pencil cactus (Euphorbia tirucalli) is a stem cutting, dried and calloused for several days before it ever touches soil, then set into a barely damp, fast-draining mix and left alone. Skip the callous step and your cutting rots before it roots, no matter how good your soil is. Get that one detail right and pencil cactus is honestly one of the easiest succulents you’ll ever propagate.
Most people who try this fail for one specific reason, and it isn’t lack of patience. It’s the milky sap. Handled wrong, it stalls the whole process and can genuinely hurt you, and almost nobody warns you about it before you make the cut.
There’s also a sign gardeners misread constantly: a cutting that looks fine on top but is quietly rotting at the base, and by the time you notice, it’s too late to save that piece. Stick with me and I’ll show you what a healthy callous actually looks like versus a doomed one, walk through the real week-by-week timeline, and give you a save-able Pencil Cactus at a Glance card at the bottom with every number in one place.
Why Cuttings Beat Every Other Method
Pencil cactus doesn’t produce offsets or pups the way many succulents do, so division is off the table for most plants. Seed is possible but slow, inconsistent, and honestly not worth your time for a plant this easy to clone. That leaves stem cuttings, and they work extremely well because pencil cactus stems are basically pre-loaded with the ability to root from any cut point.
The tradeoff is the sap. Every cut releases a white latex that’s mildly to moderately irritating to skin and genuinely dangerous to eyes, and it’s this sap, not the cutting itself, that trips people up.
Handle that correctly and the rest of the process is nearly foolproof.
Step by Step: Taking and Rooting the Cutting
Take the cutting
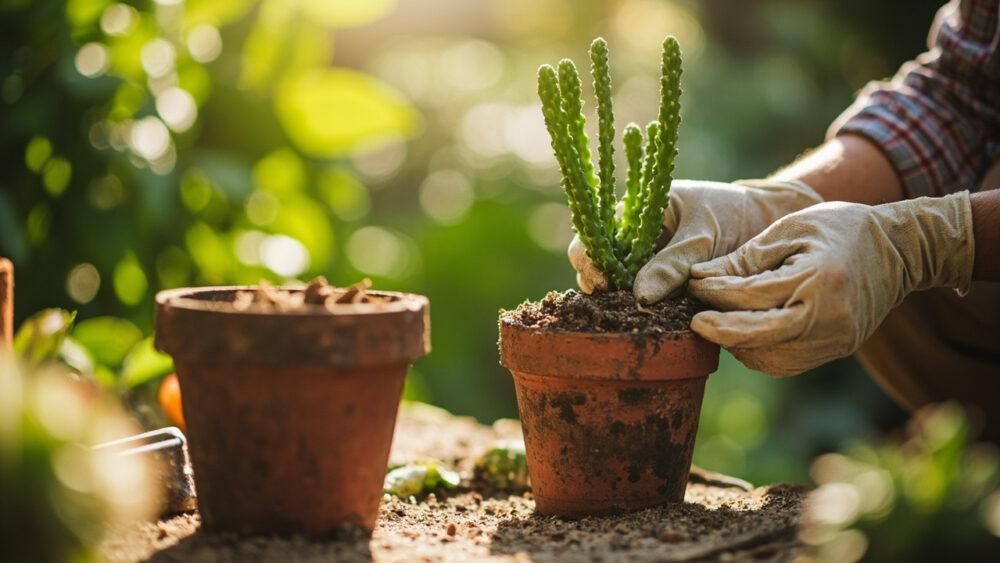
Choose a healthy stem segment 4 to 8 inches long, ideally one with a slight woody base if the plant is older. Wear gloves and eye protection, this isn’t optional theater, the sap can cause real irritation and a splash to the eye warrants rinsing immediately and calling a doctor if irritation persists.
Cut with a clean, sharp knife or shears. Set the cutting somewhere the dripping sap won’t matter, like on newspaper in a garage, and let it bleed out for a few minutes before you move it.
Callous it before you plant it
This is the step almost everyone skips or rushes, and it’s the actual reason most attempts fail. Lay the cutting in a dry, shaded spot out of direct sun for 5 to 10 days.
You’re waiting for the cut end to seal over, turning tan, dry, and slightly wrinkled, not shiny or wet. A cutting planted before it callouses almost always rots at the base within a week or two, and that rot travels upward, so you lose the whole piece, not just the tip.
Plant it
Use a mix that drains fast, two parts standard potting soil to one part perlite or coarse pumice, or a bagged cactus mix straight from the bag. Bury the calloused end just an inch or two deep, enough that the cutting stands upright on its own or with a light stake.
Water lightly once at planting, then hold off.
Getting the cutting into soil is only half the job, what happens the next few weeks decides whether it lives.
Week by Week: What Rooting Actually Looks Like
Weeks 1 to 2: nothing visible happens above soil, and that’s normal, not a bad sign. Keep the mix barely damp, more dry than moist, in bright indirect light.
Overwatering here is the single fastest way to rot an uncallused root zone, so err dry.
Weeks 3 to 5: give the stem a gentle tug. Resistance means roots have formed; if it lifts freely with no resistance, let it sit longer and check again in a week.
Weeks 6 to 8: new growth, small pale green nubs near the top, tells you roots are established and the plant is putting energy into growing again. This is your green light to treat it like a normal, rooted pencil cactus going forward.
Once you’ve got that resistance and new growth, the next question is when to move it up.
Potting Up and Moving Outdoors
Once roots are established, usually by week 6 to 8, you can pot the cutting into its own container with fresh cactus mix, sized just an inch or two wider than the root mass. Going too big too soon holds excess moisture around roots that are still young, which invites rot.
If you’re moving it outdoors, wait until nighttime temperatures are reliably above 50°F and there’s no frost risk in the forecast, pencil cactus has zero cold tolerance and a single hard frost can kill it outright. Zones 9 through 11 can grow it outdoors year-round; everyone else treats it as a container plant that summers outside and comes in before fall’s first frost.
Harden it off over a week, a few hours of morning sun at a time, before giving it full sun exposure.
Even with perfect timing, a few things still sink most attempts, and they’re worth naming plainly.
The Real Reasons Cuttings Fail
Skipping the callous. Covered above, and still the number one killer. There’s no shortcut here, the wait is the method.
Watering too soon or too often. An uncallused or freshly potted cutting has no roots to take up that moisture, so it just sits in wet soil and rots. When in doubt, wait another few days.
Low light. Pencil cactus rooting in a dim corner will sit stalled indefinitely. It needs bright indirect light throughout rooting, and strong direct sun once established.
Handling the sap carelessly. Beyond the safety issue, sap smeared across the cut surface can interfere with callousing. Let it bleed and dry naturally rather than wiping it repeatedly.
Keep this plant safely away from pets and small children too, the sap is toxic if ingested and irritating on contact. If a pet chews on it, call your veterinarian rather than waiting to see what happens.
Get past these four traps and there’s genuinely very little else that goes wrong.
Pencil Cactus at a Glance
- Best method: stem cuttings, 4 to 8 inches long, taken from a healthy segment with clean shears.
- Callous time: 5 to 10 days in a dry, shaded spot before planting, non-negotiable for success.
- Planting depth: 1 to 2 inches into fast-draining cactus mix or potting soil cut with perlite or pumice.
- Watering during rooting: barely damp, water sparingly, let the mix dry out between waterings.
- Rooting timeline: resistance to a gentle tug by weeks 3 to 5, new growth by weeks 6 to 8.
- Light needs: bright indirect light while rooting, full sun once established.
- Cold limit: no frost tolerance, move indoors or take cuttings before temperatures drop below 50°F.
Handle the sap with respect, let the cut end dry before it ever touches soil, and this plant roots almost by itself.
Get those two things right and everything else is just watching it grow.