Here’s how to grow spearmint without regretting it in two years: plant it in a container or a sunk-in barrier, give it partial sun and consistently moist soil, and harvest often to keep it from turning into a woody, flowerless mat. That’s the whole job in one sentence, but the details are where most people get burned.
Spearmint is one of the easiest herbs alive and also one of the most likely to become the thing you’re apologizing to your neighbor about. It spreads by underground runners, not just seed, and it does not politely stay where you put it.
Before you get to the bottom of this guide, where I’ve put a full Spearmint at a Glance card you can save to your phone, I want to open a few things worth knowing up front. There’s one planting mistake that causes almost every “spearmint took over my whole bed” story you’ve heard. There’s a watering sign people read backward. And there’s a harvesting habit that decides whether your plant stays tender and bushy or turns into a leggy, bitter stick by August.
When to Plant Spearmint
Plant spearmint after your last frost date, once soil temperature sits at 50°F or warmer, which typically lines up with mid to late spring in most zones. Spearmint is hardy in USDA zones 4 through 9, so if you’re planting a perennial patch outdoors, it will come back on its own next year in most of that range.
You can also start it indoors or in containers well before that, since a pot on a sunny windowsill doesn’t care about frost the way ground soil does. Nurseries sell starts nearly year-round, and a transplant from a 4-inch pot skips the slow, fussy seed-starting stage entirely.
Seed is the slow route. Spearmint seed germinates unevenly over 10 to 15 days and the resulting plants are genetically inconsistent, so most experienced growers start from a purchased plant or a rooted cutting instead.
Timing gets your plant established, but where you put it decides whether you’re managing mint or fighting it.
Choosing the Spot and Prepping the Soil
Spearmint wants partial sun, roughly 4 to 6 hours a day, and rich, consistently moist soil. Full sun works too if you can keep the soil from drying out, but afternoon shade makes watering far more forgiving in hot climates.
Here’s the mistake that ruins most attempts: planting spearmint straight into open garden soil with no barrier. It doesn’t just spread, it runs, sending rhizomes a foot or more in a season, popping up through lawns, under sidewalks, and into a neighbor’s bed. If you assumed a little edging strip or a loose row spacing would contain it, that guess is exactly what lets it escape.
The real fix is a hard barrier. Grow it in a container, in a bottomless pot sunk into the ground with 2 to 3 inches of rim above soil level, or in a raised bed with solid sides that go at least 10 inches deep.
Soil itself barely matters, spearmint tolerates average dirt fine, as long as you mix in an inch or two of compost before planting for better moisture retention.
Contained or not, your next decision is how you actually get it in the ground.
Planting Spearmint Step by Step
- Dig a hole the same depth as the nursery pot and about twice as wide, loosening the surrounding soil so roots spread easily.
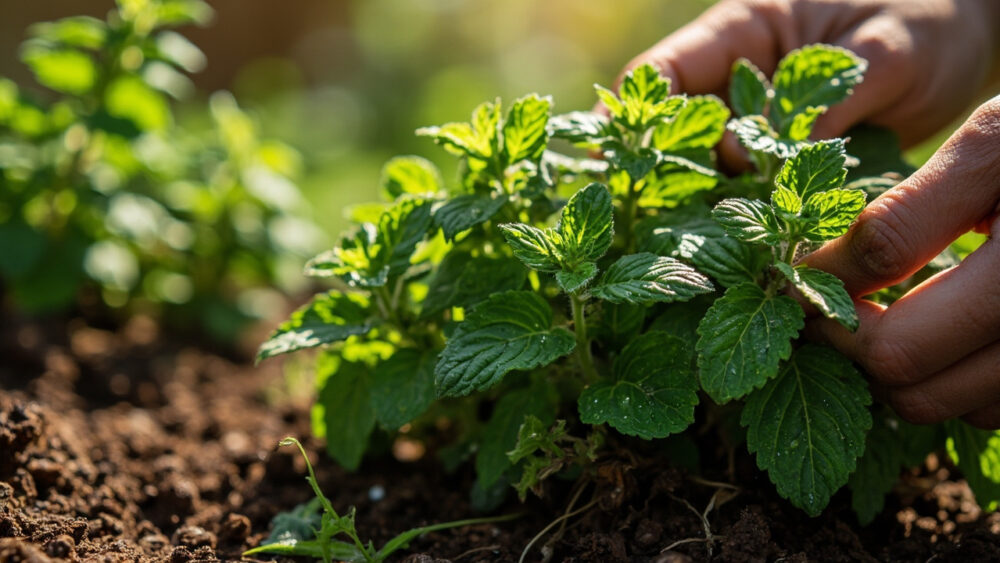
- Set the transplant so the crown sits level with the surrounding soil, not buried and not sitting high.
- Space plants 18 to 24 inches apart if you’re growing multiple in an open bed, or one plant per 12-inch-diameter container.
- Backfill and firm the soil gently around the base, no need to pack it hard.
- Water immediately, soaking the root zone thoroughly to settle the soil and eliminate air pockets.
- Mulch lightly with an inch of straw or shredded leaves to hold moisture while roots establish.
Get it in the ground right and the plant does most of the rest of the work itself, mostly by growing more than you expect.
Watering and Feeding Through the Season
Spearmint wants soil that stays evenly moist, never bone dry, never waterlogged for days. Check by pushing a finger an inch into the soil, if it feels dry there, water.
In hot weather that can mean watering every day or two for container plants, since pots dry out fast.
If you assumed wilting always means underwatering, that guess causes more root rot than drought ever does with mint. Spearmint wilts dramatically in full afternoon sun even when the soil is plenty moist, then perks right back up by evening. Check the soil before you reach for the hose. If it’s already damp, the plant is just protesting the heat, not asking for a drink.
Feed lightly, a balanced liquid fertilizer once a month through the growing season is plenty. Overfeeding pushes lush leaves with weaker flavor, which defeats the point of growing your own.
Keep the soil right and the plant will grow fast, which is exactly when problems like to show up.
Problems Most Likely to Strike
Rust is the big one, a fungal disease showing up as orange-brown pustules on the undersides of leaves. It thrives in crowded, humid plantings with poor airflow.
Head it off by dividing clumps every year or two, spacing plants generously, and watering the soil rather than the leaves. If rust shows up anyway, cut the infected growth back hard and let it regrow, and remove severely affected plants rather than letting spores spread. A fungicide labeled for rust on herbs can help in bad cases, follow the product label exactly.
Spider mites and aphids occasionally move in during hot, dry stretches, look for stippled or curling leaves and check leaf undersides. Both usually clear up with a strong spray of water every couple of days or an insecticidal soap applied per the label.
Powdery mildew, whitish coating on leaves, follows the same crowding and poor-airflow pattern as rust and responds to the same fixes.
Spearmint is one of the tougher herbs you’ll grow, but a healthy plant still needs harvesting to stay that way.
When and How to Harvest
Start harvesting once the plant reaches 6 to 8 inches tall, usually 6 to 8 weeks after planting a transplant. From there, you can cut something almost every week through the growing season.
The habit that separates a bushy, productive plant from a leggy, bitter one is harvesting before it flowers, not after. Once spearmint blooms, the leaves turn noticeably more bitter and the plant slows leaf production to focus on seed.
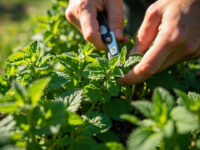
Pinch or snip stems just above a leaf node, taking no more than a third of the plant at once. This encourages branching, so the plant gets fuller instead of taller.
If flower buds start forming, that’s your cue to do a hard harvest, cutting stems back by half, which resets the plant into another leafy growth flush.
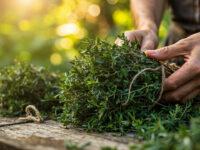
Morning harvest, right after dew dries, gives you the most concentrated flavor and oil content. Use it fresh, or hang small bundles in a dark, airy spot to dry for a week or two.
That’s the whole cycle, and once you’ve run through it once, spearmint mostly runs itself.
Spearmint at a Glance
- When to plant: after last frost, once soil hits 50°F or warmer, typically mid to late spring, hardy in zones 4 through 9.
- Spacing and depth: 18 to 24 inches apart in open ground, one plant per 12-inch pot, crown level with the soil surface.
- Light and soil: partial sun, 4 to 6 hours daily, average soil enriched with an inch or two of compost.
- Containment: always use a container, sunk bottomless pot, or solid-sided raised bed at least 10 inches deep.
- Water and feed: keep soil consistently moist, check an inch down before watering, feed monthly with a balanced liquid fertilizer.
- Watch for: rust, powdery mildew, spider mites, and aphids, all worsened by crowding and poor airflow.
- Harvest: begin at 6 to 8 inches tall, cut stems above a leaf node, harvest before flowering for the best flavor.
Contain it before you plant it, and harvest it before it flowers.
Get those two things right and spearmint will reward you with more mint than you know what to do with, for years.