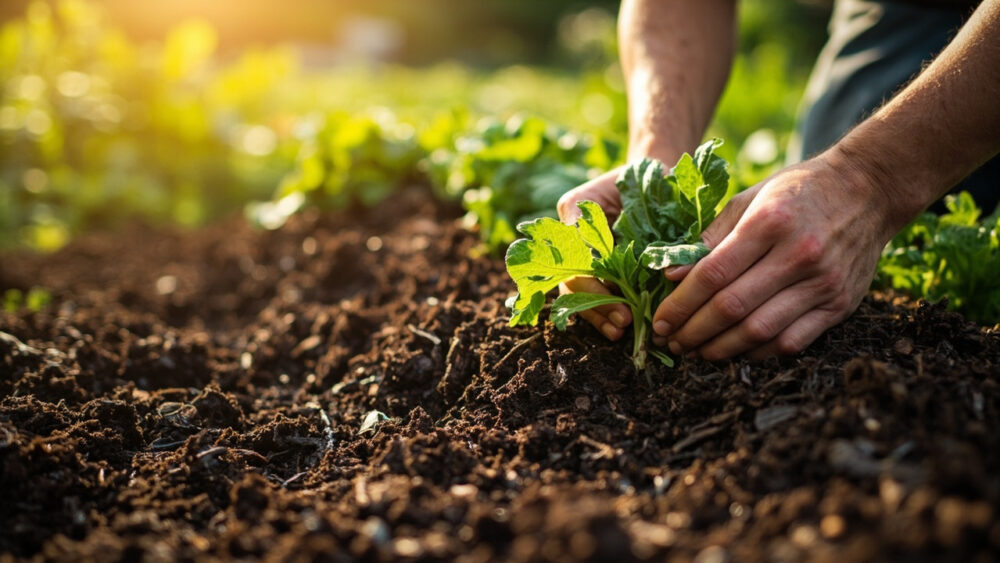
No dig gardening means building fertile soil by layering compost and organic matter on top of the ground instead of tilling or turning it, and you can start a new bed this way in a single afternoon by smothering the grass with cardboard and piling on 6 to 8 inches of compost. No tilling, no double digging, no renting a rototiller. The soil biology does the mixing for you over the following weeks.
That sounds almost too easy, and that is exactly where most people go wrong. There is one layering mistake that suffocates an entire bed by midsummer, a “ready to plant” sign that fools nearly everyone into planting two weeks early, and an honest answer about how long it actually takes before a no dig bed outperforms a dug one.
Stick around for all three, plus the save-able No Dig Gardening at a Glance card at the very bottom with the exact layer depths, timing, and spacing you need this weekend.
What No Dig Gardening Actually Changes
Tilling breaks up soil structure every time you do it, and it wakes up weed seeds that were sitting dormant six inches down. No dig leaves that structure alone. Earthworms, fungal networks, and soil bacteria stay intact and keep building channels for air and water instead of getting chopped apart every spring.
The practical result is soil that drains better in wet years and holds moisture better in dry ones, usually within one to two growing seasons.
Weed pressure drops too, because you are not dragging buried weed seeds up to the surface where light can trigger them to sprout.
None of that happens on day one though.
Building Your First Bed, Layer by Layer
Start by mowing or cutting existing growth as low as it will go. Lay down plain cardboard or several sheets of newspaper directly over the grass or weeds, overlapping edges by at least 6 inches so nothing can push through the seams.
On top of that, add 6 to 8 inches of finished compost, aged manure, or a mix of both. This is the layer plants will actually root into, so it needs to be genuinely broken down, not fresh material still heating up.
Skip the temptation to pile on woodchips or straw as the top growing layer. Those belong as mulch on top of the compost, not mixed into it, or they tie up nitrogen while they break down.
Water the whole bed thoroughly once it’s built, and that first watering is what tells you whether you built it right.
The Layering Mistake That Ruins Most First Attempts
Here is the mistake: people make the cardboard layer too thick, or they let it dry out and curl at the edges, and it turns into a waterproof shingle instead of a weed barrier that breaks down. Roots can’t get through it, water sheds sideways off the bed instead of soaking in, and by midsummer the plants look stunted for no visible reason.
The fix is simple. Use a single layer of cardboard, remove tape and heavy ink labels, and soak it before you lay it down.
Check it a month later by lifting a corner. It should be dark, soft, and starting to fall apart, not still stiff.
If it’s still stiff and dry, that’s your answer for why a section of the bed is struggling, and it’s fixable with more water, not more compost.
The “Ready to Plant” Sign Almost Everyone Misreads
Most people assume that once the surface looks like dark, crumbly compost, the bed is ready to plant. That guess is what gets seedlings planted into a bed that’s still actively decomposing underneath, and decomposition in progress competes with young roots for nitrogen and can run noticeably warmer or cooler than the air above it.
The real sign is different: push your hand two inches down. If it still feels warm, spongy, or you catch a whiff of ammonia or sourness, the lower layers are still cooking.
Give it two to four more weeks, or plant shallow-rooted quick crops like lettuce and radish first while the bed finishes settling.
Deep-rooted crops like tomatoes and squash should wait for that hand test to come back cool, neutral-smelling, and crumbly all the way down.
Planting Into an Established No Dig Bed
Once a bed is finished settling, you don’t dig planting holes the way you would in tilled soil. You simply part the mulch, drop your transplant or seed into the compost layer beneath at the same depth you would in any garden bed, and firm the mulch back around the stem.
For most vegetable transplants, that means setting the root ball level with the surrounding surface, not buried deeper. For direct-sown seeds like beans, peas, and squash, plant at the standard depth for that seed, usually 1 to 2 inches, right into the compost.
Spacing stays the same as it would in any garden, since no dig doesn’t change how much room roots need. A tomato still wants 24 to 36 inches, lettuce still wants 6 to 8.
What changes is what happens between plants, and that’s where mulch does most of the remaining work.
Mulch: The Part That Makes No Dig Actually Work Long Term
A 2 to 3 inch layer of straw, shredded leaves, or woodchips on top of the compost is not optional decoration. It’s what suppresses new weeds, holds moisture through a dry week, and slowly feeds the soil as it breaks down.
Pull mulch back a couple inches from stems so it doesn’t trap moisture against them and invite rot or slugs.
Top it off once or twice a season as it thins out, rather than waiting until bare compost shows through and weeds get a foothold.
This is also your annual maintenance routine, and it’s lighter than most gardeners expect.
Yearly Maintenance: What Replaces Tilling
Instead of tilling in spring, you top-dress. Add 1 to 2 inches of fresh compost over the bed at the start of each growing season, then refresh the mulch layer on top.
Leave roots from spent plants in the ground at season’s end rather than pulling them. They break down in place and feed the soil life you’ve spent a season building.
Never walk on the bed itself. Compaction from foot traffic undoes the loose structure no dig depends on, which is why permanent beds no wider than 4 feet, reachable from both sides, matter more here than in a tilled garden.
That question of timing, how long before this all actually pays off, deserves a straight answer.
The Honest Timeline: When No Dig Actually Outperforms Tilling
Year one is often a wash, sometimes even a little behind a well-tilled, well-fertilized bed, because the soil biology is still establishing and that first compost layer is still settling.
By year two, most gardeners see real gains: fewer weeds, better moisture retention, less need to water during hot stretches.
By year three, the soil structure is usually doing enough of the work that fertilizer needs drop and plants show sturdier root systems than they did when the bed started.
If you’re starting a bed to solve this year’s problem, no dig will help, but the biggest returns are for the gardener willing to keep building on the same beds year after year.
That patience is really the whole method, and here’s everything worth saving before you go dig, or rather, not dig, into your own bed.
No Dig Gardening at a Glance
- When to start a bed: anytime the ground isn’t frozen or waterlogged, though fall or early spring gives layers time to settle before planting season.
- Base layers: one layer of soaked cardboard directly on cut grass or weeds, overlapped 6 inches at every seam.
- Compost layer: 6 to 8 inches of finished compost or aged manure on top of the cardboard, this is the rooting zone.
- Mulch layer: 2 to 3 inches of straw, shredded leaves, or woodchips on top of the compost, kept a couple inches back from stems.
- Readiness check: push your hand 2 inches into the bed, plant deep-rooted crops only once it feels cool, neutral-smelling, and crumbly.
- Spacing and depth: identical to any standard garden bed, no dig changes soil structure, not how much room roots need.
- Yearly upkeep: top-dress with 1 to 2 inches of fresh compost each spring, refresh mulch, never walk on the bed.
No dig rewards patience more than effort, the real payoff shows up in year two and three, not week one.
Build the layers right, leave the soil alone, and let the worms finish the job.