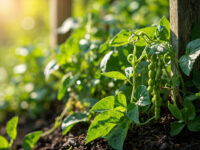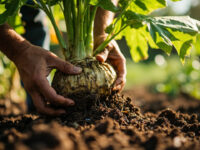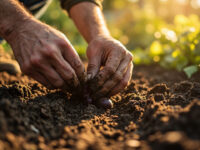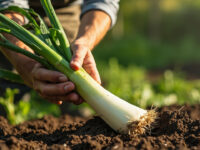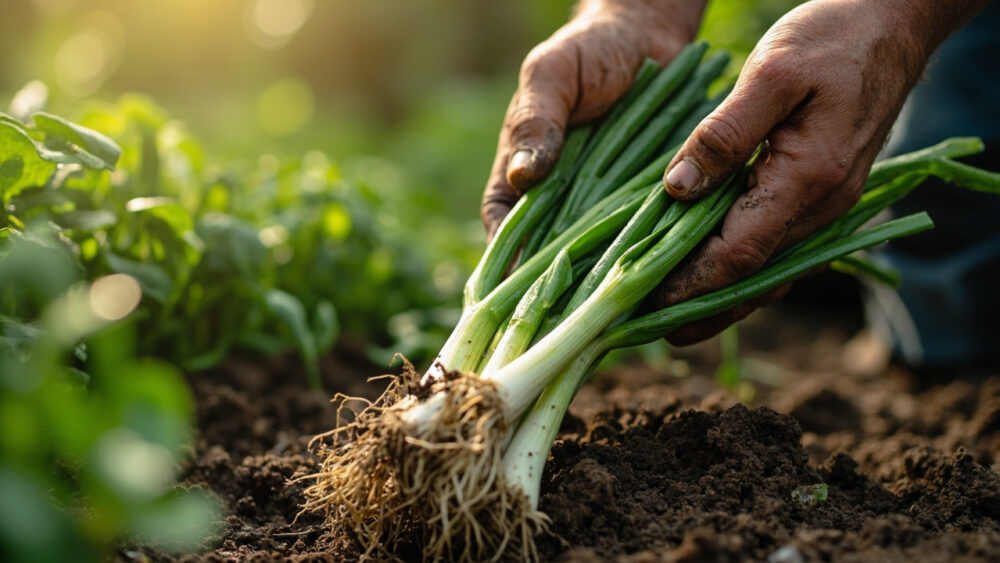
Green onions are ready when the white shanks reach pencil thickness, about a half inch across, and the tops are dark green and standing at least 6 to 8 inches tall. That usually happens 20 to 30 days after transplanting sets, or 60 to 80 days from seed. You can pull them earlier for a milder, thinner onion, and honestly, most home gardeners wait too long rather than too little.
There is one mistake that wrecks more green onion patches than anything else, and it is not underwatering or the wrong soil. It is planting them too thick and never thinning, so every plant stays stunted and stringy no matter how long you wait.
There is also a sign a lot of people misread completely, a certain kind of flower stalk that shows up in the second year, and it changes everything about how you should harvest that plant. Stick around, because the save-able Green Onions at a Glance card is waiting at the bottom with every number in one place.
The Real Ready Signs
Forget the calendar for a second and look at the plant itself. Shank thickness is your best clue: once the white part below the soil line is as thick as a pencil, roughly 3/8 to 1/2 inch, it is ready to pull. Wait longer and it thickens toward scallion or small bulb-onion territory, which is not a failure, just a different vegetable at that point.
Check the Tops
The green tops should be upright, firm, and dark green, not yellowing or flopping over. Floppy yellow tops usually mean the plant is stressed, bolting, or simply past its prime.
Check the Feel
Grab a shank near the soil and give it a gentle squeeze. It should feel firm and solid, not soft or hollow. A hollow, spongy shank means it sat in the ground too long or the weather got too hot for it.
Once you know what ready feels like in your hand, the harder question is when that window actually opens and closes.
The Timing Window, and What Early or Late Actually Costs You
Green onions from sets or transplants are typically ready 20 to 30 days after planting. From seed direct-sown in the garden, figure 60 to 80 days, since seed-grown onions take much longer to bulk up the shank. Soil temperature matters more than the date on your seed packet: onion seed germinates slowly below 50°F and speeds up nicely once soil hits 60 to 75°F.
Harvest early and you get a thinner, milder onion with less waste, which is genuinely fine and often preferred for salads and garnish. Nothing is lost by pulling them at 4 to 6 inches tall if that is the size you want.
Wait too long and you run into the sign everyone misreads: a round, papery bud on a hollow stalk rising from the center of the plant. That is a flower stalk, not a new shoot, and it means the plant has decided to bolt and set seed. Once bolting starts, the shank turns fibrous and tough fast, usually within a week or two, and there is no walking it back.
Bolting is triggered by a stretch of cold followed by warm weather, which is common with onions that overwintered or got planted too early in a cold spring. If you see that stalk, harvest immediately rather than hoping it improves.
Knowing the window is one thing, getting the onion out of the ground without ruining it is another.
How to Harvest Without Tearing Up the Bed
The honest answer to the question you are probably about to ask: no, you should not just yank green onions straight up by the tops. The leaves tear, the shank often snaps below soil level, and you leave the best part behind.
Here is the way that actually works:
- Loosen the soil first. Slide a hand fork or trowel down alongside the row, about 2 to 3 inches from the plant, and lift gently.
- Grip low. Hold the onion near the base of the shank, not just the leaves, then pull straight up with steady pressure.
- Harvest selectively. Take every other plant first as a thinning pass, which lets the remaining onions bulk up with more room.
- Work in the morning when soil is still moist from overnight, since dry, compacted soil grips the roots harder and increases breakage.
If the soil is heavy clay or has crusted over, water it lightly an hour before you harvest. That single step saves more shanks than any tool you could buy.
Getting them out clean is half the job, what you do in the next ten minutes is the other half.
Right After You Pull Them
Green onions wilt fast once out of the ground, faster than almost anything else in the vegetable bed. Get them out of direct sun immediately.
Rinse off the soil under cool running water, working the roots gently with your fingers to knock out any grit trapped between layers. Trim the roots close but do not cut into the white shank itself.
If you are not using them within a day, do not wash them yet. Wrap unwashed onions loosely in a damp paper towel, slide them into a partially open plastic bag, and refrigerate. They hold well for 1 to 2 weeks that way, sometimes longer if the tops stay intact and dry.
Standing them upright in a jar with an inch of water in the fridge works too, and it has the bonus of keeping them visibly fresh so you actually remember to use them.
Storage keeps what you already picked, but the real trick to green onions is getting a second and third harvest out of the same patch.
Keeping the Harvest Coming
This is the part that surprises new gardeners: green onions regrow from a cut base. If you snip the tops an inch above the soil instead of pulling the whole plant, many varieties will push up new green growth within 1 to 2 weeks.
You can do this two or three times per planting before the shank gets too woody to bother with. It is the fastest way to get continuous green onions from a small space without resowing constantly.
For a steady supply all season, succession plant a short row every 2 to 3 weeks from sets, from your last frost date through midsummer. That staggers your harvest windows so you are never stuck with forty onions ready on the same day, or none at all for a month.
Once you have the rhythm of cut-and-regrow going, the whole patch starts feeling less like a one-time harvest and more like a standing supply.
Green Onions at a Glance
- When to plant: sets or transplants 2 to 4 weeks before your last frost, seed once soil hits 50 to 60°F.
- Spacing: 1 to 2 inches apart in rows 6 to 12 inches apart, thin as you harvest.
- Planting depth: sets about 1 inch deep, seed roughly 1/4 to 1/2 inch deep.
- Days to harvest: 20 to 30 days from sets, 60 to 80 days from seed.
- Ready sign: shank pencil-thick, about 3/8 to 1/2 inch, tops dark green and upright.
- Harvest method: loosen soil, grip near the base, pull straight up, or cut an inch above soil to regrow.
- Storage: unwashed and damp-wrapped in the fridge, 1 to 2 weeks, or standing in a jar of water.
Watch the shank, not the calendar, and pull before that flower stalk ever shows up.
Cut instead of yanking when you want a second round, and the same row will feed you three times over.