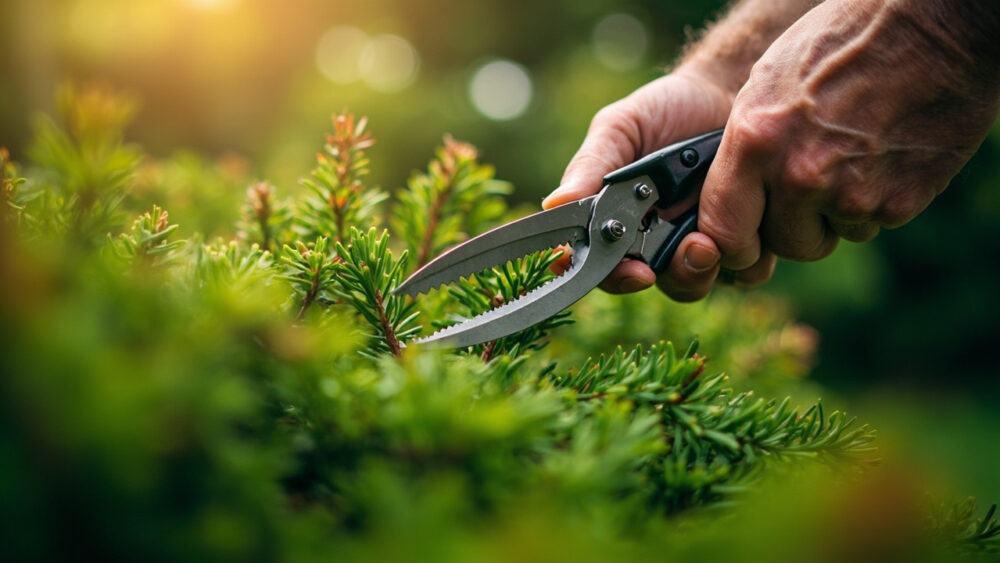
The short answer: prune arborvitae in late spring after new growth flushes out, or in late summer before new growth hardens off, and never take more than the current season’s growth back to a point that still has green needles on it. If you’re learning how to prune arborvitae for the first time, that last part matters more than timing. Cut into bare brown wood and you’ve created a hole that may never fill back in.
Most people who ruin an arborvitae don’t do it by cutting at the wrong time of year. They do it by cutting too deep, all at once, on a plant that’s already gotten away from them.
There’s also a sign almost everyone misreads: browning in the interior of the shrub that looks like disease but is actually normal shedding. Get that one wrong and you’ll prune in exactly the wrong place. Stick around for the exact cut points, the one mistake that turns a healthy hedge into a permanent eyesore, and the save-able Arborvitae at a Glance card at the bottom with every number in one place.
When to Prune Arborvitae, and When to Leave It Alone
The best windows are late spring, once that season’s new growth has emerged and softened, and late summer to early fall, at least six weeks before your first hard frost. Pruning in early spring before new growth starts is fine for light shaping too, but avoid cutting late in fall. New cuts stimulate tender growth that won’t harden off in time and gets burned by winter cold.
Skip pruning during a summer drought or heat stress. A stressed plant heals slower and shows every cut for months.
If you inherited an overgrown arborvitae and want to hard-cut it back to size in one go, don’t. Arborvitae, unlike yew or boxwood, does not reliably resprout from bare wood. One aggressive haircut can leave a permanent bald patch that no amount of fertilizer fixes.
Timing gets you halfway there, but where you actually cut is what determines whether it grows back.
Tools and the One Prep Step That Actually Matters
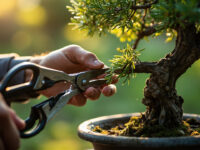
For light shaping, hand pruners and hedge shears do the job. For taller hedges or thick leaders, bypass loppers handle branches up to about an inch thick, and a pruning saw handles anything bigger. Clean, sharp blades matter here more than usual, since arborvitae’s flat, scale-like foliage tears and browns at the edges when it’s cut with dull shears.
The prep step everyone skips: step back and look at the shrub from ten feet away before you touch it. Arborvitae holds its shape for years once it’s set, so the outline you cut this season is roughly the outline you’re stuck with going forward. Decide the final width and height first. Cutting branch by branch without a target in mind is how hedges end up lumpy on one side.
Wipe blades with rubbing alcohol between plants if you’re working down a row, especially if any shrub shows dieback or discolored foliage that could be disease.
Once you know your line, the actual cutting is the easy part.
How to Prune Arborvitae Step by Step
Step 1: Start With Dead, Damaged, or Crossing Growth
Remove anything obviously dead, broken, or rubbing against another branch first. Cut back to healthy wood or right at the point where the branch joins a larger one. This alone often improves the shape enough that you barely need to do more.
Step 2: Shape the Sides, Working Bottom to Top
Trim sides so the shrub is very slightly narrower at the top than the bottom, even if just by an inch or two over the height of the plant. This lets light reach the lower branches, which is the difference between a hedge that stays full to the ground and one that goes bare and leggy at the base within a few years.
Step 3: Take No More Than the Current Season’s Growth
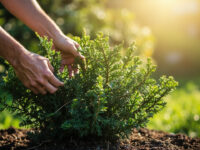
This is the rule that saves the plant. Cut back into this year’s soft growth only, leaving some green foliage on every branch tip you touch. Never cut into the old, woody interior where there’s no green left. That wood typically will not push new buds.
Step 4: Trim the Top Last, and Only If Needed
If you’re controlling height, cut the leader back to a lateral branch rather than shearing it flat. A flat-topped cut on a leader often triggers multiple competing tips that look messy for years.
Get the depth of cut wrong just once on a mature plant and you’ll be looking at that bare patch for a long time, which is exactly why the next section matters.
What to Expect After Pruning
Right after a proper prune, the shrub should look tidier but not dramatically smaller. Fresh cut tips may show a slightly lighter green for a week or two before blending back in.
Interior browning is where people panic, and it’s the sign almost everyone misreads. Arborvitae naturally sheds its oldest, innermost needles each year, usually in late summer or fall, and they turn brown and drop. That’s normal aging, not disease, and it happens whether you prune or not. The mistake is reaching into that brown interior wood and cutting it, thinking you’re removing damage. You’re not. You’re just opening a hole in wood that won’t refill.
New growth on healthy cuts typically appears within four to six weeks during the growing season. If a whole branch stays brown and dry rather than shedding individual needles, that branch is likely dead and can be removed at its base.
Knowing what’s normal shedding versus real dieback is what keeps you from making the next mistake worse.
The Mistakes That Cost You the Whole Season, or the Whole Shrub
- Cutting into bare wood: the single most common and least reversible mistake. Always leave green foliage on any branch you shorten.
- Shearing the same outline every year without checking size: this creates a dense green shell over a hollow, twiggy interior that can’t recover if you ever need to cut back hard.
- Pruning right before a hard freeze: fresh growth stimulated by a late cut gets winter-burned and browns out by spring.
- Flat-topping tall leaders: produces multiple competing tips and an uneven silhouette for years afterward.
- Ignoring the base: letting the top grow wider than the bottom starves lower branches of light, and that bare-legged look at the base is nearly impossible to fix once it sets in.
Every one of these is avoidable with the same habit: check for green before you cut, and step back often to see the whole plant.
Arborvitae at a Glance
- Best time to prune: late spring after new growth softens, or late summer to early fall, at least six weeks before your first hard frost.
- Time to avoid: late fall, when fresh cuts won’t harden off before cold weather.
- How much to cut: only the current season’s new growth, always leaving green foliage on the branch tip.
- Shape target: slightly narrower at the top than the bottom, so lower branches keep getting light.
- Tools: hand pruners or hedge shears for light shaping, bypass loppers for branches up to about an inch thick, a pruning saw for anything larger.
- Normal vs. problem: scattered brown, shedding interior needles in late summer or fall is normal aging, not disease. A whole branch staying brown and dry means it’s dead and should be cut at its base.
- Recovery time: new growth on healthy cuts usually appears within four to six weeks during the growing season.
If you remember one thing, remember this: arborvitae does not grow back from bare wood, so every cut should leave some green behind.
Prune a little every year rather than a lot every five, and you’ll never have to make the hard cut at all.