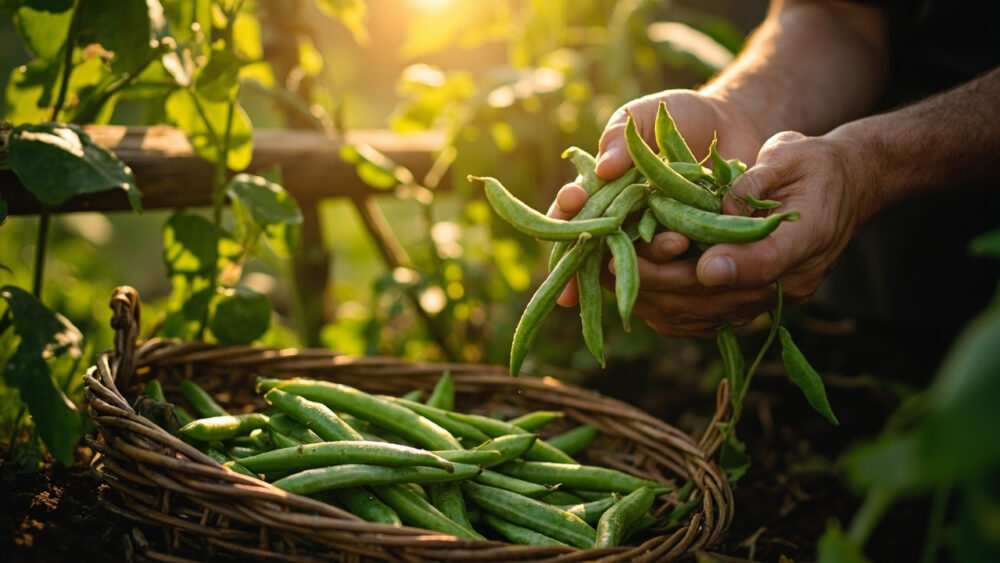
The right way to preserve green beans for long-term storage is blanching and freezing, or pressure canning if you want shelf-stable jars. Skip either the blanch or the correct canning method and you get mushy, off-color beans or, worse, an unsafe jar. Fresh-picked beans in the fridge only buy you about a week, so if you have a basket full right now, you need to decide fast which route you’re taking.
Most home preserving fails happen at one of two spots: people skip blanching because it feels like an extra step, or they try to water-bath can green beans because that’s what they did with tomatoes and pickles. Both of those mistakes ruin the batch in different ways, one just tastes bad and the other can make you sick.
Stick with me and I’ll walk through the actual step-by-step for both freezing and pressure canning, how long each method really keeps, the exact signs a batch has turned, and the mistakes that quietly wreck otherwise good beans. There’s also a save-able Green Beans at a Glance card at the very bottom with the numbers you’ll want on hand next time you’re standing at the counter with a colander full of beans.
Freezing Green Beans the Right Way
Wash the beans, snap or cut off the stem ends, and trim to the length you want. Then blanch: drop them into boiling water for 3 minutes, no longer, then plunge immediately into ice water for the same amount of time to stop the cooking.
This step is not optional. Blanching deactivates the enzymes that would otherwise keep breaking the beans down in the freezer, turning them gray, mushy, and bitter within a couple of months.
Drain the cooled beans well, pat them mostly dry, and spread them on a sheet pan so they freeze separately before bagging. This flash-freeze step is what keeps you from opening a solid brick later.
Once frozen solid, about 1 to 2 hours, transfer to freezer bags or containers and press out as much air as you can.
That gray, waterlogged look you might expect from freezing any vegetable is actually the sign something went wrong, not a normal side effect.
Pressure Canning: The Only Safe Canning Method for Green Beans
If you assumed you could water-bath can green beans the way you would with pickles or tomato sauce, that assumption is exactly what causes botulism risk in home-canned low-acid vegetables. Green beans are low-acid, and low-acid foods require a pressure canner, full stop.
Pack raw or hot beans into clean jars, leaving 1 inch of headspace, add salt if you like, and cover with boiling water leaving that same headspace. Wipe the rims, apply lids, and process in a pressure canner at the pressure and time your canner’s manual and current USDA guidelines specify for your altitude, generally in the range of 20 to 25 minutes for pints at low altitude and longer for quarts or higher elevations.
Let the canner depressurize naturally before opening it. Rushing this step is its own small hazard and can also cause liquid loss from the jars.
Do not skip a pressure canner in favor of a boiling water bath here, no matter what a recipe promises about speed or ease.
How Long Each Method Actually Keeps
Fresh green beans in the fridge crisper hold up for about 5 to 7 days before they start going rubbery and losing snap. Beyond that, you’re preserving beans that are already past their best.
Blanched and frozen beans keep their quality for 8 to 12 months in a freezer set at 0°F. They’re technically safe longer than that, but flavor and texture fade the longer they sit.
Pressure-canned beans, properly processed and sealed, are shelf-stable for 12 to 18 months in a cool, dark spot, though most guidance says use within a year for best quality.
None of these numbers matter if the prep before storage was wrong, which is where most batches actually go bad.
The Prep Mistakes That Ruin a Batch Before It’s Even Stored
The single biggest mistake is skipping the blanch before freezing. It feels like an unnecessary extra pot of boiling water, but unblanched frozen beans turn limp and grassy-tasting within weeks, not months.
The second biggest mistake is using overripe beans. If the pods are bulging with visible seed shapes and the skin looks leathery rather than smooth and snappy, no preserving method will fix that toughness. Pick or buy beans while they still snap cleanly when bent.
A third mistake is packing wet beans straight into freezer bags without drying them after the ice bath. The extra water forms ice crystals that make for freezer-burned, mealy beans later.
Get the beans right before they ever hit the pot, and the rest of the process mostly takes care of itself.
Signs a Batch Has Turned
For frozen beans, watch for a dull, grayish-green color, a strong sulfur or off smell once thawed, or ice crystals that have fused the beans into a solid clump from repeated thawing and refreezing. Any of those means quality has dropped and the batch is best composted, not eaten.
For canned beans, the warning signs are more serious. A bulging lid, a jar that hisses or spurts when opened, cloudy liquid that wasn’t cloudy before, or any off or moldy smell means the jar should be discarded without tasting it.
Do not taste-test a suspect jar to check if it’s fine. Botulism toxin can be present without any obvious smell or visible spoilage, which is exactly why safe processing times and pressure matter more than how the jar looks on the shelf.
If you or anyone in the household ever eats from a jar you later suspect was underprocessed or spoiled, contact a doctor right away rather than waiting to see if symptoms appear.
With the warning signs covered, here’s the fast-reference card worth saving before you start your next batch.
Green Beans at a Glance
- Fresh storage: keeps 5 to 7 days in the fridge crisper, unwashed until ready to use.
- Blanch time: 3 minutes in boiling water, then 3 minutes in ice water, before any freezing.
- Freezer life: 8 to 12 months at 0°F for best flavor and texture.
- Canning method: pressure canning only, never a water bath, since green beans are low-acid.
- Canning time: roughly 20 to 25 minutes for pints at low altitude, longer for quarts or higher elevation, per your canner’s manual.
- Shelf life canned: 12 to 18 months in a cool, dark spot, best used within the first year.
- Spoilage signs: bulging lids, hissing on opening, cloudy liquid, or off smell means discard without tasting.
Pick beans that still snap, blanch before you freeze, and pressure can instead of water bath every single time.
Get those three things right and the rest of the process is just patience.