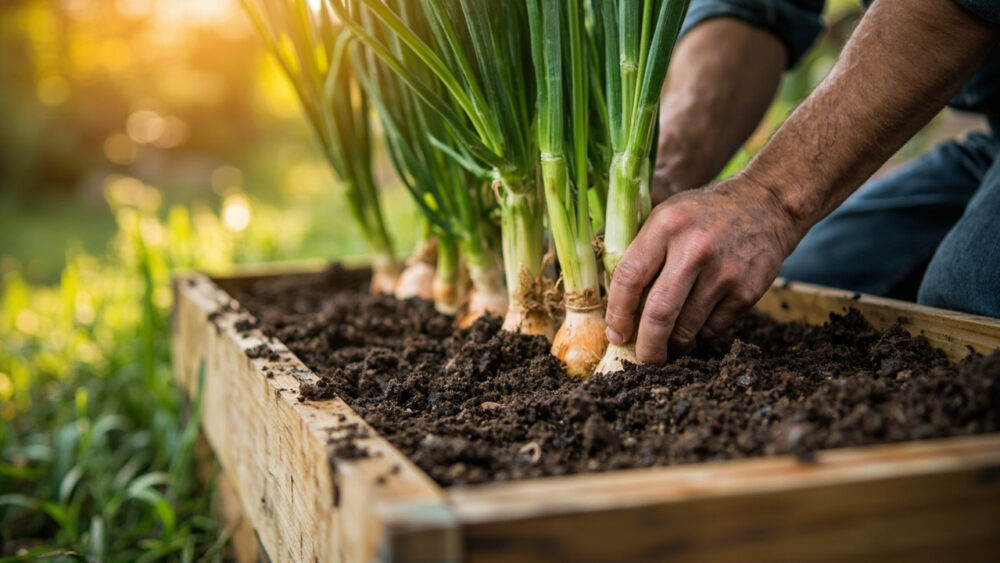
Growing onions in raised beds works better than growing them in native ground for most gardeners, because raised beds warm up earlier, drain faster, and let you control the loose, fertile soil onions actually need for their roots to push bulbs wide instead of fighting clay or compaction. Plant sets or transplants about 4 to 6 weeks before your last spring frost, an inch deep, 4 to 6 inches apart, in soil that has been loosened at least 8 inches down and enriched with compost.
That much gets you started. But onions have a way of looking fine all season and then disappointing you at harvest, and the reason is almost always something that happened weeks earlier, not something wrong with the bulb itself.
There is one spacing mistake that quietly caps every onion’s final size before you even notice it. There is a sign in the leaves that tells you it is bulbing time, and most people misread it as a problem. And there is an honest answer to the question you are already forming: sets, seeds, or transplants, which one actually gets you bigger onions in a raised bed. All of that is below, and so is the save-able Onions at a Glance card at the very bottom, the one you’ll want pulled up on your phone next time you’re standing at the bed with a trowel.
When to Plant Onions for a Raised Bed
Onions are cold-tolerant but not frost-proof as tiny seedlings, and they’re built around daylight length, which is why timing matters more for onions than for almost anything else you’ll grow. Plant 4 to 6 weeks before your last expected spring frost, as soon as the soil in the bed can be worked and isn’t waterlogged. Raised beds hit that point 1 to 3 weeks earlier than ground soil, which is one of the real advantages of growing them this way.
In warmer zones, roughly 7 and south, onions often go in during fall or winter instead, for a late spring harvest. In colder zones, 3 through 6, early spring planting is standard, and soil temperature matters more than the calendar: onions germinate and root well once soil hits about 45 to 50°F.
Get this window wrong in either direction and the bulb size suffers, because onions start forming bulbs based on day length regardless of how big the plant is yet.
Choosing the Spot and Prepping the Bed
Onions want full sun, 6 hours minimum, 8 or more if you can give it. Less than that and you get healthy green tops with disappointing bulbs underneath, because the plant is putting its energy into reaching for light instead of storing it.
Soil prep is where most of the real work happens. Onions need loose soil, free of rocks and clumps, worked at least 8 inches deep so roots and the swelling bulb both have room. Mix in 2 to 3 inches of compost before planting, and aim for a near-neutral pH, around 6.0 to 6.8.
Raised beds make this part almost too easy, since you control the whole mix instead of fighting whatever native soil is underneath. Don’t skip breaking up the bottom layer just because the top looks fluffy.
Good soil gets you halfway there, and the other half is how you actually put the plants in.
Planting Onions Step by Step
1. Choose sets, transplants, or seed
Sets (small bulbs) are the easiest and most forgiving for beginners, and they size up fast. Transplants give you the best balance of size and reliability. Seed started indoors gives the largest onions by end of season but needs 8 to 10 weeks of head start before your planting date.
2. Set the depth
Plant sets and transplants about 1 inch deep, just enough to cover the root with the growing tip at or just above the soil surface. Buried too deep, onions struggle to bulb properly.
3. Space by what size onion you want
Space 4 inches apart for medium onions, and up to 6 inches for the biggest bulbs. This is the spacing mistake that quietly costs people size all season: crowd onions at 2 to 3 inches and they will still grow, but every bulb pays a tax in size for the elbow room it never got.
4. Water them in
Water gently right after planting to settle soil around the roots, then keep soil consistently moist while roots establish over the first 1 to 2 weeks.
Get the spacing right at planting and you’ll never have to apologize for small onions at harvest.
Watering and Feeding Through the Season
Onions have shallow roots and don’t tolerate drought well, but they also hate sitting wet. Aim for about 1 inch of water per week, from rain and irrigation combined, keeping the top few inches of soil evenly moist, never soggy.
Feed onions on the front half of the season. A balanced fertilizer or nitrogen-rich feed every 3 to 4 weeks through the first two-thirds of growth builds the leafy top that eventually feeds bulb size. Stop feeding nitrogen once bulbs start swelling at the soil line, because pushing leaf growth late actually delays and softens the bulb.
That swelling is the sign most people misread. When the top of the bulb pushes up out of the soil and the base widens, that is not the plant heaving out of the ground in distress, that’s onions doing exactly what they’re supposed to do. Leave it alone and let it happen.
Watering right keeps the plant healthy, but it’s what’s waiting underground that decides whether you get a good crop at all.
Problems That Actually Show Up
Thrips are the most common pest, tiny insects that leave silvery streaks on leaves and stunt bulb growth in dry, hot weather. Consistent watering and removing weedy grass nearby (their preferred host) helps more than most sprays; if pressure is heavy, an insecticidal soap or labeled product applied per its instructions is the next step.
Onion maggots and neck rot show up in wet, poorly drained soil, another reason raised beds have an edge, since drainage is easier to control than in ground beds.
Bolting, where an onion sends up a flower stalk instead of focusing on the bulb, usually means a hard cold snap after planting or overcrowded, stressed plants. Bolted onions are still edible but won’t store well and should be used first.
Most onion problems trace back to wet feet or stress, not bad luck.
When and How to Harvest
Onions are ready when the lower leaves start yellowing and falling over and roughly a third to half of the tops have flopped down on their own. This usually lands in mid to late summer, about 90 to 120 days after planting depending on variety.
Don’t rush this by bending the tops down yourself hoping to speed things up. Let the plant fall over on its own schedule; forcing it early softens the bulb and shortens how long it will store.
Once most tops have flopped, pull the bulbs and let them cure somewhere warm, dry, and out of direct sun for 2 to 3 weeks, until the outer skins are papery and the necks are fully dry. Only then trim the tops and roots and move them to storage.
Skip curing and even a perfect-looking onion will rot in storage within weeks instead of lasting months.
Onions at a Glance
- When to plant: 4 to 6 weeks before your last spring frost, once soil is workable and has warmed to about 45 to 50°F.
- Sun needed: full sun, 6 to 8 hours minimum, less means small bulbs even on healthy plants.
- Depth and spacing: plant 1 inch deep, space 4 to 6 inches apart depending on the final size you want.
- Soil: loose, compost-rich, worked at least 8 inches deep, pH around 6.0 to 6.8.
- Water: about 1 inch per week, evenly moist, never soggy, taper off as bulbs mature.
- Feeding: nitrogen feed every 3 to 4 weeks early on, stop once bulbs start swelling at the soil surface.
- Harvest signs: lower leaves yellow and a third to half the tops flop over on their own, then cure 2 to 3 weeks before storing.
Get the spacing and the timing right and onions basically grow themselves.
Everything else on this list is just protecting that good start.