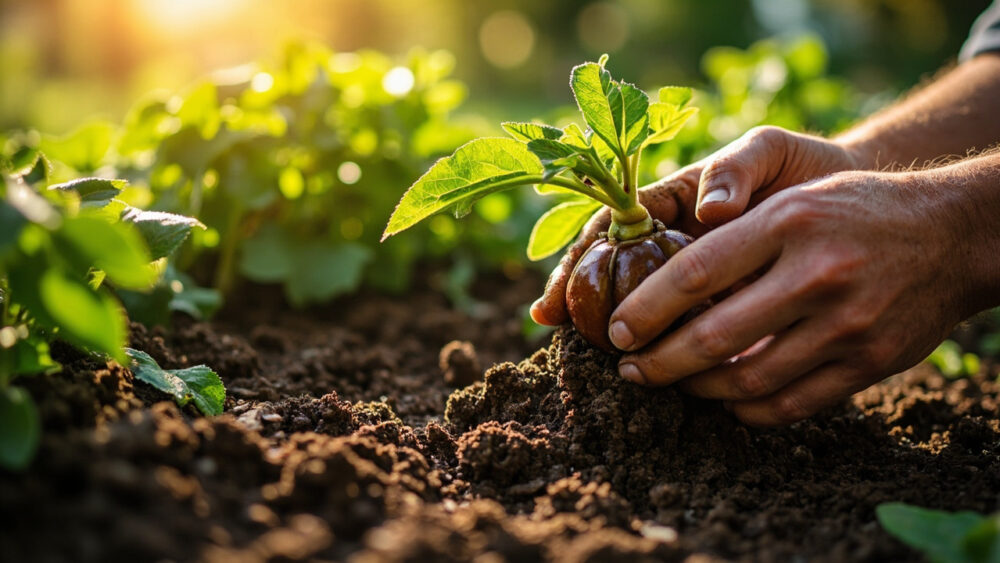
Growing chestnut trees starts with planting a bare-root or containerized tree in early spring once the soil can be worked, spacing two or more trees 30 to 40 feet apart since almost every variety needs a partner to produce nuts, and then settling in for a wait: most chestnuts need three to seven years before their first real harvest. That single fact, that you almost never get nuts from just one tree, is the mistake that quietly wrecks more backyard chestnut plantings than any pest or frost ever does. Get the pairing and the spacing right from day one and everything downstream gets easier.
There are a few more places this crop trips people up. Everyone assumes the burrs falling is the signal to harvest, and that guess is close but not quite right, timing it wrong either way costs you nuts to rot or squirrels. There is also an honest answer about how long you are really waiting for production, and it is longer than most nursery tags let on.
Stick with me through planting, feeding, the diseases that matter, and harvest timing, and save the Chestnut Trees at a Glance card at the very bottom for the numbers you will want pulled up on your phone at the nursery or out in the yard.
When to Plant Chestnut Trees
Plant bare-root chestnuts in early spring, as soon as the ground thaws and can be dug, and while the tree is still dormant. In milder climates, USDA zones 6 and warmer, fall planting after leaf drop also works well and lets roots establish over winter. Containerized trees are more forgiving and can go in anytime the soil is workable through spring and early summer, though spring still gives the longest first-season root run before summer heat arrives.
Chestnuts are hardy roughly in zones 4 through 8 depending on species, with Chinese chestnut and its hybrids tolerating more cold and heat swings than European types. Wait until you’re past your last hard freeze before setting bare-root trees out, since a late freeze on fresh roots is harder on them than the same freeze on established wood.
Soil temperature matters less here than for direct-seeded crops, but wet, cold, unworkable ground is a real reason to wait a couple more weeks.
Choosing the Spot and Prepping the Soil
Chestnuts want full sun, at least six hours a day, and they do not tolerate wet feet. Good drainage matters more for this tree than almost any other factor, since chestnut roots rot fast in heavy, poorly drained clay. If your site holds water 24 hours after a hard rain, look elsewhere or plan to build a raised mound.
Soil pH is the other non-negotiable. Chestnuts want acidic soil, ideally 5.0 to 6.5, and struggle in alkaline ground where they show yellowing between leaf veins no matter how much you feed them. A cheap soil test before you plant saves years of guessing later.
Work the native soil loose in a wide area, at least 3 feet across, rather than digging a tight little hole. Chestnuts do not need rich amended soil, in fact overly fertile ground can push soft, disease-prone growth, but they do need loose, uncompacted ground their roots can spread into fast.
Get the site right and the actual planting is the easy part.
Planting Step by Step
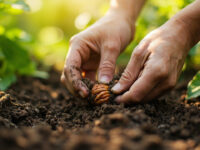
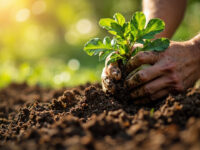
- Dig the hole: as deep as the root ball and twice as wide, so roots are never crammed or bent upward.
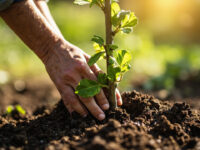
- Set the depth: the root collar, where roots meet trunk, should sit right at or barely above soil level, never buried.
- Space trees: 30 to 40 feet apart for standard varieties, 20 to 25 feet for some dwarf hybrids, and always plant at least two compatible varieties for pollination.
- Backfill with native soil, tamping gently to remove air pockets but not compacting it hard.
- Water in immediately with 3 to 5 gallons to settle the soil around the roots.
- Mulch 2 to 3 inches deep in a wide ring, kept a few inches back from the trunk itself.
- Stake only if the site is windy or the tree is top-heavy; most chestnuts don’t need it.
Once it’s in the ground, the next year is about water and patience, not more digging.
Watering and Feeding Through the Season
Water new trees deeply once or twice a week through their first summer, aiming for the top 8 to 10 inches of soil staying moist but never soggy. Check by pushing a finger or a screwdriver into the soil a few inches down; if it’s dry at that depth, water. Established trees, three years and older, handle short dry spells fine and only need supplemental water in genuine drought.
Skip heavy fertilizing at planting time. Chestnuts are light feeders, and pushing nitrogen too early invites tender growth that diseases and cold both exploit. Once the tree is established, a light spring feeding with a balanced fertilizer, or just a top-dressing of compost, is plenty.
If you see yellowing between the veins on otherwise healthy-looking leaves, that’s usually not a nitrogen problem at all, it’s a pH problem, and more fertilizer will not fix it.
Feeding a chestnut right is mostly about restraint, which is not true of the pests waiting for it.
Problems Most Likely to Strike
Chestnut blight is the disease every grower should know by name. It nearly wiped out American chestnut a century ago, and it still shows up as sunken, dark cankers on bark with orange fungal spore masses, followed by wilting and dieback above the canker. There’s no home cure once it’s established in the trunk. Choosing blight-resistant Chinese chestnut or resistant hybrids instead of pure American chestnut is the practical way to avoid losing a mature tree to it.
Root rot from poor drainage is the second big killer, showing up as yellowing, thinning canopy, and a tree that just looks tired despite regular water. It traces straight back to that drainage decision made at planting.
Chestnut weevils are the harvest-time pest, laying eggs in developing nuts that hatch into small grubs inside the shell. You will not see them until you crack a nut and find a hole or a worm. Picking up and destroying fallen burrs promptly, rather than letting them sit on the ground, breaks the weevil’s life cycle over a season or two.
For any fungal or insect problem serious enough to need a product, follow the label exactly on rate and timing rather than guessing at a stronger mix.
Handle drainage and variety choice up front and most of this list stays theoretical, which brings us to the payoff everyone’s been waiting for.
When and How to Harvest
If you assumed the burrs splitting open on the tree is your harvest signal, that’s close but backwards timing for the best nuts. The real cue is nuts starting to drop on their own, burrs and all, usually in early to mid fall depending on your climate and variety. Waiting for burrs to open fully on the tree often means squirrels and deer beat you to the crop.
Spread a tarp or netting under the tree once burrs start browning and splitting at the tip, and pick up dropped nuts daily, sometimes twice a day during peak drop. Chestnuts left on wet ground mold fast.
Wear gloves. Those burrs are genuinely sharp, and stepping on one barefoot is a mistake you only make once.
Cure fresh nuts in a cool spot, around 32 to 40 F, for one to two weeks before eating. This converts starches to sugars and improves flavor noticeably over eating them straight off the ground.
That first real harvest usually lands three to seven years after planting, and yields build slowly for several years after that as the tree matures.
Chestnut Trees at a Glance
- When to plant: early spring after the ground thaws, or fall in zones 6 and warmer, using dormant bare-root or containerized trees.
- Spacing: 30 to 40 feet apart for standard trees, 20 to 25 feet for dwarf hybrids, with at least two varieties for pollination.
- Soil and site: full sun, well-drained soil, pH 5.0 to 6.5, never a spot that stays wet after rain.
- Watering: deep watering once or twice weekly the first summer, occasional water for established trees in drought only.
- Feeding: light or none at planting, a modest balanced feed or compost top-dress once established.
- Main threats: chestnut blight, root rot from poor drainage, and weevils in the nuts at harvest.
- Harvest: when nuts begin dropping naturally, early to mid fall, gathered daily and cured a week or two before eating.
Get the drainage, the pH, and the second variety right at planting, and patience does most of the rest of the work.
Everything after that first harvest only gets better as the tree settles in.