The fastest way to grow tarragon is to start with a nursery plant or rooted division, not seed, and get it into well-drained soil after your last frost, in a spot with at least six hours of sun. French tarragon, the kind worth cooking with, rarely sets viable seed, so packets sold as “tarragon seed” almost always grow the harsher, less flavorful Russian type. Get that one distinction right and you have already dodged the mistake that wastes most people’s first season.
There are a few more traps ahead. One is a watering habit that seems responsible but slowly rots the roots underground where you can’t see it happening. Another is the sign of a happy, spreading plant that a lot of gardeners misread as a problem and dig up in a panic. And there’s the honest answer to the question you’re probably already forming: how long does this take to become the tarragon you actually cook with.
Stick with me through the whole guide and you’ll get all of that, plus a save-able Tarragon at a Glance card at the very bottom with every number on one list.
When to Plant Tarragon
Plant after your last spring frostonce soil temperature sits around 60°F, whether you’re setting out a nursery pot or a rooted division from a friend’s patch. Tarragon is a perennial hardy through USDA zones 4 to 8, so once established it comes back on its own; you’re only doing this planting step once, or occasionally when you divide an old crown.
In mild climates you can also plant in early fall, six weeks before your first hard freeze, giving roots time to settle before winter.
Skip midsummer planting if you can. Heat stresses new roots before they’ve built any reserves.
Get the timing right and the next decision, where exactly to put it, matters just as much.
Choosing the Spot and Prepping the Soil
Tarragon wants full sun, six to eight hours minimum, and soil that drains fast after rain. If water still sits on the surface twenty minutes after a heavy watering, that spot will eventually rot the roots no matter how well you plant.
Raised beds, mounded rows, or containers solve this instantly if your native soil is heavy clay. Work in a couple inches of compost, but don’t overdo rich amendments. Tarragon actually flavors better and grows sturdier in soil that’s on the lean side, similar to rosemary or sage.
Aim for a near-neutral pH, roughly 6.0 to 7.5. Tarragon isn’t fussy about fertility, but it is absolutely unforgiving about wet feet.
Once the bed drains well and gets real sun, you’re ready to actually put the plant in the ground.
Planting Tarragon Step by Step
1. Loosen and level the bed
Break up the top 8 to 10 inches of soil so roots can spread without hitting compacted ground.
2. Set the plant at its original depth
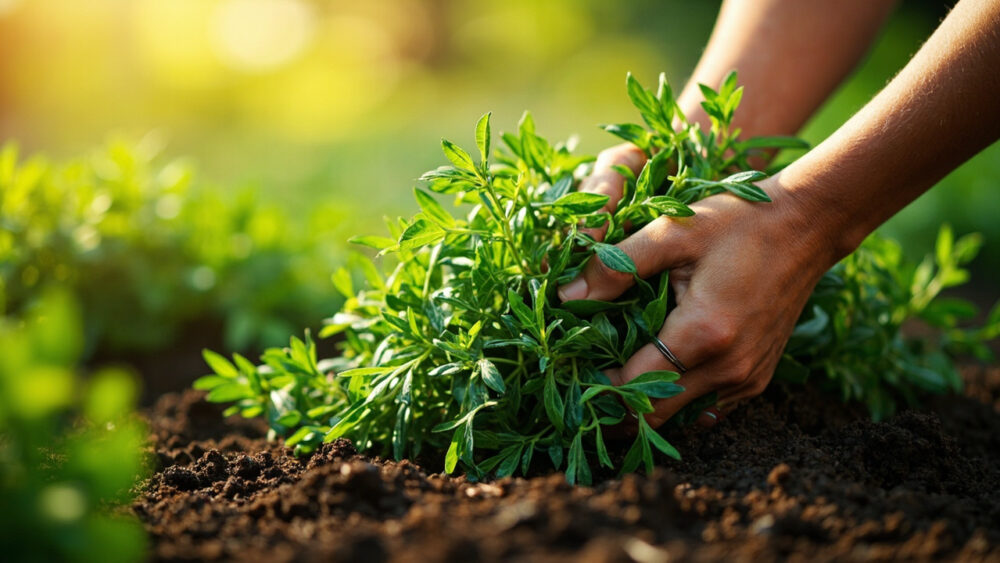
Dig a hole the same depth as the nursery pot, roughly 6 to 8 inches deep and wide enough for the root ball plus a couple inches of wiggle room. Planting deeper buries the crown and invites rot.
3. Space generously
Give each plant 18 to 24 inches in every direction. Tarragon spreads by rhizomes underground and will fill that space within two seasons, sometimes one.
4. Backfill and water in
Firm soil around the roots, water deeply once to settle air pockets, then hold off on watering again until the top inch of soil dries out.
That first deep watering is the last easy decision; how you water for the rest of the season is where most tarragon plants actually die.
Watering and Feeding Through the Season
If you assumed more frequent watering keeps a young herb safer, that habit is exactly what kills tarragon most often. Water only when the top 1 to 2 inches of soil feel drythen water deeply and walk away. Established plants are genuinely drought-tolerant and would rather be slightly underwatered than sit in damp soil.
Skip heavy feeding. One light application of compost or a balanced fertilizer in spring is enough for the whole year. Overfeeding pushes soft, floppy growth with washed-out flavor, which defeats the entire point of growing your own.
Mulch lightly, an inch or so, to moderate soil temperature, but keep it off the crown itself.
Get the watering discipline right and most of what’s left is just watching for the handful of problems that actually show up.
Problems That Actually Show Up
Root rot from poor drainage is the big one, showing up as yellowing leaves and a mushy, blackened base. There’s no fixing rotted roots. Dig up what’s left, cut away the black tissue, and replant in a raised, drier spot if any healthy root remains.
Powdery mildew shows up as a white, dusty coating on leaves in humid, still air. Improve airflow by dividing crowded clumps and avoid overhead watering late in the day.
Aphids occasionally cluster on new growth. A strong water spray knocks most of them off, and insecticidal soap applied per the label handles the rest.
Here’s the sign people misread: a tarragon patch that seems to be “wandering”popping up a foot or more from where you planted it, isn’t diseased or dying. That’s just the rhizomes doing exactly what they’re built to do. Give it a border or a buried barrier if you want to contain it, but don’t panic and pull it out.
Once the plant is healthy and behaving the way tarragon actually behaves, the only thing left is knowing when to start cutting it.
When and How to Harvest Tarragon
Start light harvesting once the plant is 8 to 10 inches tall and clearly established, usually 60 to 90 days after planting a nursery-grown start. That’s the honest timeline: this isn’t a fast herb, and a plant grown from a tiny division may not give you a real harvest until its second season.
Snip stems just above a leaf nodetaking no more than a third of the plant at once so it can keep producing. Flavor peaks right before flowering, so pinch off flower buds as they appear if you’re growing this for the kitchen rather than the garden bed.
Morning harvest, after dew dries but before the heat of the day, gives you the most concentrated oils and the best flavor.
For storage, tarragon loses a lot of its character when dried, so freezing chopped leaves in a little water or oil holds flavor far better than a spice jar ever will.
All of that boils down to a handful of numbers worth keeping on hand.
Tarragon at a Glance
- When to plant: after last frost, soil around 60°F, or six weeks before first fall frost in mild climates.
- Best start: nursery plant or rooted division, since French tarragon rarely grows true from seed.
- Spacing and depth: 18 to 24 inches apart, planted at the same depth as its nursery pot, about 6 to 8 inches deep.
- Light and soil: full sun, six to eight hours, in lean, fast-draining soil with a pH around 6.0 to 7.5.
- Watering: deeply, only when the top 1 to 2 inches of soil are dry, never kept constantly damp.
- Hardiness: perennial in USDA zones 4 to 8, dying back in winter and returning from the roots each spring.
- First harvest: once the plant reaches 8 to 10 inches tall, roughly 60 to 90 days after planting.
Get the drainage and watering right and tarragon takes care of the rest itself for years.
Everything else on this list is just details around that one fact.