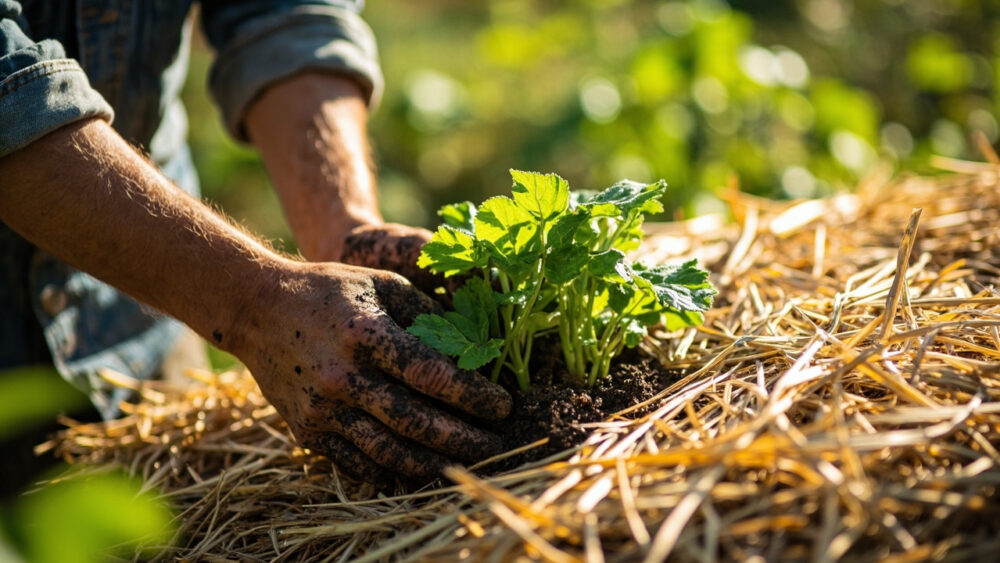
Straw bale gardening means growing vegetables directly in a conditioned bale of straw instead of soil, and it works because a bale that has been soaked and fed nitrogen for 10 to 14 days turns into a warm, spongy growing medium that composts from the inside out all season. You plant into pockets cut or dug into the top, and the bale itself feeds and drains the roots. It is faster to set up than a raised bed, it sidesteps bad native soil entirely, and it comes with a learning curve that trips up almost everyone the first time.
Most first attempts fail for one of two reasons, and neither one is what people expect. It is not the watering and it is not the variety choice.
Stick around, because the conditioning step everyone rushes, the one nutrient bales are chronically short on, and the honest answer to how long a bale actually lasts are all coming up. There is also a save-able Straw Bale Gardening at a Glance card at the very bottom with every number in one place.
Straw, Not Hay: Get This Wrong and You Are Growing Weeds
This is the mistake that ends more straw bale gardens before they start than any watering error. Straw is the dry, hollow stalk left over after grain is harvestedwheat, oat, rye, or barley, and it is nearly seed-free. Hay is cut and dried whole grass or alfalfa, still loaded with viable seed heads.
Plant into a hay bale and you are not gardening, you are running a weed nursery with your vegetables competing for space. Check the bale before you buy: straw looks like hollow golden tubes, hay looks leafier and greener with visible seed heads still attached.
Buy from a farm supply store or feed store and ask specifically for straw bales, not “bales.”
Conditioning: The Step Almost Everyone Rushes
A raw bale straight off the truck cannot grow anything yet. It needs 10 to 14 days of conditioning to kickstart the composting process that will warm and soften the interior.
Soak the bale thoroughly every day and feed it nitrogen on alternating days, either blood meal, a balanced organic fertilizer, or a nitrogen-heavy conventional feed, roughly a half cup to a cup worked into the top per feeding depending on bale size. You will know it is working when the bale feels warm to the touch on day 4 or 5, that is active decomposition, and it will cool back down by day 10 to 14 as it stabilizes.
Skip this step or cut it short and the bale’s own breakdown process will pull nitrogen away from your seedlings just as they need it most, stunting them yellow in the first two weeks.
That yellowing is exactly the honest answer to the follow-up question every new straw bale gardener eventually asks.
If You Assumed Yellow Leaves Mean More Water, You Guessed Wrong
Yellow, stunted seedlings in a straw bale almost always mean nitrogen theft, not thirst. The microbes breaking down the straw are competing directly with your plants for nitrogen, especially in weeks one through three before the bale’s ecosystem settles down.
The fix is more nitrogen, not more water. Side-dress with a balanced liquid fertilizer or fish emulsion every one to two weeks for the first month, then back off once plants are clearly growing and green again.
Straw bales are also chronically short on nitrogen for the entire season compared to real soil, so plan on feeding roughly every 10 to 14 days throughout summer, not just at planting.
Once the nitrogen question is settled, the next thing to get right is what actually goes into the bale and how deep.
Planting: Depth, Spacing, and What Actually Thrives in Straw
Plant when your soil and air conditions match what that crop would want in ground, straw bales do not change your frost timing. Tomatoes, peppers, and cucumbers go in after your last frost date once nights stay reliably above 50°F; lettuce, spinach, and herbs can go in a couple weeks earlier since bales run warm.
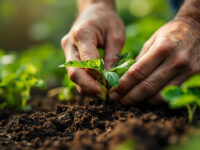
For transplantspart the straw with your hands or a trowel, tuck in a small handful of potting soil or compost around the roots, and set the plant at the same depth it sat in its pot. For seeds like beans, squash, or lettuce, lay an inch of potting mix or compost across the top of the bale and sow directly into that layer.
Spacing follows normal vegetable spacing, roughly 2 tomato plants, 3 to 4 pepper plants, or 2 to 3 squash plants per standard bale, since the bale itself is the container.
Sprawling vines and shallow-rooted greens do beautifully here, but there is one category of plant that struggles no matter how well you condition the bale.
What Struggles in a Bale (and Why)
Deep-rooted crops like carrots, parsnips, and potatoes are the honest exception. Straw bales run 14 to 18 inches deep but the structure is loose and hollow, so long taproots often fork, stunt, or just find open air pockets instead of resistance to push against.
Potatoes are the one exception to the exceptionthey actually do well in bales because you can tuck seed potatoes into the sides and let them sprawl, similar to growing them in a bag or tower.
Corn and other tall, top-heavy plants also need help, a bale alone will not anchor them in wind without a stake or trellis tied to a support driven into the ground beside it.
Water is the next variable that catches people off guard, because a bale drinks nothing like a garden bed does.
Watering: Bales Dry Out Faster Than You Think
A conditioned straw bale has almost no water-holding clay or organic matter compared to real soil, so it dries out fast, especially in the top few inches where your plants are rooted. In hot weather expect to water once a day, sometimes twice in peak summer heat.
Check moisture by pushing a finger two inches into the baleif it feels dry there, water until it runs out the bottom. Drip irrigation or a soaker hose laid across the top of a row of bales saves enormous time over hand watering once the season gets going.
Bales set on a lawn or gravel drain fast; bales set directly on soil pull a little extra moisture up from below, which helps some in dry climates.
Watering right sets you up for the question every gardener asks about a system that is technically decomposing under their plants all summer.
How Long Does a Bale Actually Last?
One straw bale reliably gives you one full growing season, spring planting through fall harvest. By the end of the season it has typically collapsed by a third to half its original height and turned dark, crumbly, and soil-like inside.
That spent bale is not trashit is nearly finished compost. Break it apart and work it into garden beds, a compost pile, or use it as mulch. It will finish decomposing over winter and enrich whatever bed receives it.
Reusing the same bale for a second full season rarely works well, it has lost too much structure and nutrition to support a full crop again.
Budget for fresh bales every year, and the whole system pencils out easily against buying soil or building raised beds.
Straw Bale Gardening at a Glance
- Bale type: straw only, wheat, oat, rye, or barley, never hay, check for hollow seed-free stalks before buying.
- Conditioning time: 10 to 14 days, daily soaking plus nitrogen feeding every other day until the bale cools back down.
- When to plant: same timing as in-ground crops, warm-season plants after last frost once nights stay above 50°F, cool greens a couple weeks earlier.
- Spacing per bale: roughly 2 tomato plants, 3 to 4 peppers, 2 to 3 squash or cucumber plants, or a dense row of lettuce and herbs.
- Feeding: liquid fertilizer or fish emulsion every 10 to 14 days all season, bales run chronically short on nitrogen.
- Watering: check 2 inches down daily, expect once or twice a day in hot weather until water runs out the bottom.
- Lifespan: one growing season per bale, then break it up into compost or mulch rather than reusing it.
Get the straw right and the nitrogen right, and the bale does most of the remaining work itself.
Everything else in this method is just watering on schedule and watching what one season of decomposition builds underneath your plants.