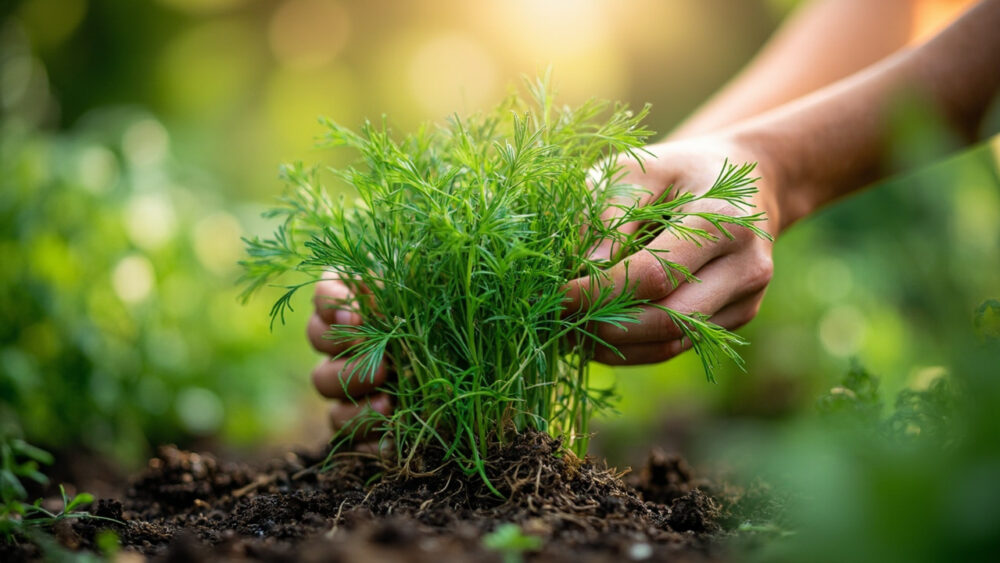
Caring for dill comes down to four things it will not tolerate skipping: at least 6 hours of full sun, soil that drains fast and never sits soggy, a taproot left alone once it’s established, and room to bolt to flower without you panicking about it. Get those right and dill mostly grows itself. Get any one wrong and you’ll watch a healthy-looking plant shoot up, flower, and quit on you in a matter of days.
Most people lose their dill to one specific mistake, and it isn’t watering or sun. It’s transplanting a plant that’s already outgrown a small pot, snapping that thin taproot in the process, and never understanding why the plant sulked afterward.
There’s also a sign almost every new grower misreads as a problem when it’s actually the plant doing exactly what it’s supposed to do, and I’ll walk you through what that looks like and when it’s genuinely a warning instead. Stick with me through the sections below and you’ll get the printable Dill at a Glance card at the very bottom, the kind of thing worth saving to your phone before you’re standing in the garden center guessing.
Light, Placement, and Temperature Dill Actually Wants
Dill wants full sun6 to 8 hours a day minimum. In part shade it survives but grows leggy, pale, and slow to produce the feathery foliage you’re actually growing it for.
It grows best in soil temperatures between 60°F and 70°F, and germinates once soil hits about 60°F. It tolerates light frost as a seedling but stalls hard in real heat, above the mid-80s it often bolts to flower early regardless of how well you’ve cared for it.
Pick a spot away from strong wind. Dill grows tall, 2 to 4 feet depending on variety, on a hollow stem that snaps easily in gusts.
Where you place it now decides how much staking you’ll be doing later.
Watering Dill Without Drowning the Roots
Water dill when the top inch of soil is dry to the touch, roughly once or twice a week for established plants, more often for seedlings and container dill in hot weather. It wants consistent moisture, not wet feet.
If you assumed yellow lower leaves mean the plant needs more waterthat guess is exactly backwards more often than not with dill. Yellowing at the base combined with soggy soil almost always means overwatering or poor drainage, not thirst.
Check by feel before you act. Push a finger an inch down; if it’s still damp, wait another day or two rather than adding more.
Get the water right and the next thing to get right is what that water is draining through.
Soil, Pots, and Feeding
Dill wants loose, well-draining soil with a pH around 5.5 to 6.5. Heavy clay that holds water is the fastest way to rot that taproot before the plant ever gets going.
In containers, use a pot at least 12 inches deep, since dill’s taproot runs deep even when the top growth looks modest. Shallow pots stunt it and push it to bolt early out of stress.
Feeding dill should be light. Mix compost into the soil at planting and skip heavy nitrogen fertilizer afterward; too much nitrogen produces lush leaves at the expense of flavor and can make stems weaker and floppier. One light feeding of balanced fertilizer partway through the season is plenty.
Good soil and restrained feeding set the stage, but dill still needs you to leave its roots alone.
Pruning, Harvesting, and the Repotting Mistake That Sets Plants Back
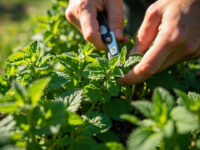
Harvest dill by snipping the feathery fronds once the plant is 6 to 8 inches tall, taking outer growth first so the center keeps producing. Regular light harvesting is effectively your pruning. It keeps the plant bushy and delays bolting.
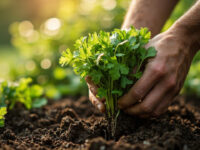
Now the mistake I mentioned up top. Dill has a long, thin taproot that resents disturbance.
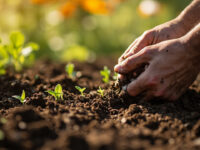
Transplanting or repotting it once it’s past the seedling stage often shocks it into bolting or stalls growth for weeks, sometimes for good. If you’re starting indoors, use biodegradable pots you can plant whole, or better, direct-sow outdoors once soil hits 60°F and skip transplanting entirely.
If you must move a young seedling, do it while it still has only two or three true leaves, and handle the root ball as little as possible.
Get the roots right early, because the problems that show up later are a different fight entirely.
The Problems Most Likely to Strike Dill
Aphids and spider mites are the most common visitors, showing up as clustered insects or fine webbing on stems and leaf undersides. Both usually stay minor if caught early. Wash them off with a strong spray of water or use an insecticidal soap, following the product label exactly.
Powdery mildew and downy mildew show up in humid, crowded conditions as a white or grayish coating or spots on leaves. Improve air circulation by spacing plants 12 to 18 inches apart and avoid overhead watering late in the day.
Early bolting is the complaint I hear most, and it’s rarely a disease. Heat stress, root disturbance, or cramped pots are the usual triggers, not anything you’re doing wrong with watering or light.
Once you know what’s actually normal versus what’s actually trouble, the rest gets easier to read at a glance.
The Sign Everyone Misreads: Flowering and Bolting
Here’s the loop from the intro. When dill sends up a tall central stalk topped with small yellow umbrella-shaped flowers, most gardeners assume something has gone wrong.
Nothing has. That’s dill’s natural life cycle finishing on schedule, especially once days get long and hot.
Flowering isn’t a failureit’s a stage. The leaf flavor does get slightly more bitter once flowering starts, so harvest what foliage you want beforehand, then let the flowers go to seed if you want dill seed for cooking or for next year’s planting.
The real warning sign isn’t flowering itself, it’s flowering within just a few weeks of germination on a plant that never got the chance to grow full and leafy first, which points back to heat stress or a disturbed root rather than a normal life cycle.
Once you can tell normal bolting from stressed bolting, you’re ready to judge whether your dill is actually doing well.
How to Tell Dill Is Genuinely Thriving
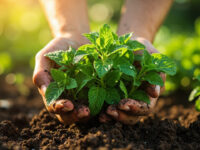
Thriving dill has upright, sturdy stems, feathery blue-green foliage that’s full rather than sparse, and steady new growth from the center of the plant. New feathery leaves emerging weekly is the clearest sign everything below the soil is working.
Color matters more than size. A deep blue-green plant that’s a bit shorter beats a tall, pale, floppy one every time. Pale, stretched growth usually means too little light, not too little fertilizer.
A light, herby smell when you brush the foliage is another good sign. Dill that smells faint or grassy instead of aromatic is often light-starved or stressed.
If your plant checks those boxes, the only thing left to do is keep the card below handy so you don’t second-guess yourself later.
Dill at a Glance
- When to plant: direct-sow once soil hits about 60°F, roughly 2 to 3 weeks before your last frost through midsummer for successive harvests.
- Light: full sun, 6 to 8 hours a day minimum, in a spot sheltered from strong wind.
- Water: when the top inch of soil is dry, about once or twice a week for established plants, more for seedlings and containers.
- Soil: loose, well-draining, pH 5.5 to 6.5, containers at least 12 inches deep for the taproot.
- Feeding: compost at planting, one light balanced feeding mid-season, skip heavy nitrogen.
- Spacing: 12 to 18 inches apart for good air circulation and mildew prevention.
- Watch for: aphids, spider mites, powdery or downy mildew, and early bolting from heat stress or root disturbance.
If you remember nothing else, remember this: leave the taproot alone and give it full sun.
Everything else about dill is forgiving as long as those two things stay true.